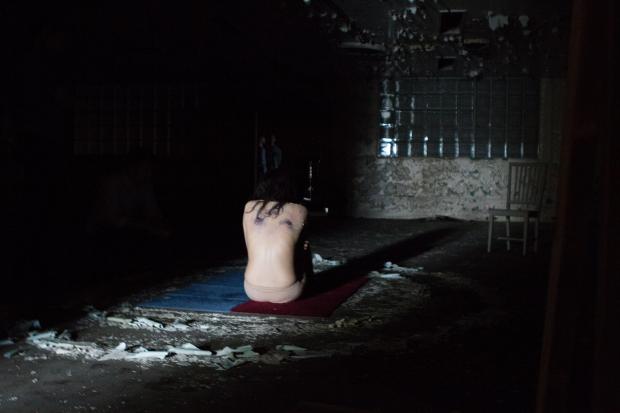
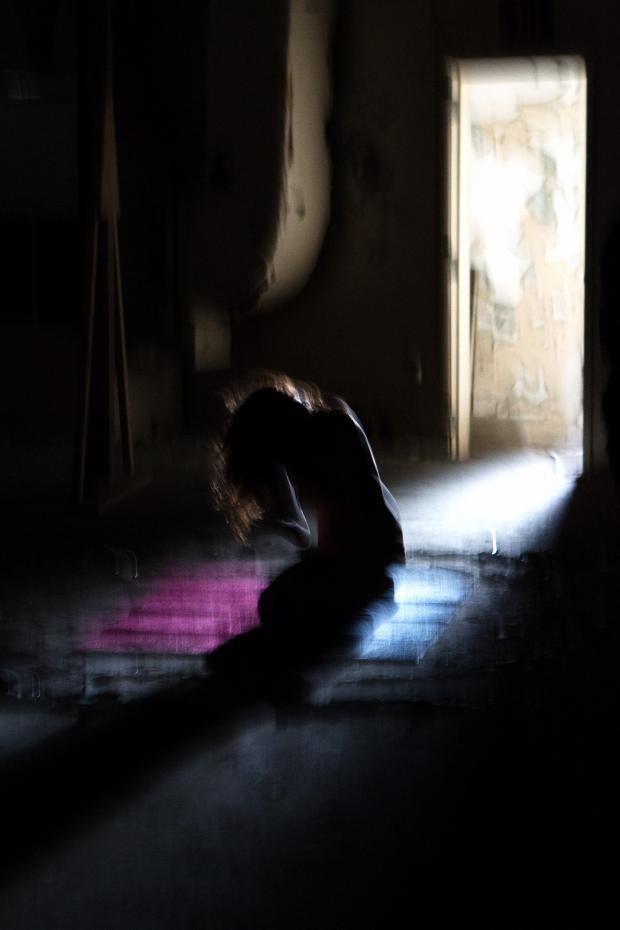
Turning blue blood green with raw on the 5D Mark III. A dying woman wakes deep in a strange place, a wounded dancer wanders crumbling hallways. All footage was shot between 1250 and 5000 ISO.
Andrew Wonder (Undercity / blog) has just released a narrative short film shot in anamorphic (a modified Iscorama called the Wonderscope) on the 5D Mark III in raw. Here is a guest post from Andrew on the making of – and his take on the DSLR raw revolution.
Guest post by Andrew Wonder
It was only four years ago when everyone was saying the 5D2 was “un-fit” for professional productions. Everyone loved the look, but thought it was a gimmick or a toy (or at best a b camera). While everyone else was hating I felt like I had finally found my paintbrush. Finally I had a camera I could use to create images I had never seen before.
Now I’d be hard pressed to find a production without at least one DSLR hanging around but four years later I’d also be hard pressed to find a DSLR that was significantly better than the 5D2. The 1DX offered a creamier image with no moire and less rolling shutter but it’s bigger and more expensive. The 5D3 has better lowlight and a headphone jack but it’s “improved” image quality suffocated much of the magic from the 5D2. The 1DC gave us the first 4K DSLR but at the cost of worse rolling shutter, giant file sizes and it’s inefficiently compressed image doesn’t provide a drastic amount of latitude in post.
As much as I loved the form factor and intimacy of a DSLR it was getting harder and harder to take out the 5D each day. With cameras like the F55 and Blackmagic Cinema Camera showing up promising amazing latitude and flexibility in post I wanted more from Canon and the cameras they were trying to sell me.
[vimeo]http://vimeo.com/66033769[/vimeo]Fortunately that all changed when Magic Lantern’s g3gg0 and a1ex brought the 5D3 back ahead of the curve with their Raw module. At first I was skeptical but once I saw Andrew Reid’s initial tests I knew this was a revolution I wanted to be a part of. Like four years ago everyone was excited by shooting RAW but think it and Magic Lantern is “un-fit” for professional use. Once again, I feel like this is wrong, and decided to go make the first 5D3 RAW narrative film to see how it this new ability stands up against a real set.
PIER 57
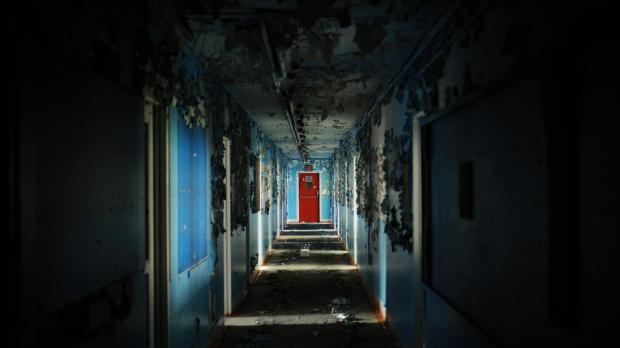
One of the hallways in NYC’s Pier 57
Cinematographer Luke Taylor called me up and said to drop everything I was doing and meet him on NYC’s West Side Highway. I stood outside of Pier 57 and saw a construction crew and a rundown space wondering what I was in store for but once I stepped foot inside I saw a gift from the cinematic gods.
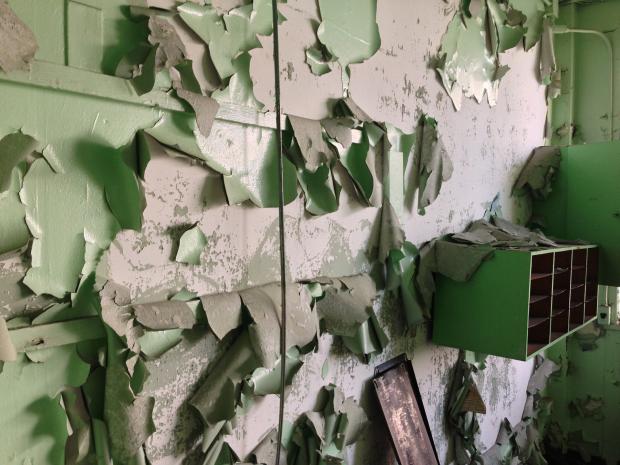
The green room. I’ve never seen paint peel off the wall this way before. Almost like a snake sheeding its skin.
Pier 57 is the legacy of post-World War II engineering at the height of passenger and freight ocean liners. After a decline of ocean liners by the dawn of commercial airlines, the space was turned into a MTA bus depot for over 30 years. Now run down and forgotten Pier 57 is set to be transformed into a new out-of-the-box cultural hub and creative marketplace by the developers, Young Woo & Associates.
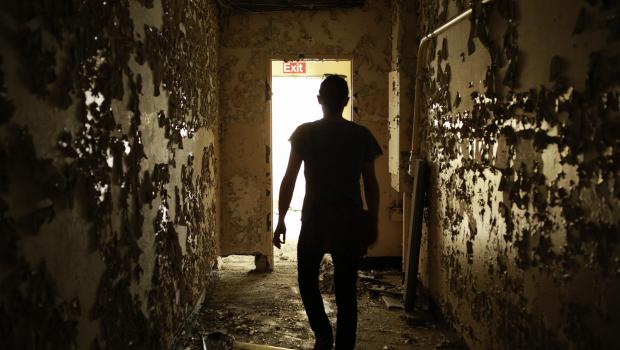
Shal scouting one of Pier’s 57 crumbling hallways
Luke has been working with Young Woo & Associates’ He-myong Woo to document the space through construction. Work had began on the ground level but upstairs was a maze of colorful hallways and peeling paint. With only 10 days left till the upstairs space would be gutted Luke asked if I wanted to try to make a film in the space. I quickly called up fellow director Shal Ngo and asked him to come see the space and collaborate with Luke and I on the project. With the help of Shal’s producer Matt McLaughlin we began to create SKIN.
SKIN
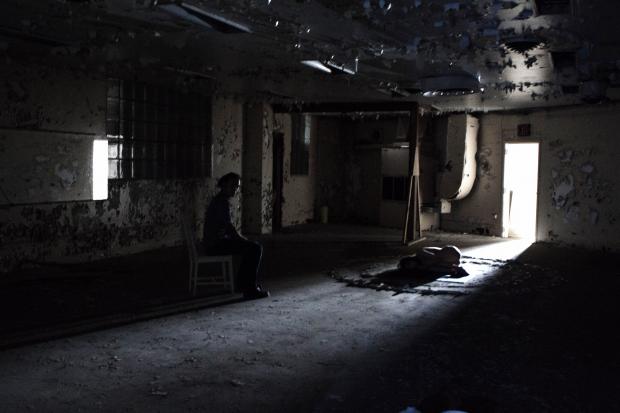
Shal working with Jamie to refine her movements before the shoot
We wanted to create a tactile, visceral short film that would literally bring this strange space to life. GIRL A (played by Cassie Mills) would walk the halls exploring the space while GIRL B (played by Jamie Simone) would live out the effects of GIRL A’s actions. Neither Shal and I are big on artists statements (especially not for a 3 minute short) but if you’d like to learn more about the concept feel free to download and view our original treatment for the short HERE.
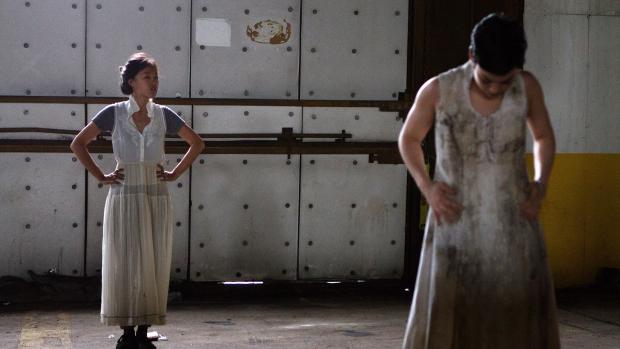
Based on the low light scenerios we would encounter shooting in the Pier we knew this was the perfect choice for a 5D3 RAW short. While I began working on figuring out the technology and workflow with Luke and DIT/Colorist Sam Gursky, Shal worked with Cassie and Jamie to help define their movements and interaction with the space. The choreography was inspired by Butoh dancing and had both dancers shifting between roles of mother, lover, and daughter.
I SURVIVED 5D3 RAW THE RIDE & YOU CAN TOO
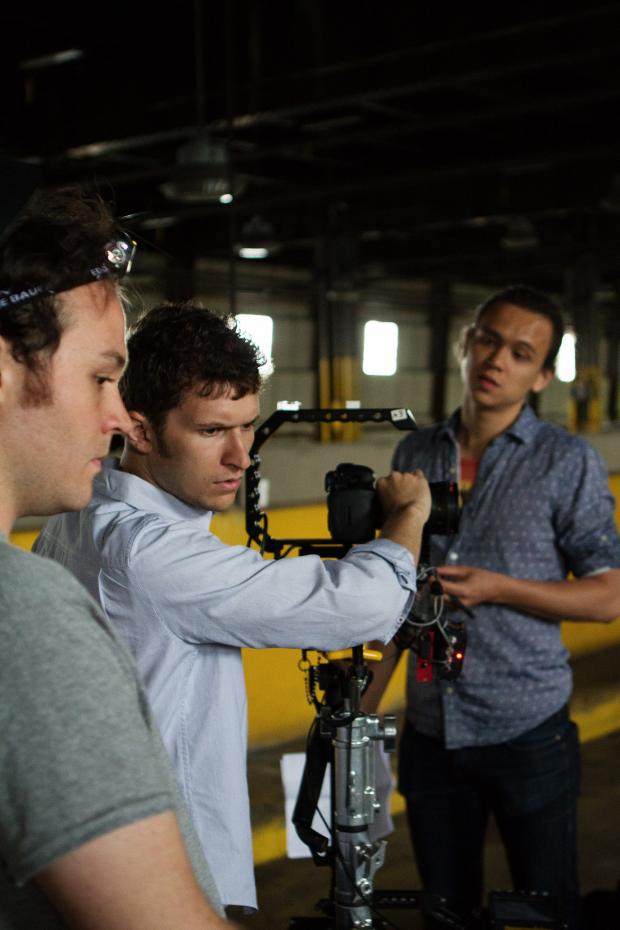
Luke, Myself and Shal calibrate the Wonderscope before shooting
We shot this film just over a month ago and it’s amazing how far shooting 5D3 RAW and associated post workflows have come.
Even with all these improvements I cannot advise you enough to do full tests of your workflow before going onto set. Because of construction deadlines we only had 3 days to prep the shoot. All my compact flash cards only arrived the day before and we never got to build the full rig before we walked onto set.
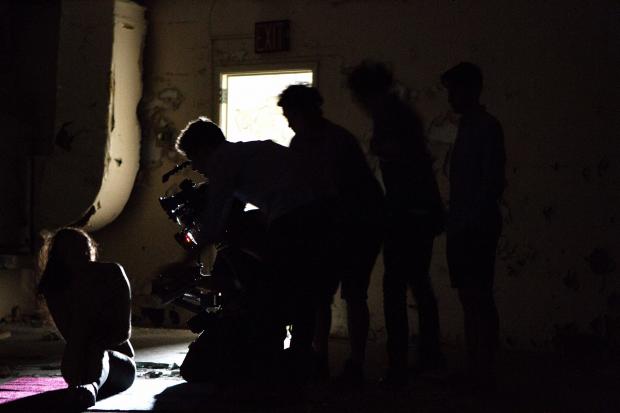
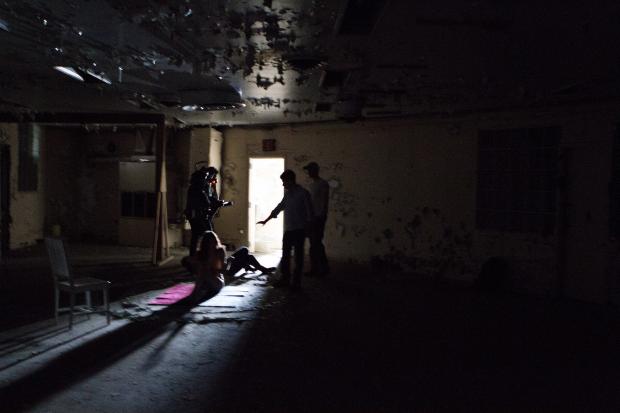
The team begins another round of Steadicam on Skin.
Shal and I were fortunate enough to have an amazing team and artists and technicians supporting us on the shoot. Without them we would have never been able to solve all the hiccups that came our way. I describe some of these problems in the notes below but I’m confident 90% of them could have been avoided if I would have had time to do a full tech rehearsal before the shoot.
On that note also I truly believe you’d be crazy to try and go out there shooting RAW on your DSLR without buying EOSHD’s 5D Mark III Shooter’s Guide. The only reason I got ML working at all was because of Andrew’s 4 Step Guide. Andrew did all the work and research for you. My only regret is that it didn’t exist while we were making Skin.
THE FIRST DSLR CHROMA KEY
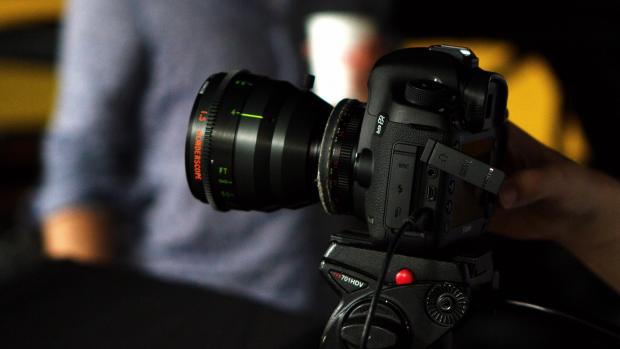
My 1.5x Wonderscope on the 5D3
One of the core elements of our film is that when Girl A rips off a piece of paint from the green room then green blood will pour out of Girl B’s body. We had four different colored rooms (and blood). We didn’t have a lot of time for retakes of the blood effects (much less time to shoot the same shot with alternate colors) so we had to pick parts of her body and hope for the best. Unfortunately by the time we finished the edit our luck had run out.
As Shal and I walked into the color we had the perfect shot of Cassie ripping green paint off the wall. We also had the perfect shot of Jamie’s back with blood pouring down it….except for the fact that the blood was blue.
Chroma keys have always been the worse enemy of the DSLR. Isolating a color without causing problems all over the rest of the image is next to impossible with the cameras traditional .H264 compression (or the 1DCs M JPEG Compression). Shal and I were pleasantly surprise (and beyond impressed) when Sam tried and succeeded at isolating the blood and turning it green.
In the following images you can see our process from ungraded ProRes 4444 to adding our look to the image to keying the blood. If you would like to download the original DNG and try it yourself you can grab it HERE.
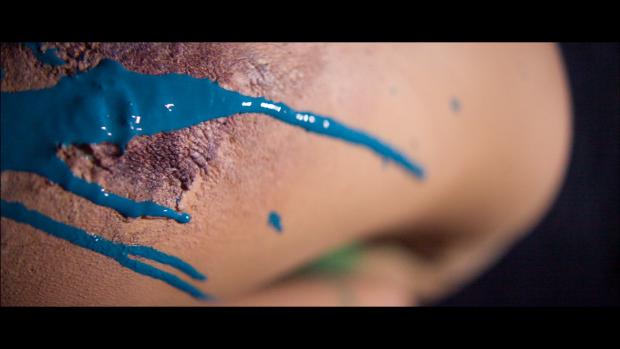
Original ProRes 4444
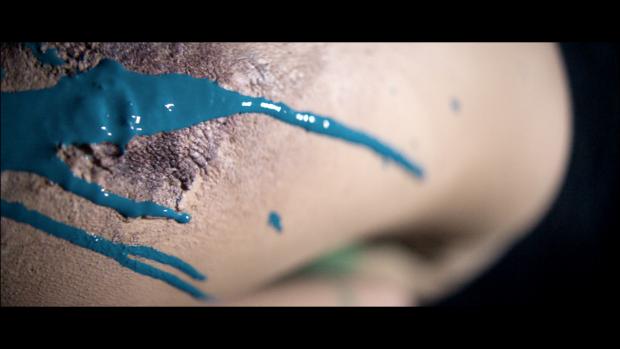
Graded
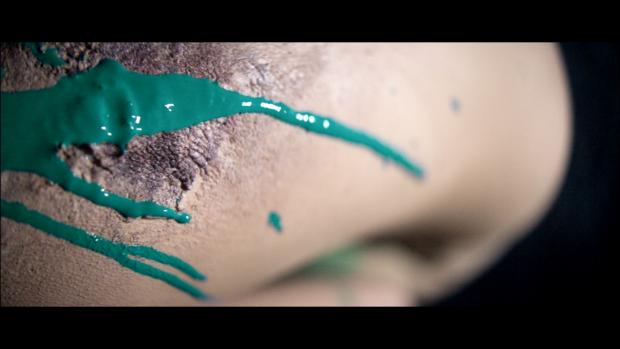
Graded footage with shockingly clean chroma key
I have always created picture profiles that get my DSLRs 80% of the way to the final image. I have never been able to create a true look out of 5D footage without introducing noise or other artifacts. Even at the best post houses our attempts to isolate and change skin tones on 5D footage ends with banding and blocks of compression. My jaw dropped when I saw the flexibility that Sam had with the footage but I was truly in love when we discovered our ability to true isolate colors.
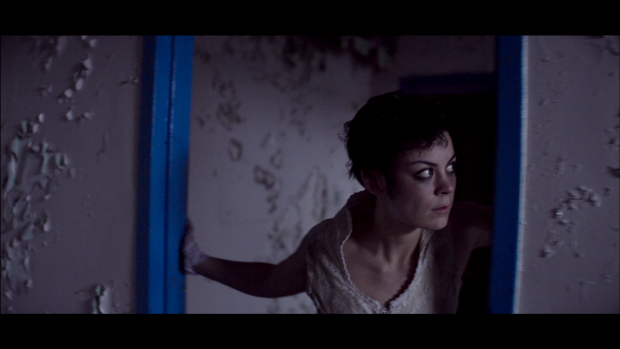
Graded frame from Skin
What’s amazing about shooting 5D3 RAW is that you have this amazing mix of latitude and personality. Each camera is like it’s own film stock. The RED has ton of latitude but always looks a bit monochromatic. Canon is just the opposite. Canon doesn’t want colors to look correct, they want them to look good. Everything is warm and amber, ready to pop off the screen and that comes through even when shooting RAW. I will be a DSLR guy for life. Even when I am doing bigger jobs with bigger cameras there is always a moment where I am pouting in a corner wishing I had my 5D.
After we finished Skin I left NY for two weeks to direct a series of commercials shot on Sony F55s and Canon 1DCs. If Magic Lantern had been in its current state before I left (and I had the time to properly test) I would have gladly traded the 1DCs for 5D3 RAW. When you plug the 1DC into a monitor you see one of the most beautiful images in the world but once you download the card Motion JPEG compression rears its ugly head. .H264 compression seems to love to be underexposed but the M JPEG needs a lot of light. This wouldn’t be a problem if the compression also didn’t handle blown out highlights so poorly. The 1DC is blessed with an amazing chip and two powerful processors but all that magic you see on the LCD never seems to translate to the final image. The 5D3 is an inferior camera to the 1DC in almost every way when it comes to specs which is why it’s amazing that Magic Lantern has unlocked so much potential that the 5D3 now seems to come up on top.
I love shooting 4K. It’s fun, excites clients and makes you feel secure going into post but if I could choose between 1DC 4K and 5D3 RAW 1920×1080 I would take the 5D3 in a heartbeat. The chroma key I showed above would have been nearly impossible with the 1DC. Being able to do that with your footage can and will save you on a job one day and I would much rather save the day than shoot 4x the resolution of what I’m delivering in.
For me shooting 5D3 RAW is like what it felt like to shoot with the RED ONE when it first came out: a hot mess that I don’t want to give up. We all went through so many headaches for that camera but we stuck with it because it was giving us an image that wasn’t possible with anything else. I hope that g3gg0 and a1ex can continue to improve on their RAW module and the rest of the community will continue to help improve on the workflows. I would love to see the day very soon where I can shoot a job on nothing but 5D3 RAW.
PRODUCTION NOTES
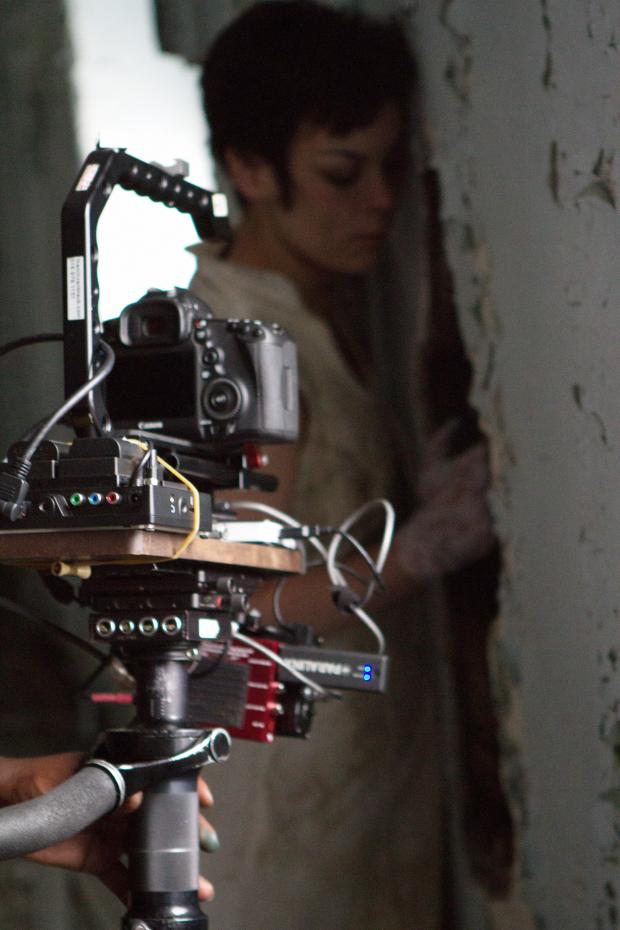
Cassie bravely gets ready to go into the wall
–The film was shot on May 24th, 2013 using the May19 build of Magic Lantern. We recorded at 1600×1080 to create a square aspect ratio for the 1.5x anamorphic. We shot 1 minute takes because we did not have time to test ExFat. I don’t feel like the one minute takes hurt our flow on set (especially since we didn’t have dialogue). It was like shooting with my Bolex again.
–We shot entirely on steadicam using my Wonderscope 1.5x Anamorphic Lens. As we followed Girl A down the halls I used a 40mm f/2 taking lens wide open shooting between 1250 and 5000 ISO. When we were in the room with Girl B I used a 58mm f/1.4 taking lens wide open at 5000 ISO. The close focus on the Wonderscope is 3’10” so we used 77mm B&W Diopters for our closeup and macro shots.
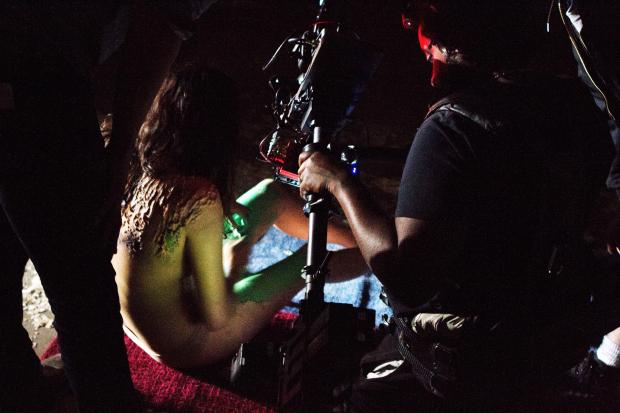
Cobra moves in to get the shot
–Dave “Cobra” Ellis was responsable for all the magical movement on steadicam. Camera Assistant James Madrid pulled from the distance using a Bartec wireless follow focus. Depending on the location he would pull off a SmallHD DP6 or 17” Sony OLED monitor. We were able to monitor wirelessly using a Paralinx Arrow (http://www.paralinx.net)
–We used all natural light except for Girl B’s room where Luke placed a battery powered Arri Locaster outside the door to add a little more stop. We would block Girl B to the light as we changed positions and setups.
CF CARDS
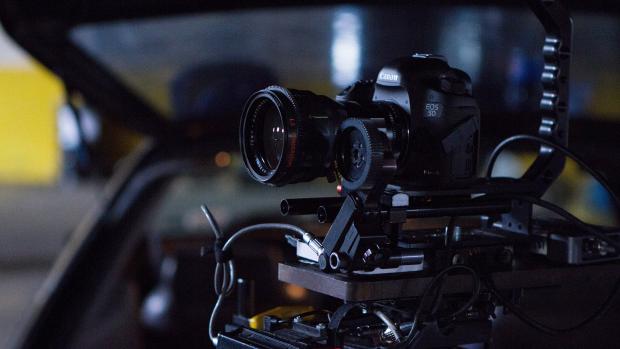
5D3 with Wonderscope on Cobra’s sled ready for action
–We ran into a lot of trouble with CF cards. I had purchased 2x 128gb, 2x 64gb and 2x 32gb KomputerBay cards for the shoot and half of them didn’t work for more than a few frames right out of the package. One of the 64gb cards was usable but I found its record speeds to be inconsistent. Between each full minute take we always had a 200ish frame take that would drop a frame and quit. This was consistent with the card.
–Though they required me to shoot at a lower resolution my 128GB SanDisk Extreme Pro cards were much more reliable.
–I cannot stress testing enough when using this module. Moore’s Law dished out a six pack of whoop ass throughout the day. Not having time to test the camera on steadicam we discovered that when you plug into a external monitor it seemed to eat up prescious buffering and made us shoot a smaller resolution than I had tested. Also CF cards would decided to randomly work or not work throughout the day (ones I had no problems with in prep). I’m not sure if we made mistakes formatting them or what. The important thing is we made it through the shoot but I can’t stress making your rig rock solid before going out into the world.
DIT/EDIT
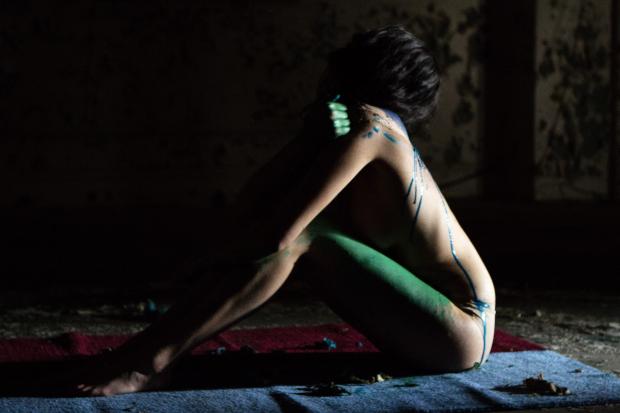
We used only one source in the room and would block Jamie around it depending on the shot
–I always thought it was funny that DIT/Colorist Sam Gursky was the first one to suggest we make a 5D3 Raw short because it was a workflow nightmare from the get-go. We were working on this prior to any utilities being released that would allow for this to utilize a traditional CDNG workflow, and we were rolling VERY hard, recording 528.27GB throughout the day, I never stopped importing and processing the .RAW files to DNG (one by one..).
–After the shoot Sam took these DNG sequences and made his adjustments (clip by clip) to create the ProRes 4444 files that were used for editing and color correction. Using his early 2011 iMac w/Thunderbolt and 16GB of RAM it took Sam 4 days to transcode all the footage. By the end he said his computer was so hot it “could have literally cooked something.”
–Sam and EOSHD’s Andrew Reid had been working to create a Cinema DNG workflow but weren’t able to figure out the kinks in time for the shoot. We choose to finish in ProRes 4444 because we wanted Shal to have the flexibility to edit this like a traditional short and not worry about workflow interfering with his process. Even using the ProRes 4444 we were amazed by the amount of information that we were able to pull out in the grade, pulling clean qualifiers to hypersaturate key colors.
COLOR
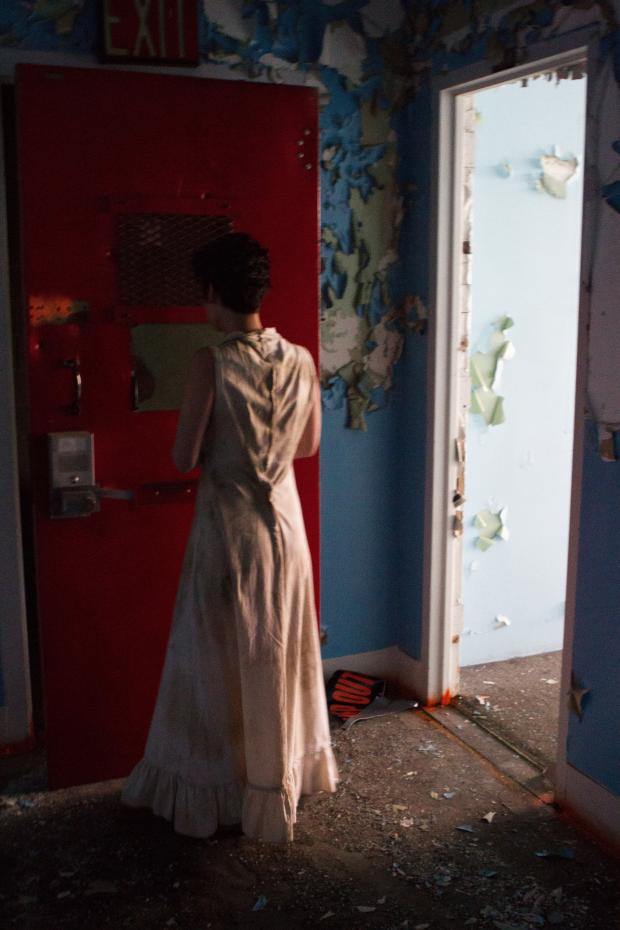
Cassie preparing for her next scene
–We graded in Resolve 9 on Sam’s Hackintosh system. After finishing the color correction we brought the final output into After Effects where we ran it through Neat Video to denoise the High ISO footage. One of my favorite tricks is de-noising the footage then running it through Film Convert. Unlike other grain overlays Film Convert really interprets the image adding the right type of grain to shadows, mid tones and high lights. It’s amazing how natural it looks and how it gives the apperance of sharpness to footage that has been softened by de-noising. I prefer the Fuji VD or Astia grain. Kodak grain hasn’t looked good since Vision 1 (2 and 3 just look like video noise to me). I was very excited when I discovered that Film Convert supported some Fuji stocks which have more personality to their grain.
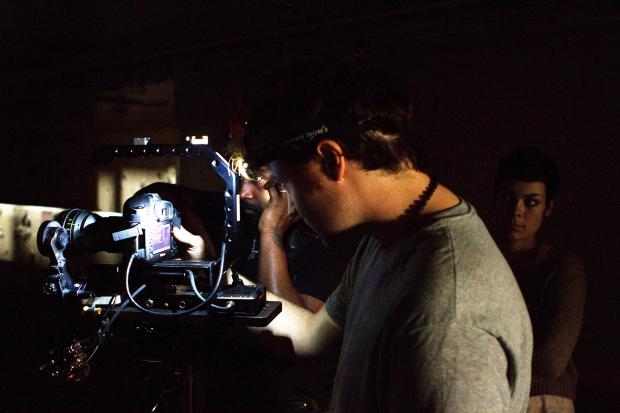
Luke was a hero with the 5D3 and saved the day again when he went back into the space with a RED EPIC for some pick ups.
–Luke Taylor went back the next day and shot some additional footage using a Red Epic. There are about a handful of RED shots in the final piece. None of us could really tell the difference between the two sets of footage until we got to the final color grade. Grading the R3D files we saw that the footage was sharper (it is 5K!) but we had a lot less color information which made the two cameras harder to match. We believe this would have been easier if we would have been working with the 5D3 RAW files.
–One tip we learned in the color: shoot a grey card or chip chart like you would in the film days. Now that you are dealing with metadata and are able to manipulate so easily in post these charts will help your DIT and colorist balance each shot much more quickly without having to guess.
SPECIAL EFFECTS
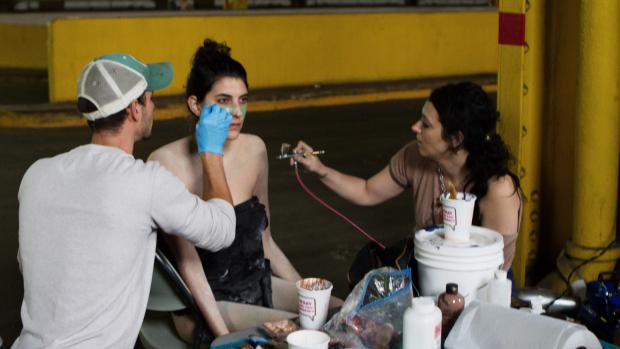
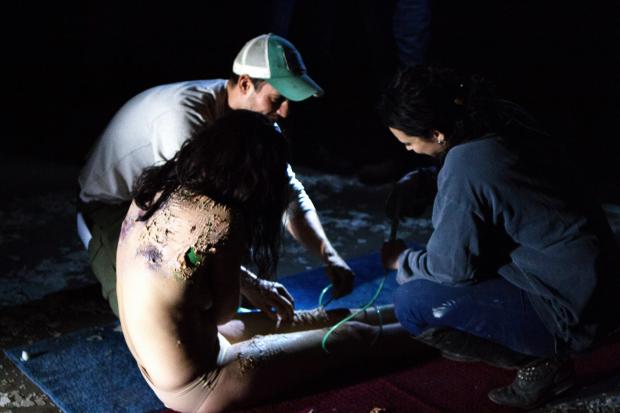
Meagan and Tyler preapre Jamie
— The makeup effects in the film were created by make up artist Meagan Hester and her FX partner Tyler Green. Meagan was featured in season 4 of Faceoff and owns G&Hfx with Tyler which does high end created design for film and TV. These effects were subtley enhanced in post by Boardwalk Empire and The American’s Greg Radcliffe (www.gregradcliffe.com) with a Nuke system.
— Additional VFX (the breathing walls) were created by Anthony Ferrara (www.AnthonyFerraraNY.com) in After Effects.
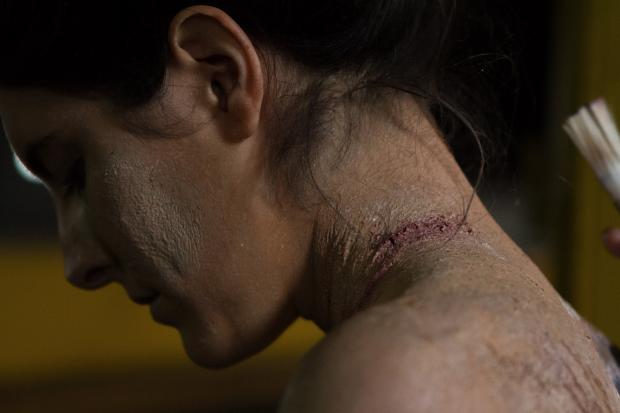
Another shot of Meagan and Tyler’s amazing prosthetic work
–The sound design was created by Robin Shore at Silver Sound who has been my partner in all things scary since Undercity. He was so enamored with the piece he spent a weekend sanding a doorframe and going through a sound library of someone destroying a piano to get the right mood and feel to the piece. Combined with a great score created by Attiss Ngo we were able to use sound to help enhance all the magic the Raw Module allowed us to create.
–The shots of paint pouring down the walls was created on set by production designer Tiffany Chang. She really embraced the space and found the perfect set of items (that chair and carpet were perfect) to compliment it. Jamie’s part of the story is much more visceral to watch but I think some Tiffany and Meagan’s best work was on Cassie. The perfect amount of dirt and wear on her dress with that splash of worn makeup made her character realy come to life.
CONCLUSION
Whether 5D3 RAW is right for your production or not it’s important to the ecosystem of filmmaking. We shouldn’t be imprisoned by our tools. We should be inspired by them. Thanks to the Magic Lantern team I am as excited about shooting with my DSLR as I was when I first opened the box and I will always be grateful to them for that gift.
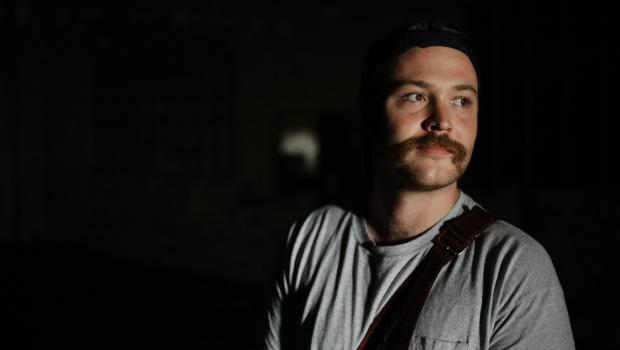
Luke Taylor
Filmmaking is a team sport and I could not have asked for better plays to come out for Skin. I cannot thank Luke enough for thinking enough of me to let me check out the space. He was a true warrior not only handling DP duties but coordinating with the location to make sure we had everything we needed on shoot day. Once Luke was done shooting Sam took over as our rock. After four days of transcoding and slipping us in to color between his other jobs, Sam was the brains and brawn we needed to get this through post.
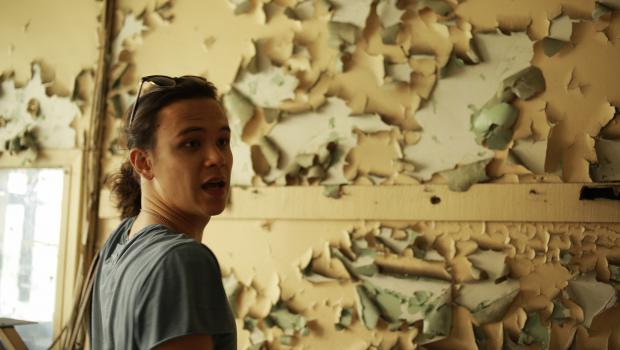
Shal Ngo
There would be no Skin without Shal Ngo. Shal has always been one of the most gifted visual filmmakers I have ever known and I was very happy to have an opportunity to collaborate with him. If you look through his work you can see a lot of his trademarks all over the film. I am very grateful he was willing to work as co-director with me (always a hairy situation) and thought enough of the project to bring Matt in to help make it a real shoot.
Whatever your weapon of choice I hope you have a chance to work with some great people and tell a story that makes you proud. If you have any questions about Skin or our experience shooting 5D3 RAW please don’t hesitate to ask.
—
I highly recommend bookmarking Andrew Wonder’s blog, where this article also appears
Photos taken by Hunter Fairstone. Please enjoy these additional photos:
