http://vimeo.com/59539071
The Lens
Whilst Canon L lenses are like a fleet of company Lexus cars. This isn’t really what I want in my films. I need something different. Something with character.
For this reason I’ve long been using anamorphic lenses. I recently shot some test footage with the Iscorama 54 anamorphic. This is essentially an Iscorama 36 but instead of a 36mm rear element it is 54mm. Even though the whole lens is double the weight, not as sharp and almost triple the size I like it because it has character.
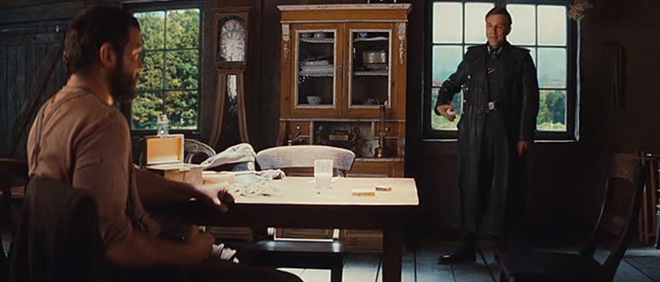
Because the glass is larger, you can use the Iscorama 54 at as wide as 25mm on Micro Four Thirds, or 20mm on the Blackmagic Cinema Camera or with the Lumix 20mm pancake lens on the GH3. There’s some barrel distortion but nothing worse than is present on a cinema anamorphic. Look at the opening scene in Inglourious Basterds for some tasty barrel distortion on $40,000 Panavision Primo and G series anamorphics.
List of films shot with anamorphic lenses (Wikipedia)
The only real downside of the Iscorama over a cinema anamorphic is that the closest focus distance is 2m. You need to screw on a diopter close-up filter for closer focus, but using a crop sensor and a longer focal length prime lens also helps.
The 1.5x stretch gives you a 2.66:1 aspect ratio from the 16:9 HD TV standard of the camera. I don’t consider 16:9 a cinema look! No idea why all our ‘cinema’ cameras shoot that way.
I’d love to see a 4:3 mode on the Blackmagic… That with a 2x stretch is the best / most authentic cinema look there is. It has a far greater influence than frame rate or dynamic range.
With a 1.5x anamorphic you change the height of your footage to 66% of the original height in DaVinci Resolve for the correct aspect ratio.
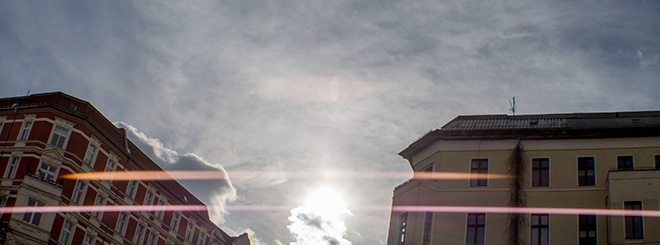
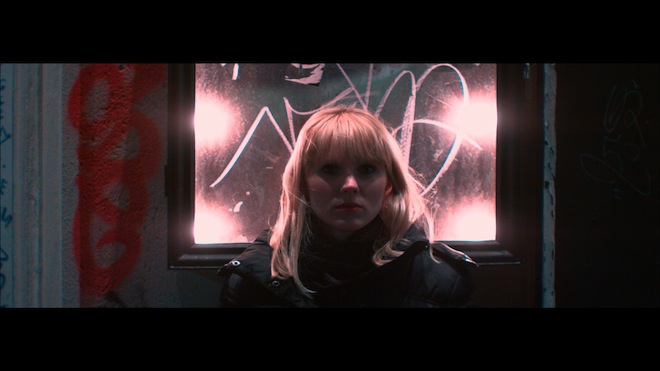
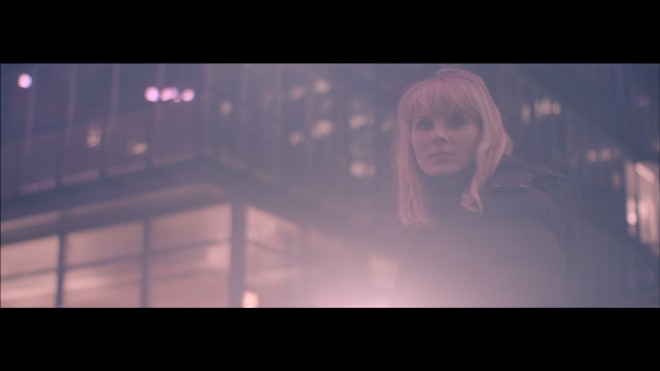
This lens isn’t multicoated so that it flares up more but thanks to the larger rear element I find with the 54 you also get less flare vignetting at the corners when a bright light source is shone directly onto the camera. So my friends Susanna, David and went off to experiment – we used an LED torch to light the footage, shining it directly into the lens when we wanted that trademark anamorphic flare so beloved of JJ Abrams and Christopher Nolan.
The focus travel of the Iscorama 54’s barrel is very long making quick focus adjustment more tricky than on a typical lens. Also the lens ideally needs to be supported on rails. It is so heavy that it can drag the barrel of the prime lens off to an angle or slightly (0.5mm) off infinity focus.
This will give you a soft image as the Iscorama likes the prime lens to be set to infinity, with the focus on the anamorphic.
Mating it with a prime lens is vital for a nice image…
It goes best with the following:
- Leica R 50mm F2.0 – good contrast wide open and sharp. Fine on Blackmagic but vignettes a little bit in the corners with Iscorama 54 on the 5D Mark III
- Nikon 50mm F1.8 – less contrasty than the Leica at F1.8 / F2.0 but less of a vignette with the Iscorama 54 when you use it on full frame
- Olympus OM 50mm F1.4 – easy to de-click the aperture ring for stepless iris like a cine lens, nice and sharp with the Iscorama especially when stopped down to F2.8. Well built.
The Nikon is the cheapest of the three at just $70. The Leica feels the best built but it actually had the most issues supporting the weight of the Iscorama – infinity focus would be off on that lens unless the lens was supported.
I actually have a nagging feeling the mount of the Blackmagic Cinema Camera flexes with heavy lenses so if you have infinity focus issues (like with the Tokina 11-16mm) it might be worth checking for this and using rails to support the larger lenses whenever possible.
The Camera
The Blackmagic Cinema Camera allows you to apply a huge range of styles in post without anything dodgy happening to the image like banding (cough 1D C, cough).
It also allows you to light in post, essentially giving more texture to the image such is the power to change the luminosity levels of shadows, mid-tones and highlights after the event. This is the true power of raw.
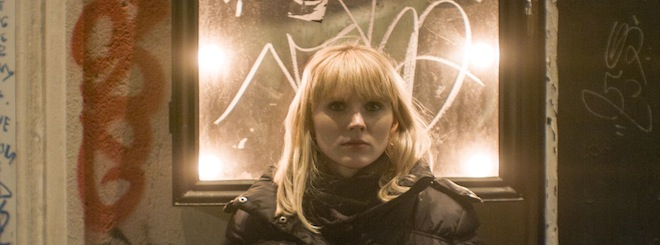
Preserve highlights, bring up shadows, emphasise blonde tones
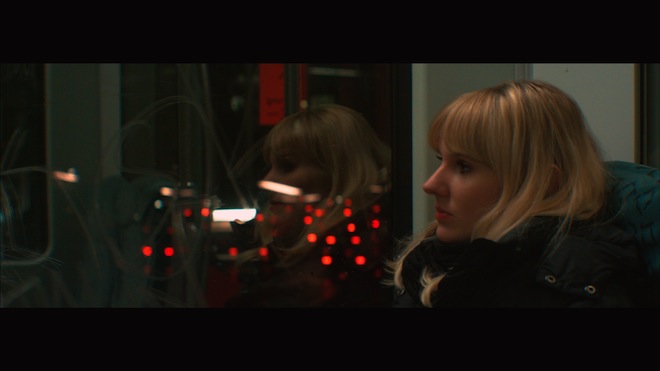
Reduce colour temperature whilst preserving reds
Rec 709 colour space with boosted red channel for better skin tone reproduction
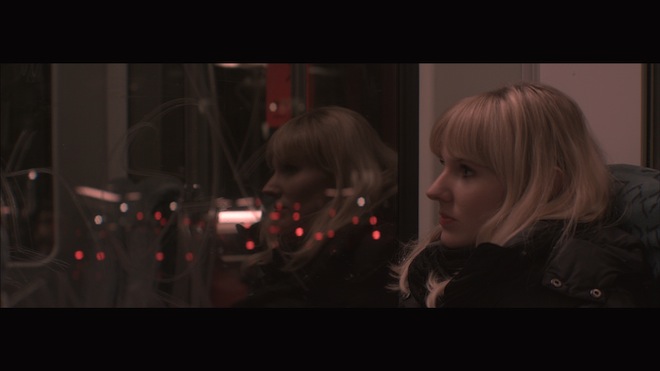
BMCC film dynamic range, no LUT, boosted saturation especially in the red channel
(Of course the frame grabs here are highly compressed for the web and the blacks may be somewhat crushed depending on your display settings)
I’ve never spent more time on colouring the image as I have with raw on the Blackmagic Cinema Camera. This is both a blessing and a curse. When you don’t have the time you know you’re not getting the best out of the camera. It isn’t that the camera won’t give you good results direct from the card (in ProRes set to Rec 709 for example) – it is that there’s always that temptation to improve the image, to add your mark. There’s just so much dynamic range and colour space to play with in that 12bit raw file.
The ‘raw revolution’ seems to have completely gone over the head of most busy pros, who have not embraced the camera like I expected – instead preferring to stick to the quicker workflow provided by the Canon C300. Even many crews who shoot with the Alexa stick it on ProRes!
The Rig
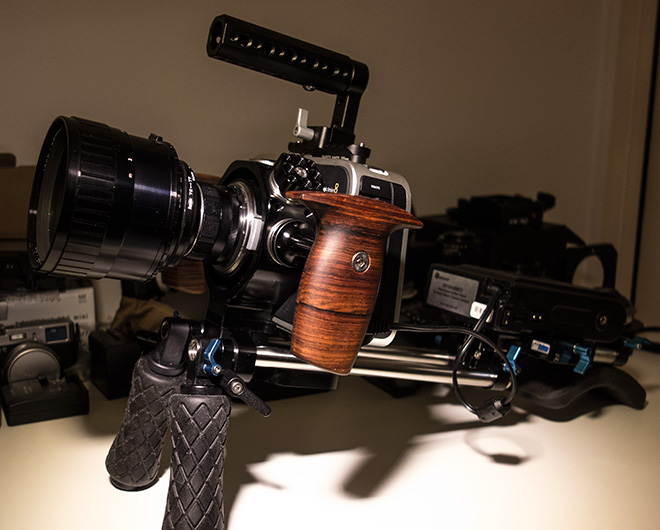
I used the ReWo Blackmagic Cinema Camera cage and top handle for this rig. It doesn’t extend the size of the camera as much as the other cages, since it wraps around the lens mount.
Two aims for a handheld guerrilla filmmaking rig…
- Get the weight of the camera on the shoulder
- Hold the rig with two hands for maximum stability
Balanced with that is the need to actually see the screen and focus the damned thing!
The ‘solution’ is to have an EVF or monitor via a cable to the front of your rig offset to the left in your line of sight. Unfortunately all my EVFs and monitors are HDMI not HD-SDI so cannot be used with the Blackmagic Cinema Camera. As a result I was forced to have the heavy camera and lens sitting directly above my hand in front of me so I can use the built in monitor.
The weight is not supported by the shoulder this way, so the rig isn’t as stable. At least the external battery provides some balance and puts some of the weight of the rig further back. The shoulder is great at supporting weight – my advice is to use it as much as possible and get the camera as close to it as is comfortable for monitoring and focussing.
If you look at ENG broadcast cameras the EVF is integrated closely with the camera and quite small. I think current add-on monitors and EVFs for cinema cameras and DSLRs are much larger than they need to be and little thought has been applied to how you rig them / integrate them with the camera. If you look at how small the integrated EVF units are on mirrorless cameras like the Sony NEX 7 or Panasonic GH3 and compare that to the smallest EVF for a DSLR like the Zacuto EVF with Z-Finder, they are a fraction of the size and weight. I’d much rather have one of these tiny panels with small optics in discrete ENG-style tube attached to the camera via an Arri rosette than have a heavy piece of optics on a spidery steel arm. I need to be able to angle the viewfinder quickly and easily.
The optimal handheld configuration is to have two handles either side and two hands supporting the camera. However regardless of whether you have a follow focus or a hand on the lens, that hand is not going to be free to hold the rig.
I don’t use a follow focus at the moment because they don’t work well with the long travel of the anamorphic focus barrel, and all those 19th century gears, pulleys and messing about makes changing lenses often a real hassle. This is fine on a tripod, on a set or when you have a focus puller like on a feature, but when you’re running & gunning one-man and changing lenses frequently, a follow focus is nothing but a pain in the arse!
What is needed here is a wireless electronic follow focus integrated with a handle, no lens gears required. It would use the AF motors of the lens to drive the focus. Previous attempts have been primitive (Oki USB for example). It needs 1st party manufacturer and camera firmware support.
The team at Digital Bolex are trying this with an add-on lens mount that moves the lens a few millimetres back and forth (to focus) via a fly by wire crank handle on the camera. A brilliant idea, though I’d have preferred to see the traditional follow focus ‘wheel’ not a crank.
Big thanks to Susanna and David for being such great subjects for this lens test and to Volker for providing the lens
