Leaderboard
Popular Content
Showing content with the highest reputation on 09/27/2022 in all areas
-
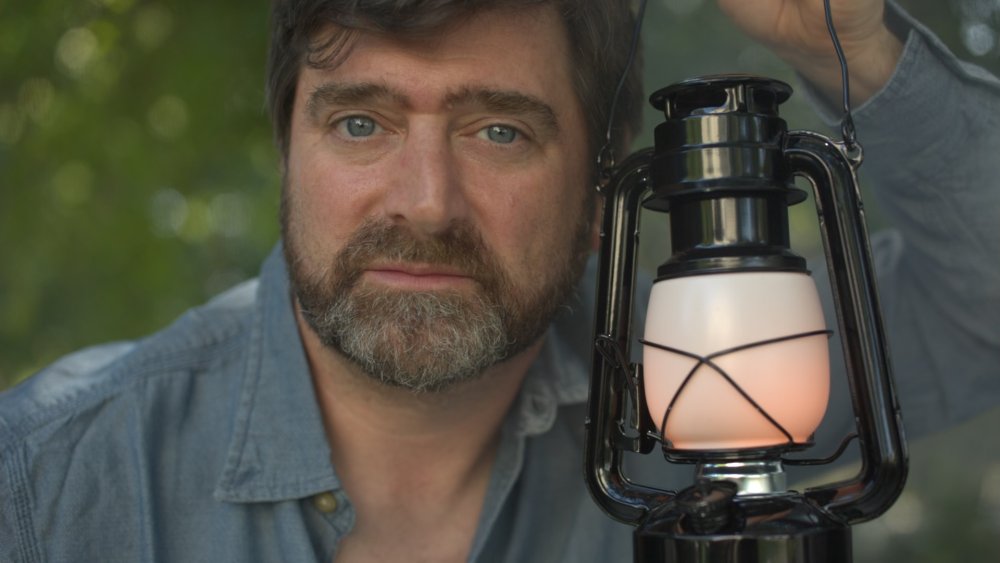
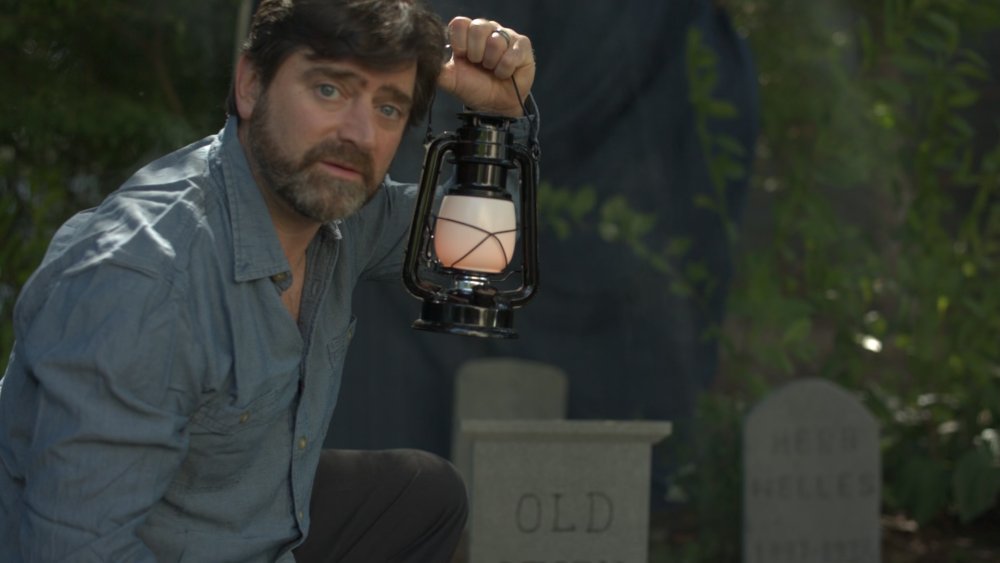
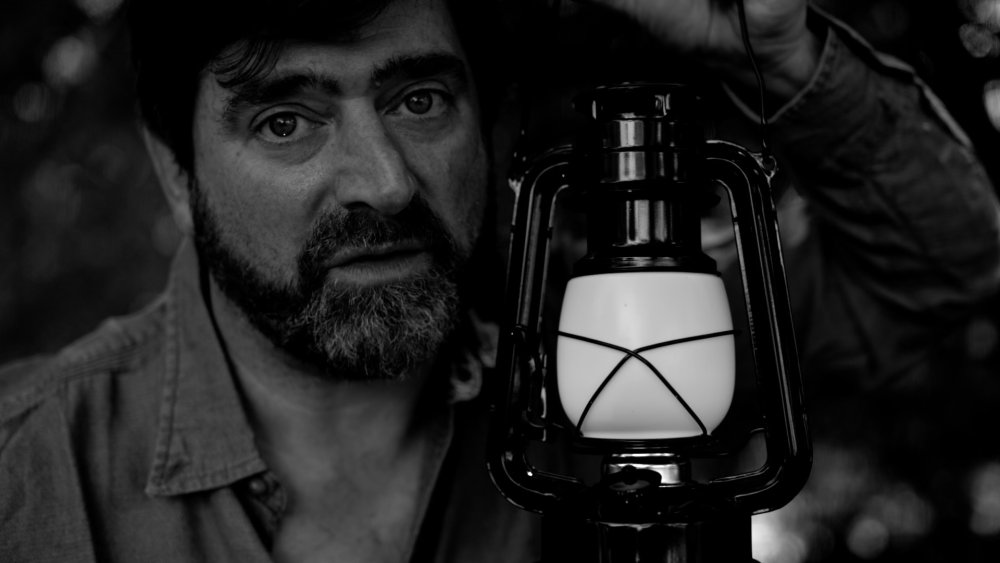
The web promo went live so I'll post a link to it... Overall, I am proud of it, but I must say that everything that could go wrong... did. All in all, I am happy with it, but I wish I had more than an hour to shoot it and a day to edit it before I locked it and sent it to the sound editor.4 points
-
Thanks Ty, I appreciate that! So... basically we had an hour to set up and an hour to shoot, but when I got there I realized the only place that could work, where we shot, had a house just behind the trees. Even though I was shooting day for night... I wasn't sure I could darken it enough, so we hung a sheet in the gap... In post, I really had to crush the blacks to make the sheet disappear. I brought a couple lights, knowing that if I lit his face enough, then I would have some leeway, but to the left of frame, there's a ballpark, so a lot of light was bleeding into the frame and overexposing the shot. I tried a couple different lenses, but nothing looked right, so I bumped up my ISO a touch and stopped down the lens a bit to counteract the background light while still having enough light on his face. This probably wasn't a great idea either because it made my depth of field too wide... if I had opened up the lens, I probably could have had the background disappear more... I also constructed a poor man's chiller box to keep the fog low to the ground, but the wind was whipping across the ball field and pushed the fog quickly out of frame. So we spent some time waiting on the fog machine or repositioning it to counteract the wind. And then the airplanes and landscapers showed up... Haha... In post, I really had to pull up the midtones and it made his skin, in the wide shots, a little flatter than I'd like. Luckily, we had enough with the atmospheric fog and there were enough clear dialogue takes to get an edit... but I had to use two different wide angle shots... which I don't love. But all in all... for about an hour of shooting, I think it turned out pretty cool! Sorry for the long reply.2 points
-
Interesting stuff. Pulling out a few select faces to look at detail and skintones etc.... bearing in mind these are all very small in the frame so these are blown up quite significantly. From 2:04 From 3:55 These are all excellent results! Considering that the Prores tests of the iPhone 14 show that their implementation allows the Prores codec to do the best job yet of preserving the complete desecration that the iPhone performs on its image!2 points
-
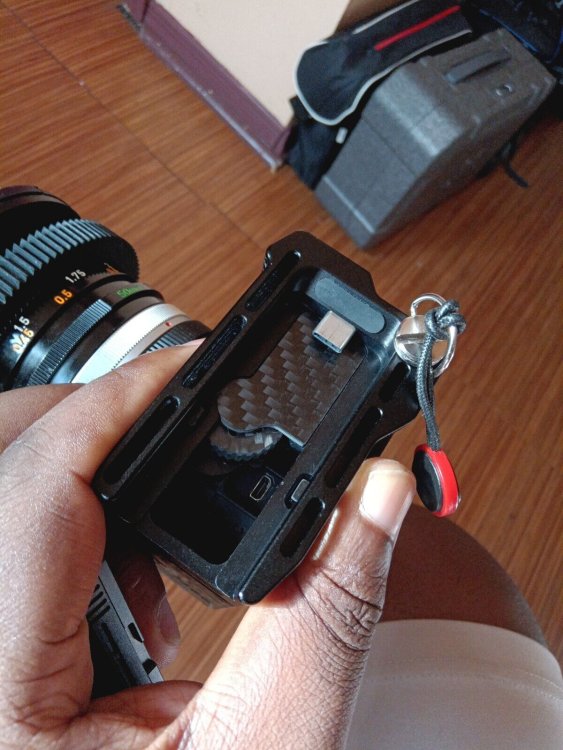
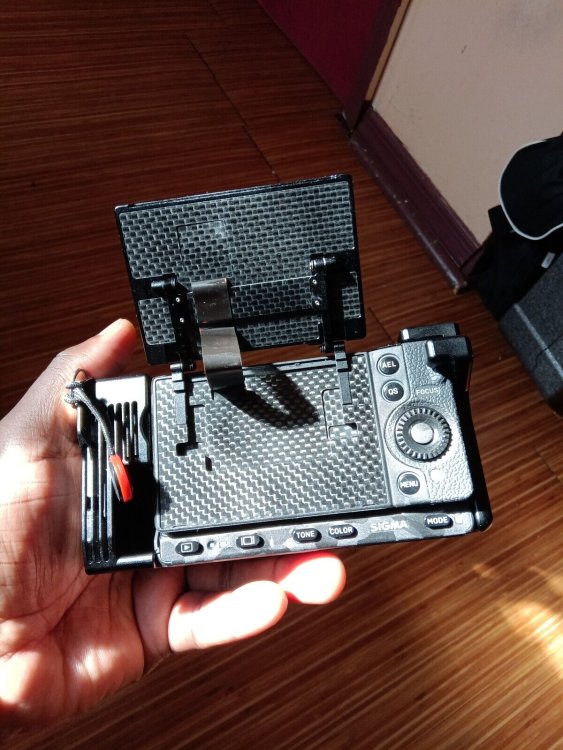
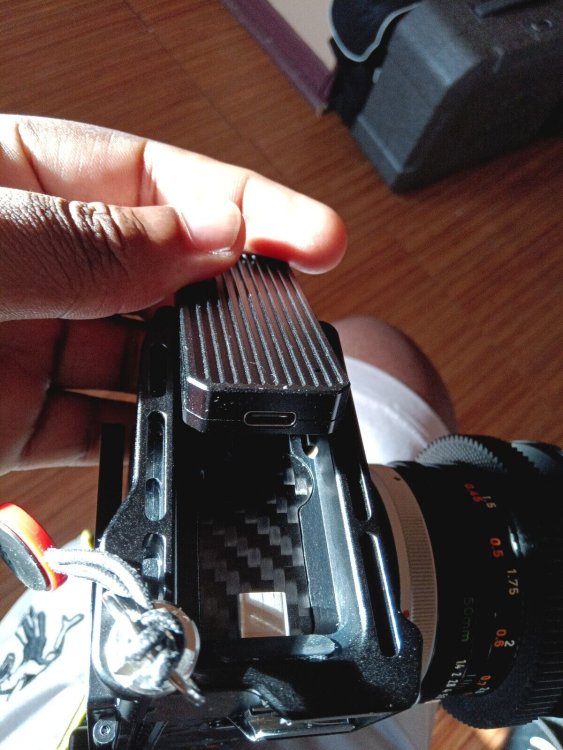
I had one shortly but I fried it using a bad dummy battery to D-tap cable. I wasn't going to buy one again but I recently had the need for a small gimbal camera so once again I purchased the FP. This one has the tilt screen mode as well as a custom made SSD module, which makes it a super compact setup. Using the FP one of my big complaints was the lack of a tilt screen, so this new setup will address that as well as managing the somewhat awkward T5 ssd setup I had before. Dual ISO is very helpful, the color from the FP looks really nice after running it through resolve. It would definitely be nice if there was a way to color manage the dng footage in premiere. But hey it's a really inexpensive camera so I can't complain too much.2 points
-
2 points
-
Tasty treats. Also love the audio, voice performance and writing. And the bold day for night move.😊 @mercer1 point
-
Hey, sounds great, but i am a troubled mind with a business to run, a house and a boat to keep up and a wife and little ones, Jesus. Hey, fuck it lets have a coffee then or go for a sail. I am still lusting over the bmpcc...1 point
-
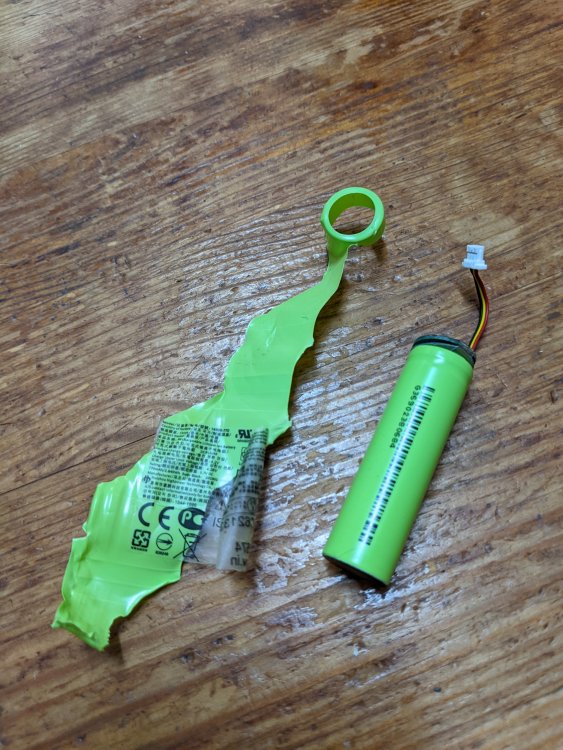
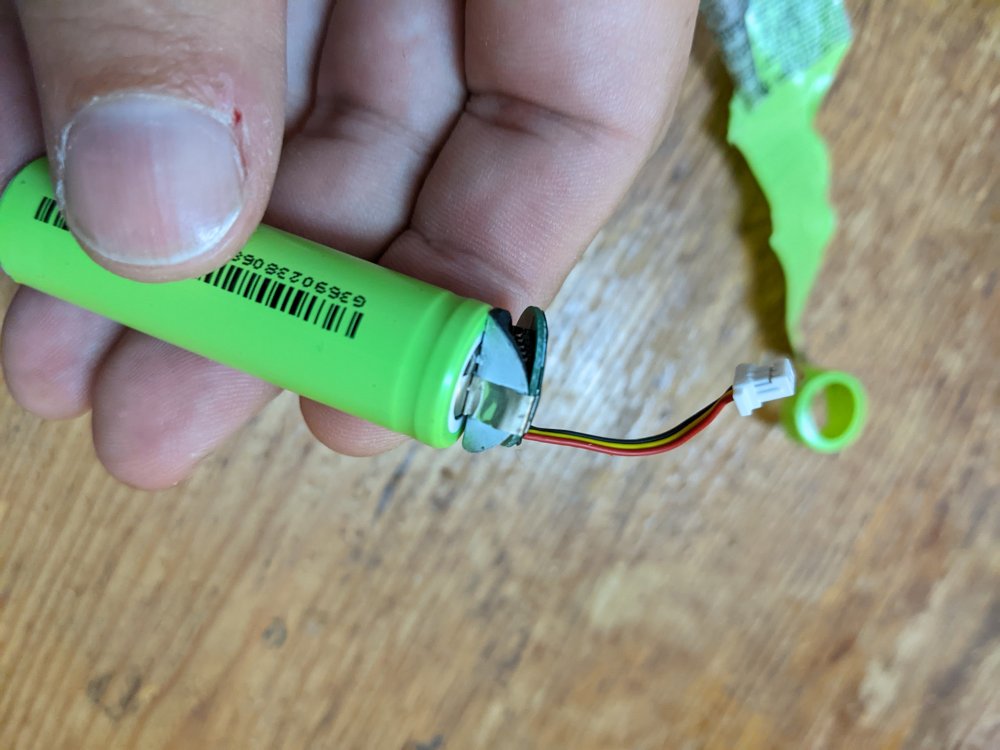
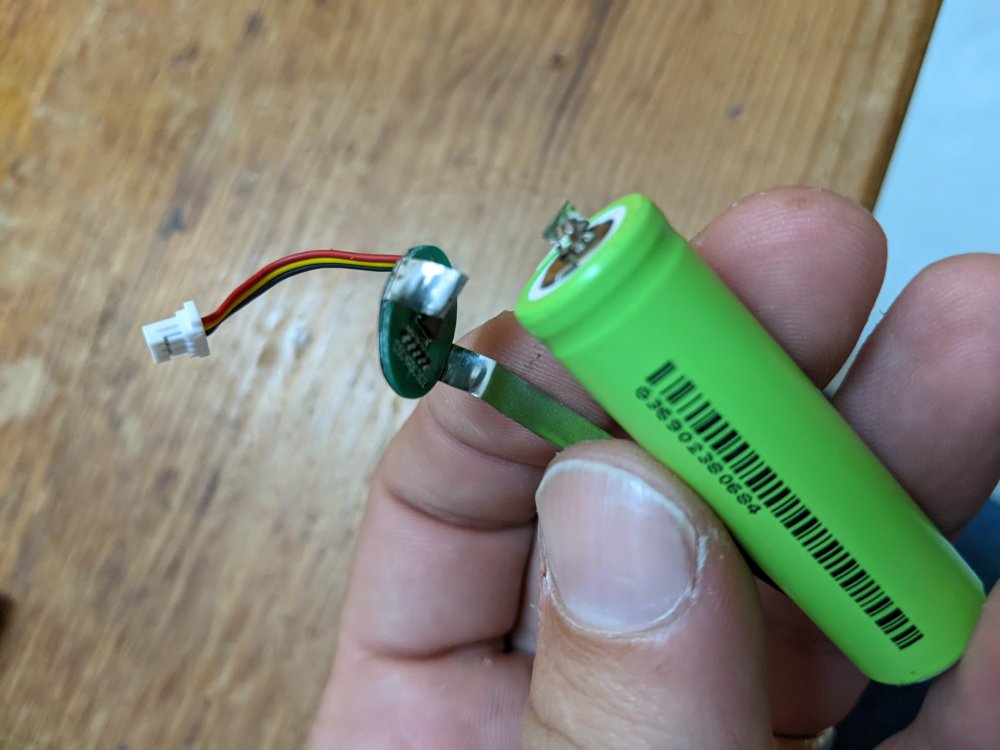
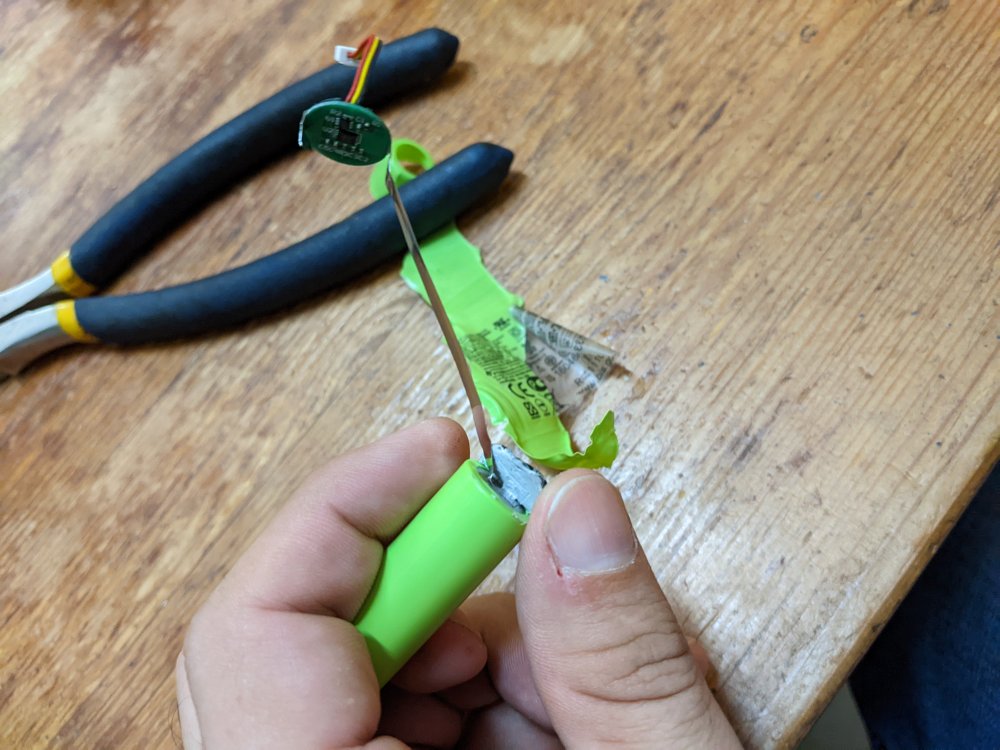
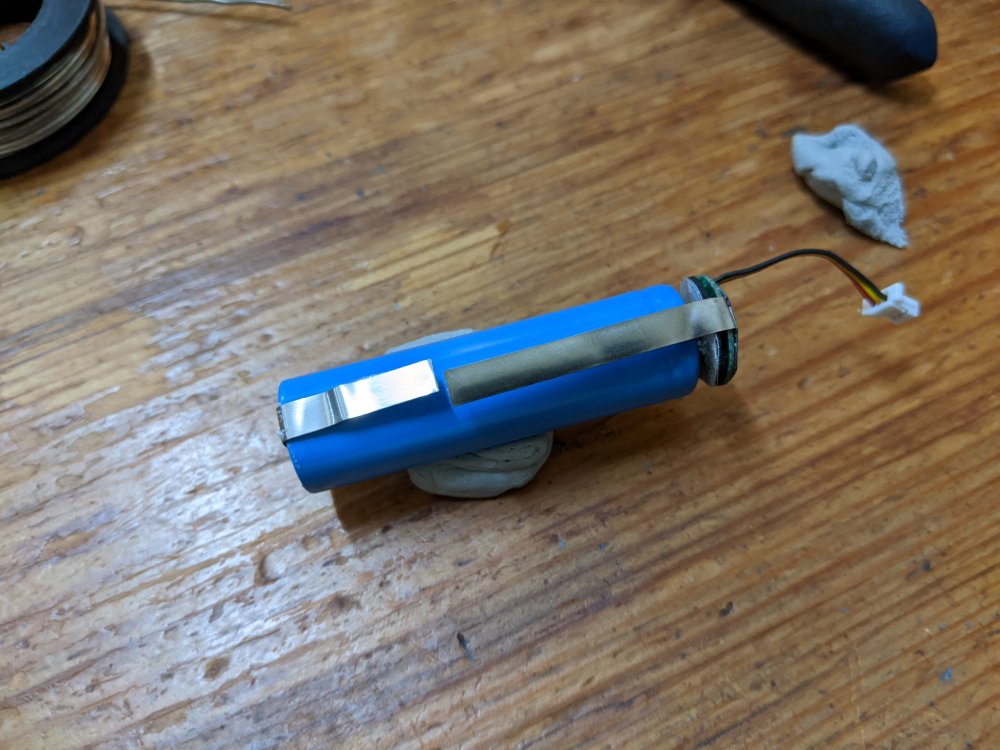
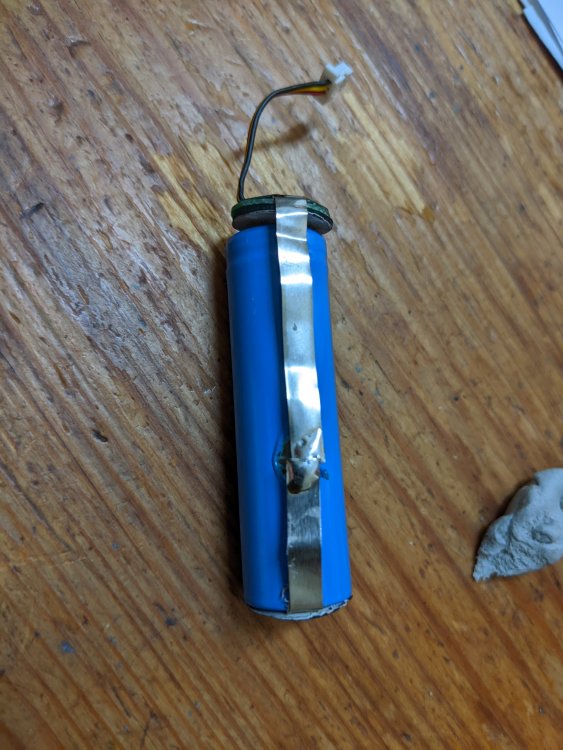
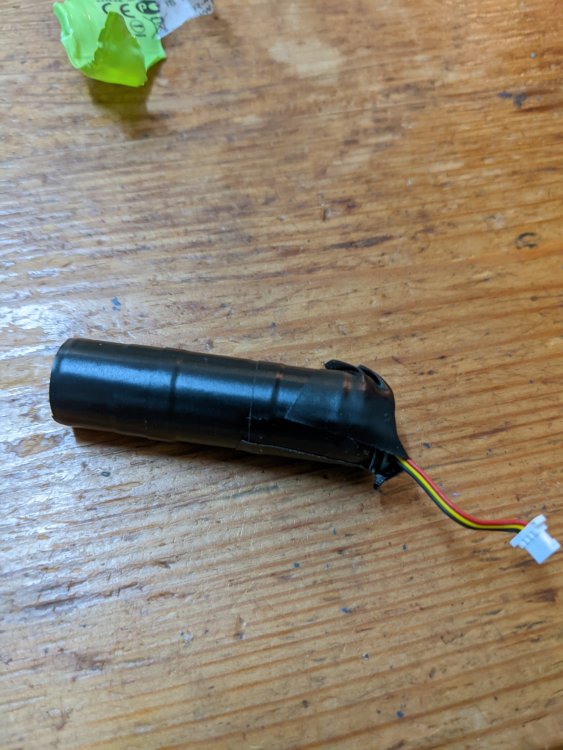
Hi Folks, I see a recurring question here on the opening of the module. In short, it isn't hard. You basically have to pry it apart along the seam. Some will use a guitar pick, but I happened to have a 1" square of metal (you might have it too... it came with a magnetic phone mount, the metal that sticks to the phone) that was thin and able to get in there to pry and pop it open. I see some people have asked about a larger capacity battery, and while that is certainly possible, I wasn't able to find one. I just replaced it with another 800mah 14500 3.7v battery I found at the local electronics store. MAKE SURE IT HAS SOLDERABLE ENDS ON IT!! Once you pop the top, you've got to pull the circuit board out and disconnect the two connectors. The battery is held in place with some double sided tape on the underside that you can't see, but you'll need a small screwdriver or something to pry it out. Next step is to take the plastic wrapper off to expose the connections. (see my first picture) Then on the top side of the battery, peel the black cover back (it's under the little circuit board) to expose the top battery connector. Cut that silver strip. (see picture 3) You do the same thing on the bottom of the battery. Basically at this point you've got to pay attention to how long the solderable lead is that is on your replacement battery. Mine was about an inch long, so I didn't end up cutting the connector at the very bottom. You can see how I trimmed it in picture 5. Once those two connectors are cut, you move the unit you just cut off onto your new battery. In picture 6 I've soldered that connector that goes down the side of the battery. Do the same thing on the top. Once you've soldered it up, wrap the battery back up with some electrical tape and you're good to go!1 point


