-
Posts
589 -
Joined
-
Last visited
Content Type
Profiles
Forums
Articles
Everything posted by nahua
-
Nice smoke effects. It must have been hard to try and saturate that area with the wind. That and the B&W looks really nice.
-
All the new hacks require firmware v1.1. Install it first, then the new hacks will work. I suggest reading Vitaly's instructions COMPLETELY. Otherwise you're just wandering in the dark.
-
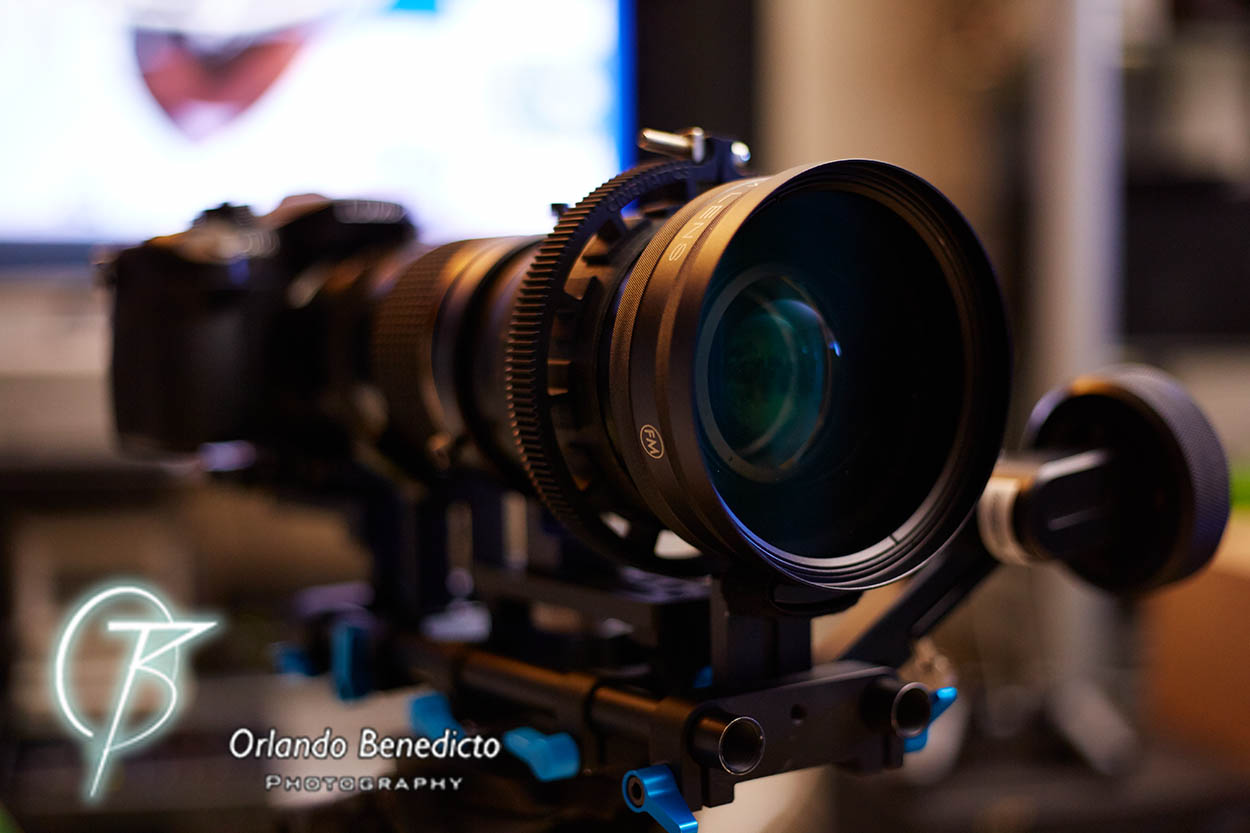
EMKE Hawaii recording new music in the studio! I tagged along and tested shooting Anamorphic with my Canon 5DMKIII. Using the different aspect ratios, I used 4:3 1600x1200. This is perfect for my Sankor 2x Anamorphic Projection lens. I then used After Effects to make the image fit 1080P. Music is their original song "Open Eyes" acoustic version. Canon 5DMKIII w Magic Lantern RAW June 3rd Build Lexar 64GB 1000x CF Card After Effects to Premiere Pro Canon 100mm Macro Sankor 2x Anamorphic Projection Lens https://vimeo.com/68611134
-
I love the look. But not the chase/running section. Might be best to use a steadicam or something. I'm impressed you did this with a projection anamorphic lens. Must have been a bastard setting that thing up. Keep it going looks good!
- 12 replies
-
- Isco Ultra Star
- 1.75 squeeze
- (and 7 more)
-
First time shooting Anamorphic with my Canon 5DMKIII. Using the different recording aspect ratios, I made it 4:3 1600x1200. I then converted the video to 1080P in After Effects. https://vimeo.com/68611134
-
Red Bull X Fighters came to Hawaii! I had a hard time shooting them, but it was great fun! https://vimeo.com/68563651
-
Has a very surreal look to it!
-
Shot this a couple hours before their performance. Weather was bad, so we shot indoors. We had a great fun shoot! Enjoy! https://vimeo.com/68428265
-
Ah OK, well I was wondering about the slow motion shots. I do like the ND fader, you have some real nice shots there. I'm glad you got a good one that you like! Keep shooting I want to see more! :-)
-
Very nice! I recommend shooting 50P and a faster shutter speed for slow motion. 25P is nice, but for movement I recommend 50P. Looks great!
-
https://vimeo.com/68407197
-
https://vimeo.com/68269227
-

Rarevision RAWMagic for 5D Mark III - batch Cinema DNG converter for Mac!
nahua replied to Andrew Reid's topic in Cameras
Conversion is fast. However I have a problem like some other users, that Resolve has a problem with detail shadow areas resulting in pink/magenta cast. Not sure if this is RAWMagic or Resolve. In ACR/After Effects, there is no problem. Here is my video from this weekend using RAWMagic v1.0 beta 3 and Resolve: https://vimeo.com/68189110 -
Testing RAWMagic and DaVinci Resolve 9 Lite for the first time. Shot with the June 3rd Build. I did get some purple fringing, I get this in Resolve but not in ACR/After Effects. But this is a test mainly for Resolve. https://vimeo.com/68189110
-

It lives! 5 year old $350 Canon 50D becomes raw cinema monster
nahua replied to Andrew Reid's topic in Cameras
Press the "FUNC" button under the LCD. Julian says this in post #166 above. -
Picture styles work on JPEGs and H.264 video only. RAW video is exactly like RAW photo stills. You can change anything - WB, contrast, exposure, saturation. If you feel that it's too dark or too contrasty, then change it to how you want it. Of course you still need to expose correctly, but there's more latitude for adjustments. If you feel that the Liveview is different or too dark, you should check your Liveview brightness settings. Perhaps it's too low, make the LCD brighter. I think stock is too dark, maybe push it up 1 or 2 levels. Don't forget to NOT cover the little tab on the back of the camera, under the LCD. It's this little circular "button" but it doesn't do anything. Well actually, strangely it measures the ambient light and automatically adjusts the LCD. Don't cover it and your LCD should be fine. I hope this helps!
-
Andrew is not the developer. You should post this on the Magic Lantern forums and address it to the developers there. http://www.magiclantern.fm/forum/index.php?topic=5962.0 They check it everyday and can help you with this.
-
You have to load the module. Go to the modules tab on the far right and click on Load Modules. It will say "Loading modules" and then you'll see REC RAW loaded. You go back to the video tab and then enable RAW Recording on the bottom. I suggest you read Andrew's guide again. He goes through it step by step.
-
Ah OK well I'll see how much better PS is versus AE. Not sure if PS was meant to process that many frames. Wonder if this can be batch processed with an action or something?
-
And sorry, to answer about the yellow color, yes it is way off when you bring it into Photoshop or After Effects. I believe the Tint slider is +77 on magenta. You need to bring it down between 0 and +15. Color temperature isn't recorded either and is usually around 6500+K. I have to bring it way down depending on the scene. For example my video was around 4200K. Saturation is way down, so you have to bring saturation up +10 or more depending on your look. The video will look soft too, so bringing up Clarity to +10 helps too. As far as highlights, well you can use the Recover slider. I suggest you play with the picture. That is the key to RAW. You don't get a "set" picture and none of the built-in Picture Styles work - those are only for JPEG and H.264. RAW you can make any type of picture you want. I suggest you make your look, then create a Preset in ACR. That way you can duplicate it for any similar shots.
-
Yeah it does work. But Mac version can't do more than 50GB single file. Still way better than the 4GB (30 seconds) limitation from the first build. I've processed 20GB files now without any problems.
-
I think you have to check that your LCD isn't on Auto. I have mine one click to the right of middle for LCD brightness. That could be the discrepancy. I don't use Photoshop, I use After Effects to process all the files. In order to automate the process I make a preset and just use that. Makes it way easier to modify all the clips. I think I shot 65+ clips, processing each one was difficult. I wish raw2dng had a batch process, the conversion was painful. In time I think all of this will get easier. But I tell you what, it's an eye-opener. I've gotten lazy being able to sync using audio with PluralEyes. In any sense, it's best to be organized for any shoot.
-
Music video for the teen group EMKE. Shot over the weekend, my first time using a RAW workflow. I was totally unprepared for the amount of post work, but in the end the quality of the picture, both resolution and color, is outstanding! Thanks again to the Magic Lantern Team for making it all possible! https://vimeo.com/66681135
-
Will PNGs retain all the color information? I'd like to try this since doing the AE workflow is dog slow. Where do I find raw2png? And will interpreting footage to 24P help? I find in AE I still have to conform EACH clip to 120% speed, just changing the comp to 24P doesn't work.
-

Canon 1D C vs 5D Mark III Raw (and C300 / GH2 resolution comparison)
nahua replied to Andrew Reid's topic in Cameras
After going through working on RAW footage for the first time, I tend to agree with this sentiment. Of course I do live music events and shoot with a GH3 and 2x GH2s, so I know that live events would be overkill. But I tell you what, for a short film, music video, RAW will give you the best picture. Smooth gradients and beautiful color, as well as being able to match color temperature, is just a dream. The workflow right now is a nightmare, but I'll gladly do it because of that picture. Sure the GH3 comes close, but it's still 8bit color. I think once you see the difference for yourself, you'll understand. I sure won't be using RAW for any live events, but for music videos yes indeed.

