-
Posts
164 -
Joined
-
Last visited
Content Type
Profiles
Forums
Articles
Everything posted by Benjamin Hilton
-
That would explain your two in every three frames then, must have been 60fps.
-
what frame rate were you shooting? It sounds like you were shooting at 48fps and it that were the case the duplicated frames would be because the shutter is opening at a slower pace than your sensor is capturing frames; thus duplication.
-
The first Cine Like D profile should work great, good all arounder. The only adjustment I would say is to maybe bring the saturation down to -2, helps prevent color clipping, especially in the red channel. Another good profile for day usage is: Natural, contrast -2, sharpness -5, NR -5, Saturation -1, and a +1 on the shadow curve. It is pretty much the same dynamic range as Cine like D, but with better color and highlight roll off. Just DON'T use it in low light, Natural applies some kind of weird noise reduction even with NR all the way down.
-
Great options, I'll check them out. Money to burn is relative to the project you are working on? . Not for hobby work.
-
Hey all, I DP a lot of shorts and documentary work and mainly use LEDs and old tungsten lights for most of what I do. I own an assortment of LED lights including the Aperture Light Storm and some custom built rigs that I use quite a bit on films. My main problem is the lack of brightness punch that these lights give. I understand they are not really meant to replace HMIs, but my problem is that I work overseas a lot in places that I can't rent HMIs very often. My main question. Are there LEDs on the market that pack enough punch to take the lead role in lighting short films? Something that could replace, (or get close to replacing), a 1200W HMI? Even a 650W? I understand I'm not going to find an LED 18K equivalent yet...maybe one day? Just something bright enough for indoor daylight keys, bounced off of muslin or something. Or, any other ideas as to high-output lighting without HMIs?
-
Brilliant!
-
Agreed! Although we did have a sound professional on set... just didn't have cameras that supported timecode in. The joys of DSLRs
-
Finding the first word will help you. After that, learn the keyboard shortcut for nudging clips to the right and left. (on my machine in Premiere Pro its Command+arrow left or right) Then, play back the audio nudging your sync clip to the right or left one frame at a time until the sync feels right; premiere can normally do this in real time. I've had to do this for several TV shows, hours of pre-content, hundreds of clips to sync, and the major wind they were shooting in on some mountain tops totally messed up the scratch mics...pretty much had to do it totally by hand. Just be grateful you only have to do two interviews. ?
-

Panasonic GH5 10 bit internal recording not good enough
Benjamin Hilton replied to interceptor121's topic in Cameras
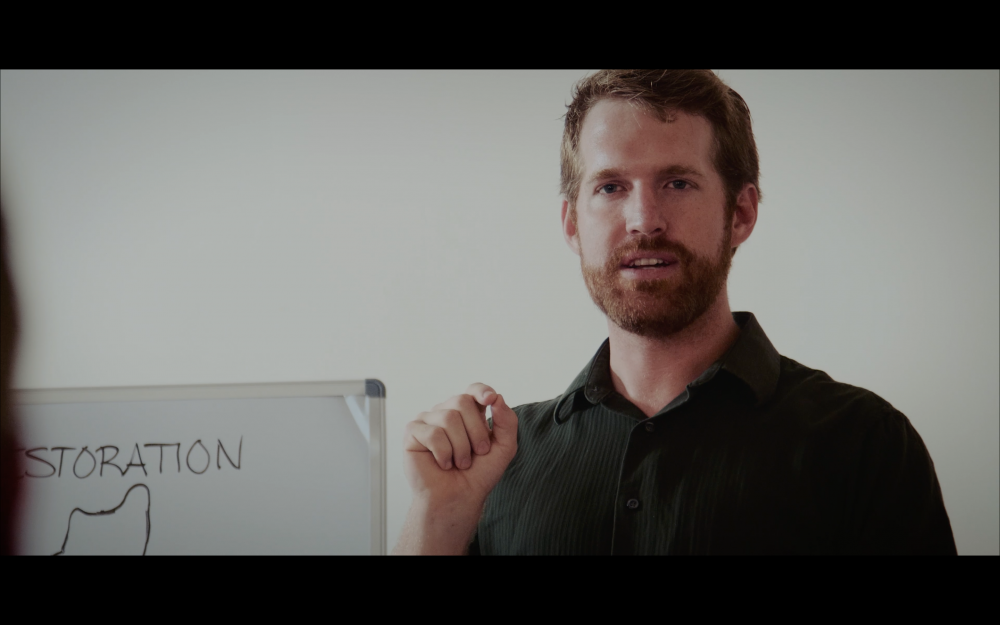
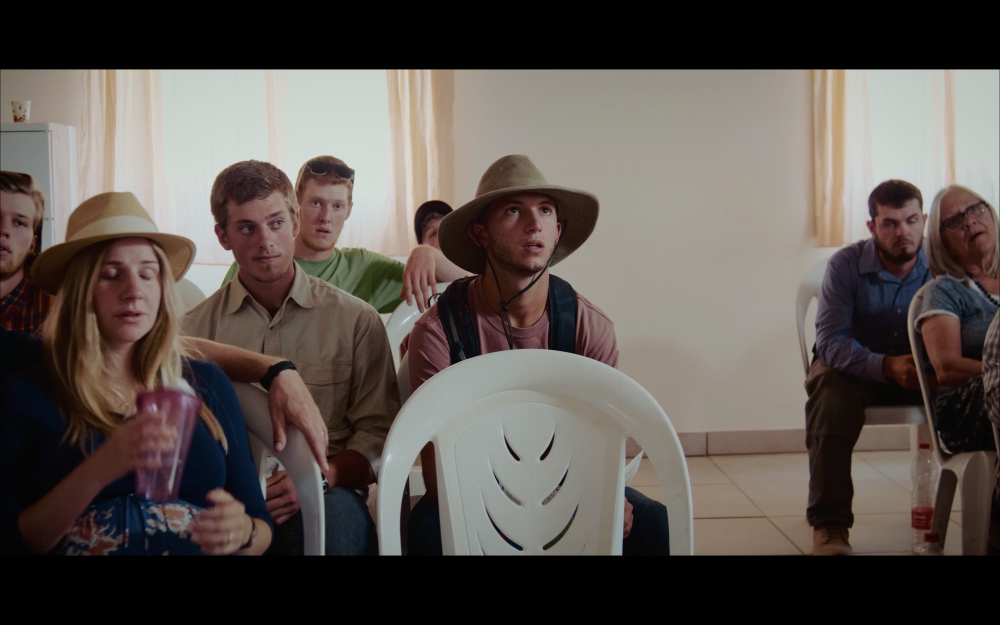
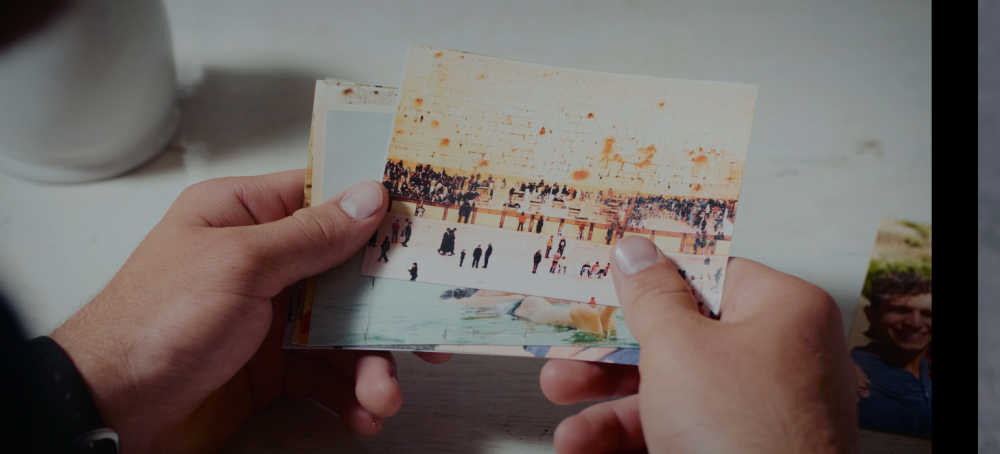
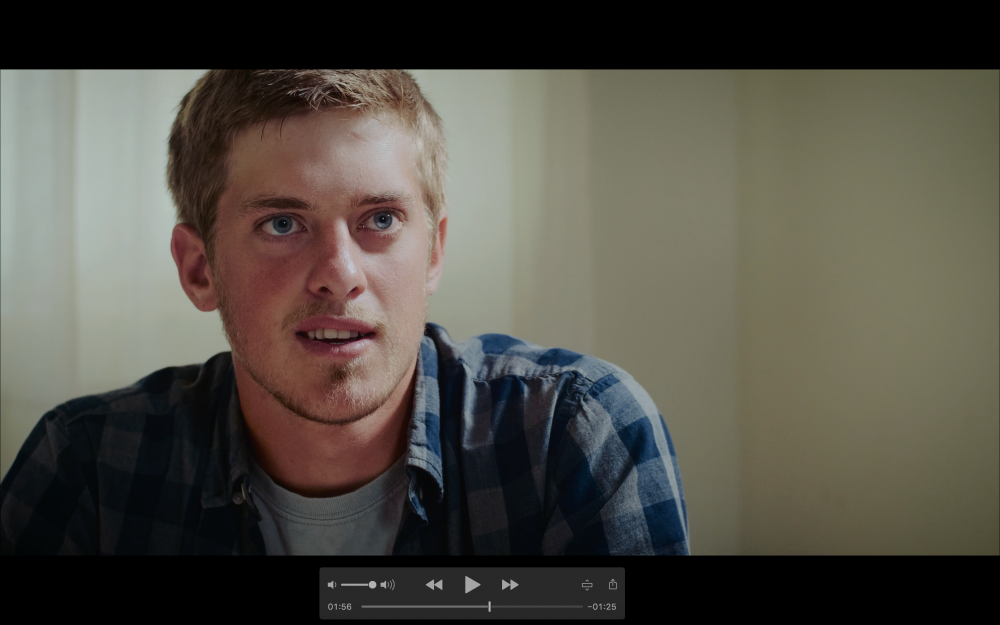
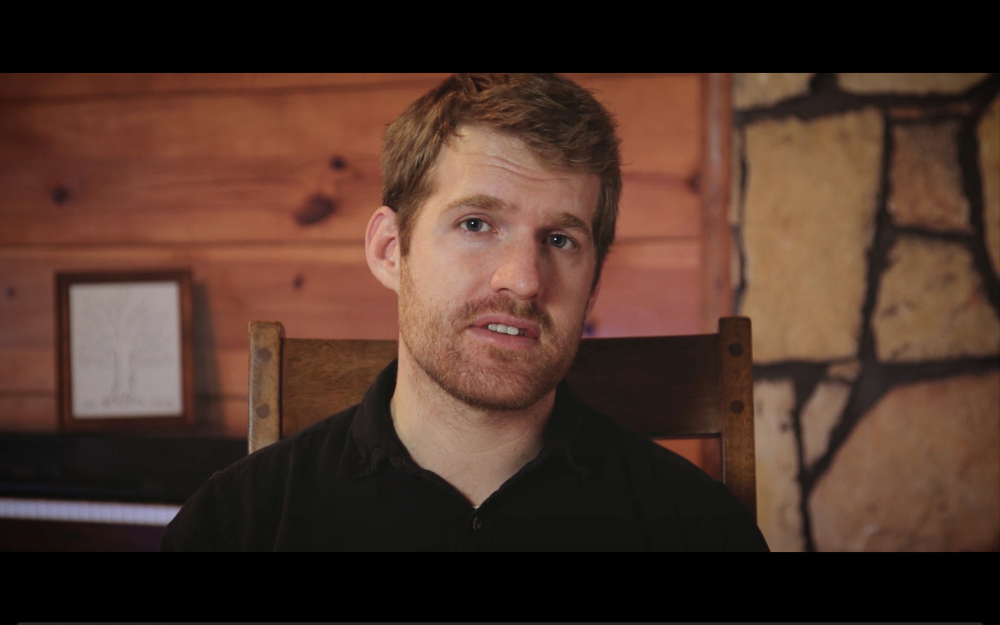
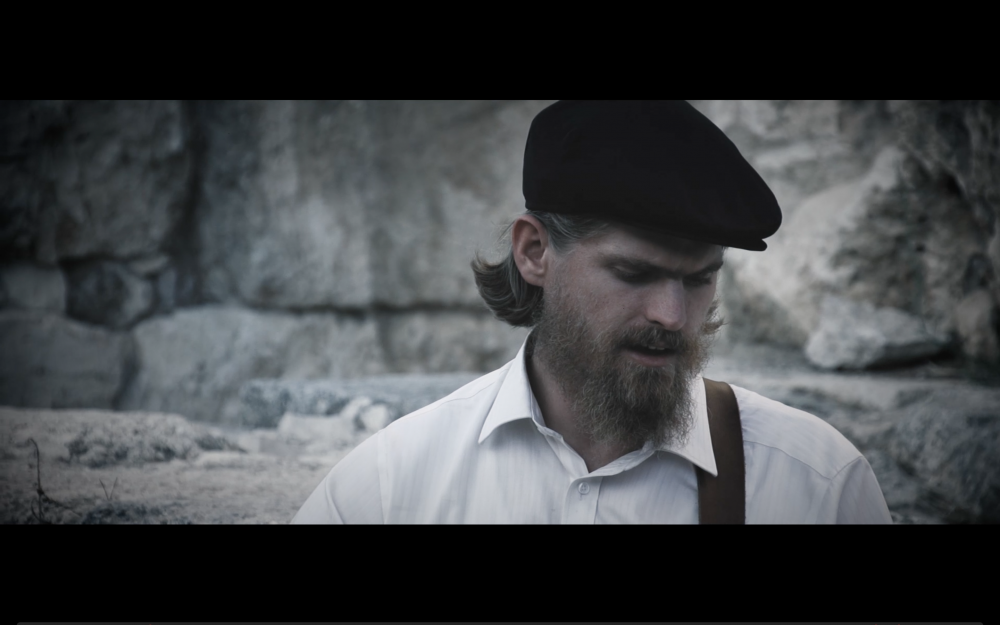
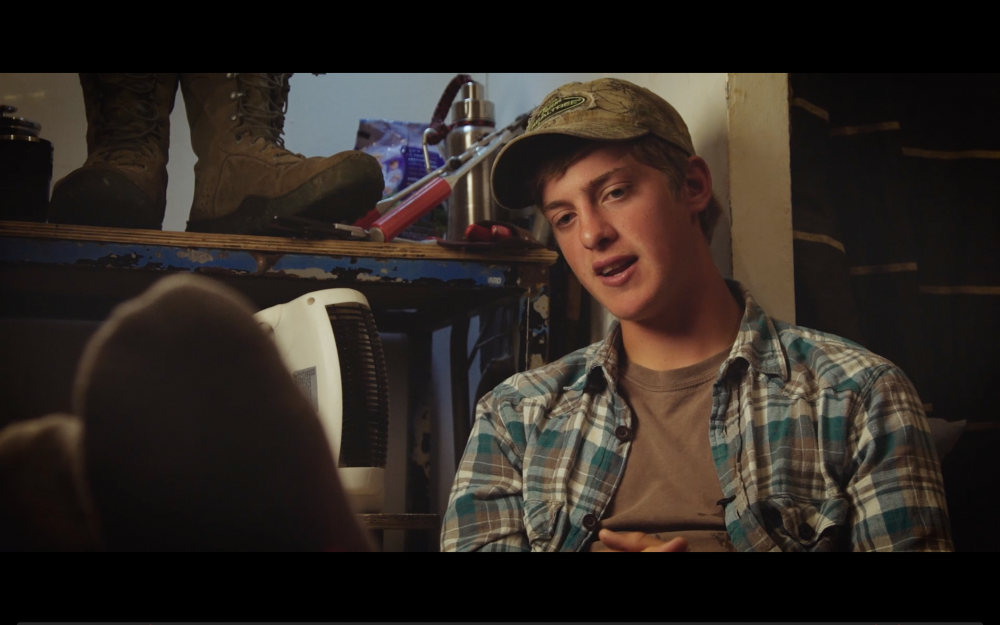
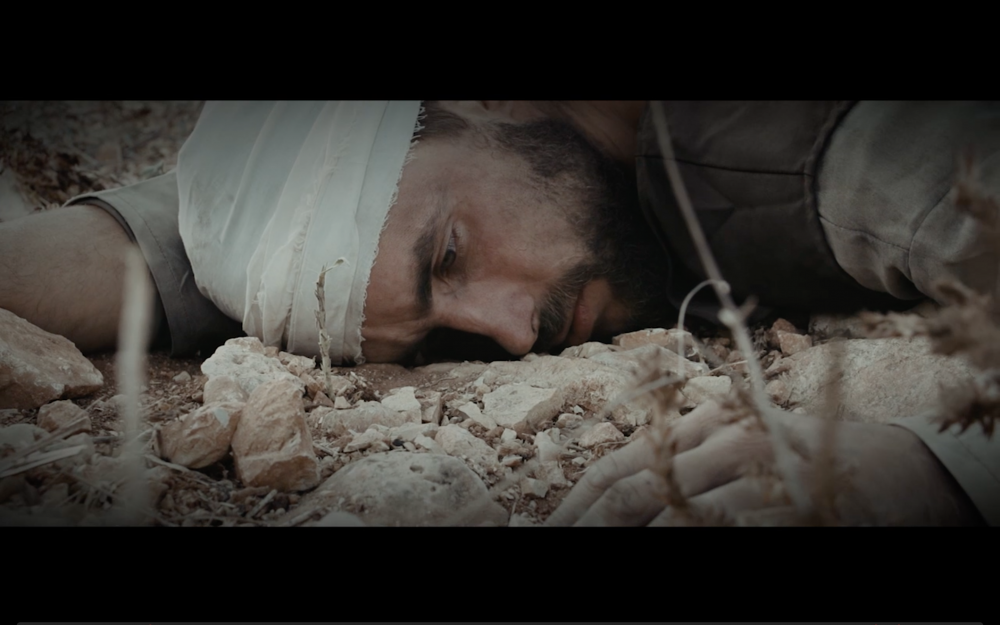
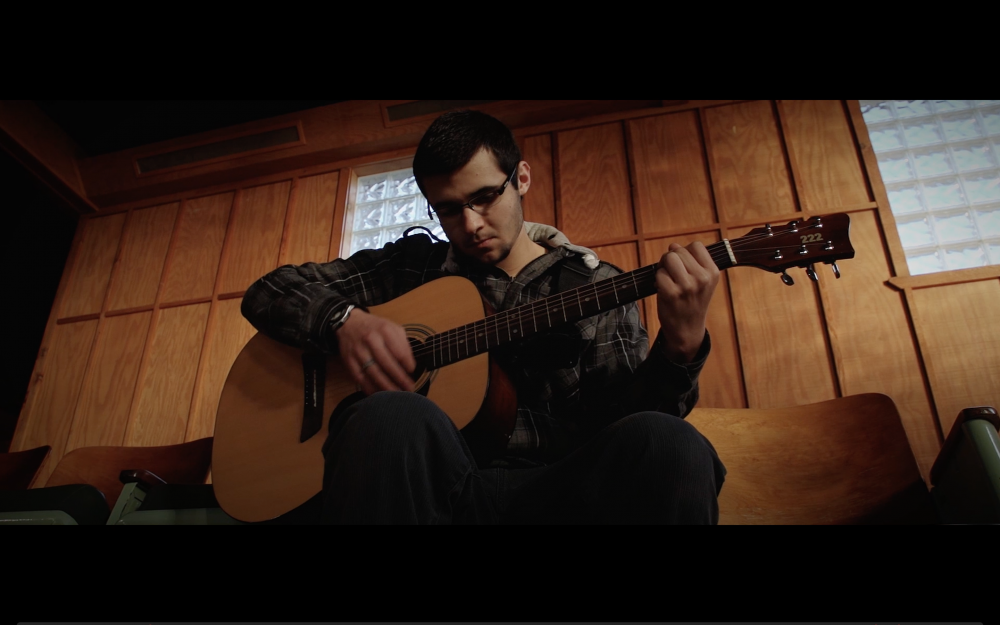
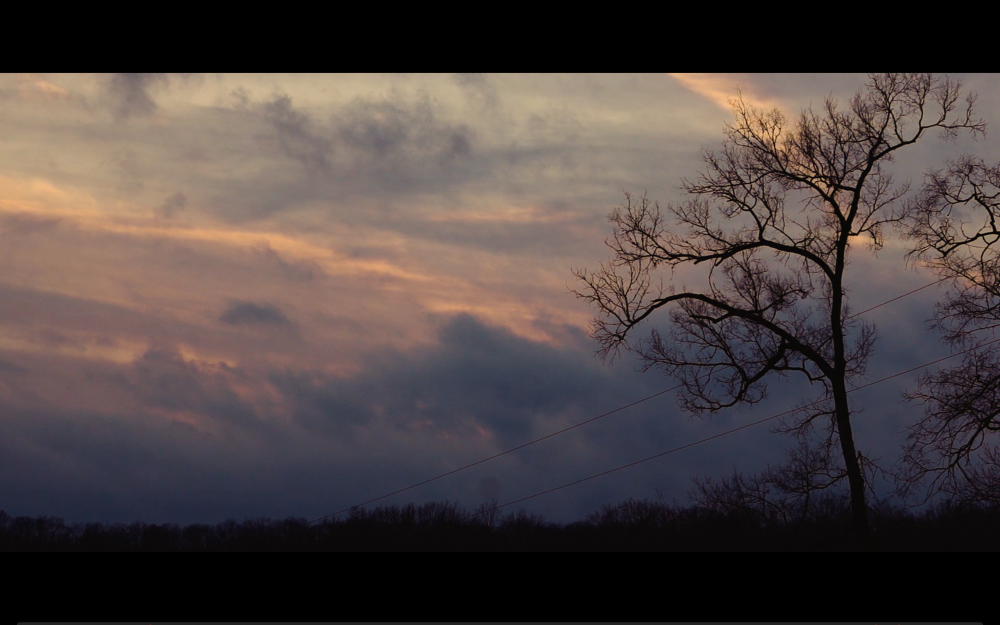
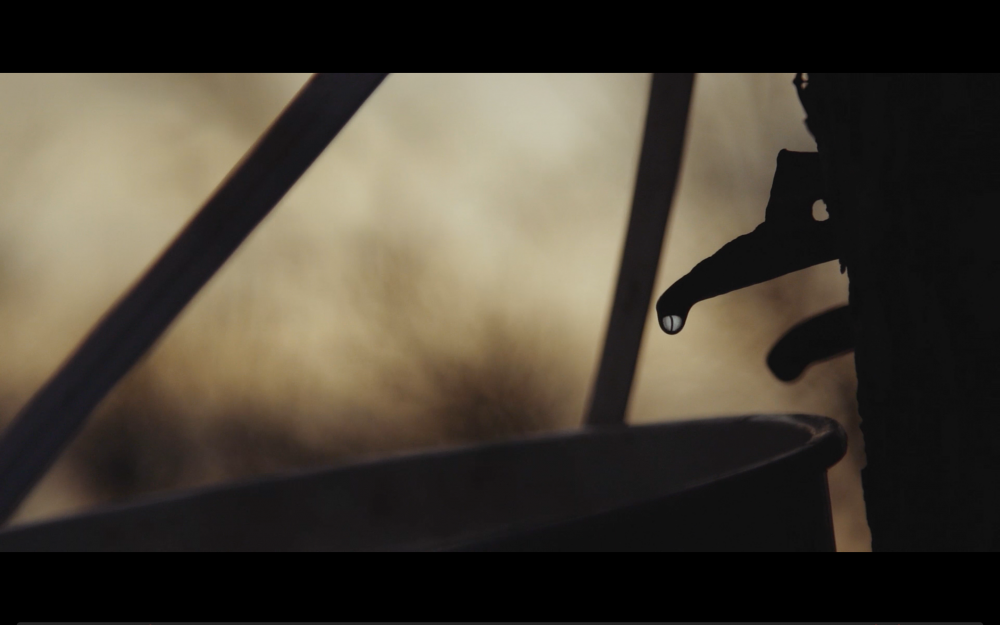
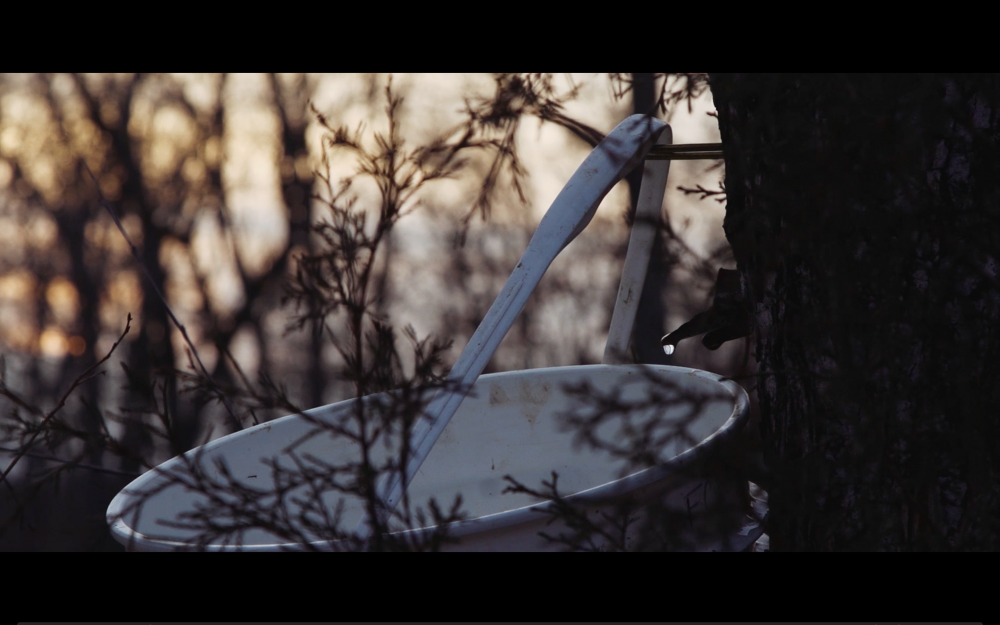
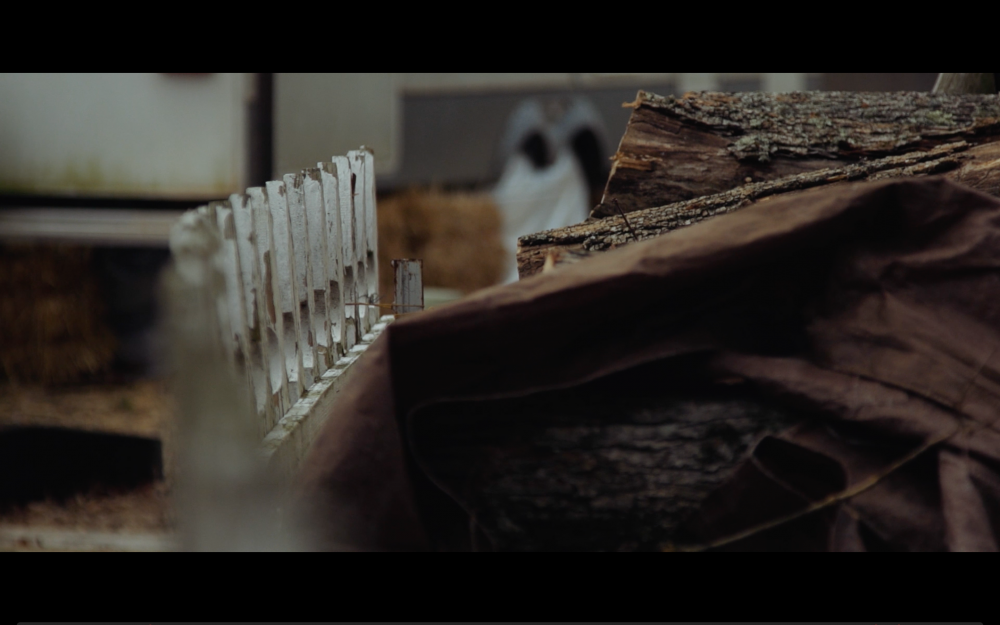
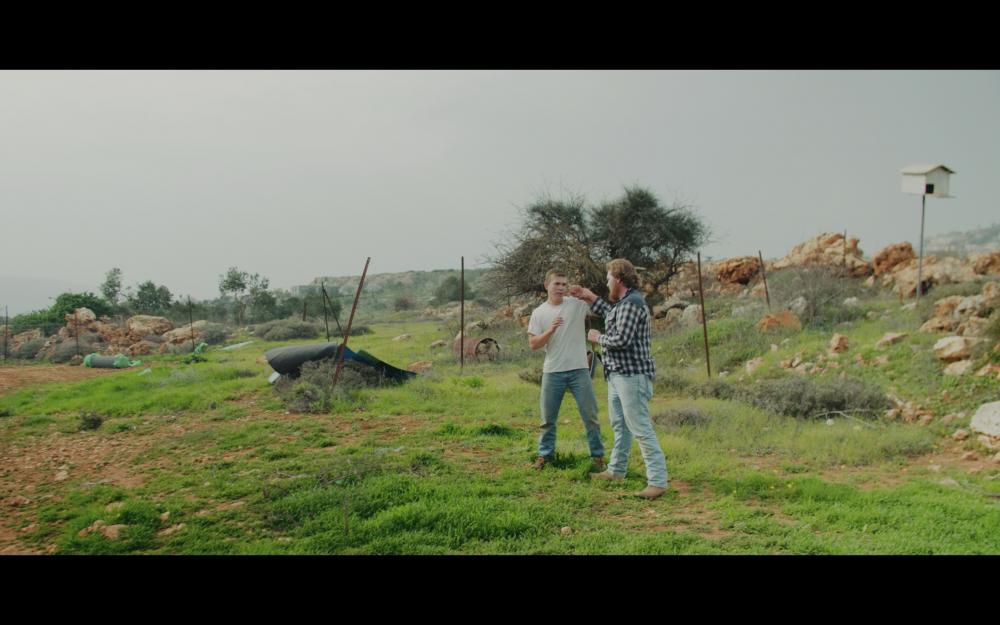
I think we need to stop looking at numbers so much and start focusing on results. The effectiveness of codecs and bit depth totally depend on the sensor and processing. My old Sony FS100 shot 1080P at 24mb/sec 8 bit and looked fantastic! The GH5 on the other hand, looks terrible at 24mb/sec 8 bit. The Sony Alpha cameras can look great at 100mb/sec 8 bit with S-log 2 and such, but the GH4/GH5 V-log 8 bit does not. The GH5 was really built to shoot V-log at 10 bit, end of story. It also does Cinelike D and Natural profiles great in 8 bit if you want, just depends on the look you are going for. Try the internal codecs, if you aren't getting the results you want, try a recorder. Rent a camera and do some tests. Know the look you are going for, and find a camera, lens, and color profile, that can effectively capture that look. Here are some screenshots from a short film I just directed. GH5s, Leica R primes, and the lowly internal 10 bit codec of course...? -

Panasonic GH5 10 bit internal recording not good enough
Benjamin Hilton replied to interceptor121's topic in Cameras
I have shot extensively with the GH5 cameras over this last year and I can confirm that there is a night and day difference between the internal 8bit 100mb/sec and 10bit 150mb/sec in V-Log. Even using Cine-Like D is a big difference. If you are shooting natural or rec 709 though, the 8bit 100mb/sec holds up great. It just depends on what you are shooting. S-log 2 is made to hold up with Sony's 8bit codecs, V-log is not. -
I guess the beauty of the FS100 sensor was really pulled out with the Glencairn G Log Profile, totally different camera almost than using stock profiles. More cinematic out of the box than anything I have been able to pull from any camera since, and I've shot with quite a few cameras. I've never used a C100 though, but I would imagine the ergonomics are quite a bit better. That is why I had to give up the FS100, just too big and awkward for the kind of doc work we do, wouldn't be bad for cinema shoots though.
-
No specifically. But, the F3 has the same sensor, so I assume the FS100 settings would carry over the same; that's what I was wondering...if the same settings would create a similar image on the F3.
-
Whoops, meant a6300 This is the link for the profile: https://frankglencairn.wordpress.com/2012/08/17/g-log-ultimate-1-0-picture-profile-for-the-sony-fs100/
-
I believe also that the FS100 had about 11.5 stops of dynamic range; about what the GH5 and similar cameras have. I wonder if it's possible for some really talented person to take the sensor and processing power of the FS100 and mod it into a smaller body. Even just a box with an HDMI port on it would be amazing...could build out a nice package that is still small and compact.
-
I tried working his profile into an a6400, but couldn't get anything to feel right. Something really special about that sensor. I have never used an F3 before, would love to try it though. Anyone had any experience using Glen's profile with the F3?
-
Agreed. NDs and a smaller body would be amazing!
-
I haven't tried the FS5, but have spent some time with the fs7. They are nice cameras for sure, just don't seem that came out of the camera special touch that the FS100 did. Maybe the 1080P helped with it to a certain extent, 4k can be a bit harder to get right without feeling like plastic.
-
I was thinking back today just how much I enjoyed the images produced by my beloved old Sony FS100. I have shot with quite a few cameras since then, but I think I can honestly say that the FS100 produced some of the best-looking images on a consistent basis for me than any other camera I have worked with since. I shot primarily with Glen Cairn's G log ultimate which gave me beautiful dynamic range and color straight out of camera. Many times my grade was a simple lowering of the blacks and white balance adjustment. And, the files for 24mb/sec AVCHD, so easy in post. We moved on with cameras because of the size and ergonomics but I think that if Sony rehoused the FS100 sensor in a mirrorless body today, I would be the first buyer. Here are some 720p images from some of my old films for posterity sake. Does anyone else have fond memories with this camera? Some stills from your work with it?
-
Does anyone know of/use a good video player that can handle 10 Bit on a Mac with LUT support? I have used VLC up until now, but it is pretty slow and buggy and doesn't support playback LUTs. I would love to be able to review my footage off of the card with a 3D LUT for the V-Log without having to import to an NLE. Any thoughts? I am using Mac systems. Thanks!
-
-
I understand, thank you for your respectfulness.
-
Would you mind removing that picture? I would prefer to not have profanity associated with my work for religious and professional reasons.
-
The secret to those images though is in the color grade. There are very few cameras that will look that good with minimal grading. I have spent months off and on in the color bay with v log tests devoloping LUTs that match my style with the camera in almost every lighting scenerio. But now that I have the LUTs developed, it's an easy matter of applying them to my footage as a grade, then doing my corrections underneath on each project. I think it's possible to create amazing images with almost any camera these days. The trick is to pick a camera and stick with it for a while. Take a couple of weeks to test it in every situation. Find out what exposures compliment the sensor, what ratios it likes, native ISOs, and what it likes for breakfast. Then after you find its sweat spots, take the footage into Davinci and play with it. Develope a color science that matches your style. Most codecs are robust enough these days to really develop whatever color science you want with your images in post, especially if you can shoot log.
-
I think the GH5 is complimented by soft lenses, as the sensor is naturally really digitally sharp. I've tried a lot of lenses with it, including native Panasonic m43 lenses, and I still end up grabbing the 24-105 for quick shoots most of the time. Good zoom reach, color, contrast, flare control, and constant f2.5 aperture with a speedbooster. And, it's reasonably soft, which I think compliments the GH5 really well. The native m43 Pansonic lenses are way too sharp when paired with the GH sensors in my opinion.
-
Thanks! The 10 bit codec is very strong, almost as strong as proress I would say, just not as fast editing wise:-) With 8 bit there is definitely pink macroblocking just like the Gh4, but I haven't seen any of it with 10 bit. I know there is a lot of confusion as to whether you need 10 bit or not in a camera, but I would say that the GH5 is made to work in 10 bit with v log and therefore looks it's best by far in that codec. Though, many other cameras and log profiles, including Sony's S log 2, are made to take advantage of 8 bit, and therefore look great in 8 bit. It's not so much that 10 bit gives you huge advantage over all as a reason to buy the GH5, more that the 10 bit is a huge advantage if you shoot with the GH5 and v log, as the camera seems made for 10 bit. Yes, everything I included was shot with the Canon 24-105 f4, which with a speedbooster, is a f2.5 equivalent. Panasonic really nailed the HD on the GH5. With the GH4, 1080P was really bad looking compared to shooting 4k and downsampling in post, really soft, and a lot of moire and noise. But with the GH5, in-camera 1080P doesn't look any different than shooting 4k and downsampling in post. All my tests have shown they look exactly the same - which is really nice when you need to turn around a quick project for Youtube. I think the akward looking motion is mainly due to compression, which is why the 400mb/sec all-i codec is exciting. The problem with all that though, is that most of my work ends up on Youtube with terrible compression anyway, so I've kind of given up on good motion for now - until we reach the days of amazing internet speeds and prores Youtube:-)


