kye
-
Posts
8,230 -
Joined
-
Last visited
8 Followers


About kye

Recent Profile Visitors
124,244 profile views


kye's Achievements
Long-time member (5/5)
6k
Reputation
-
 Good discussion and I think this cuts to the heart of how different the thought process really is. If I'm shooting in public with a single prime then this is how I am thinking about it: - I have a fixed FOV, but I can move around and closer/further and when I do that I change all of the following at once: - the size of the subject in the frame - the perspective I have on the subject - the size and position of the subject compared to the items in the foreground and background - my distance to the subject - my influence on what I am shooting - So I visualise the situation in 3D and estimate where I need to move to create the composition I want - I move there and refine the camera position and take the shot If I'm shooting in public with a zoom then this is how I am thinking about it: - I have a flexible FOV and I can move closer/further so when I do that I can: - zoom, which changes the size of the subject and foreground and background in the frame without changing their relationships, or my distance, or without changing my influence on the subjects - move, which changes the perspective I have on the subject and therefore the relationships of the objects in the scene to each other, and it changes the subject distance and my influence on what I am shooting - So I visualise the situation in 3D and estimate a line/cone of positions I can be in to create broadly the composition I want through varying combinations of focal length and my position - I weigh up my priorities, trading subject distance, my influence on the subject/scene, and composition against each other to work out what I think is the best balance - Depending on the layout, I also consider how fast I can get there compared to what is happening in the scene - I move there and refine the camera position and zoom simultaneously, and take the shot One is starting with a single FOV and working from there, the other is starting with an infinite number of FOVs. The thinking is completely different. When I'm using a prime the idea of zooming is completely alien and when I am using a zoom the idea of there being set focal lengths is completely alien. It's like I have two programs in my head, one for primes and one for zooms, and I just run the appropriate one for what lens I am using at the time. The idea of taking a zoom and limiting it to preset lengths might seem like a miracle compared to having a prime, but it's a disaster compared to having a zoom lens. I spoke more about this in my dedicated thread about it, and once you start thinking beyond composition and into aesthetics and tone the idea that a 35mm vs 50mm FOV are 'similar' is about as ridiculous as a photo editor only allowing you to crop the image by 0% or 30% (this is the difference in FOV between a 50mm and a 35mm). I'm sure you're aware of these fundamental differences from your own shooting and you'll have been doing all this consciously or unconsciously. If you start from a technical perspective then a zoom is just like a set of primes, but from a creative perspective it's nothing like a set of primes whatsoever.
 -
Apparently Sony is working on a smaller LOFIC sensor now, so swapping to LOFIC may well mean sticking with Sony, especially if you already have a deal of some kind worked out.
-
 kye reacted to a post in a topic:
LOFIC sensors are the future...
kye reacted to a post in a topic:
LOFIC sensors are the future...
-
I recently watched a video where a street photographer tested his first 40mm lens, after only ever shooting with 35mm and 50mm lenses previously, and he couldn't really make heads-or-tails out of it in the week he had it. You could tell from the video that he found it different than a 35mm or 50mm, and that didn't surprise me, but what did catch my attention was that he didn't really even know how to explore and learn a new focal length. After reflecting on that video for some time I realised that: Lots of people must "learn" the focal lengths by sort-of memorising them based on external influences rather than just using them and learning first hand through experimentation With MFT and S16 cameras I'm used to using all sorts of "odd" focal lengths because I'm adapting all kinds of lenses from other systems with/without speedboosters and add-on anamorphic and spherical adapters I'm also used to getting a new focal length and using it blind and over the course of many outings of shooting with it gradually learning what impacts it has on what I shoot, how I shoot, how I walk around, how I begin to look at the world, how the world adapts to me once I adapt, how I feel when the world reacts to that, etc.. Using a zoom isn't like having a complete set of primes at all, it's almost like a different genre or different type of shooting entirely, but I'm quite familiar with that as well Now, when I think about using a particular focal length that I'm familiar with, all kinds of stuff comes to mind, and when I think about using one I am not familiar with, I don't know how to think about it at all.. the focal lengths are all so incredibly different. Having a camera with a 20mm and a 60mm seems like: - the people who don't know what they're doing won't notice (as they're confused about everything already) - the people that are used to shooting with primes will have an awkward and steep learning curve that they might not navigate that well - the people that know how to learn new focal lengths will probably adapt, but given the 35mm and 50mm FOVs are at the worst end of the main lens, they'll likely have a difficult experience choosing between a 2.5x crop of the main camera to get 50mm, or losing the DR and colour profile on the 60mm lens It might be that these are actually ideal for the type of shooting that people will use this camera for, and it's the normal FOVs that are ill-suited, but if you've "learned" the 24/28/35/50/85/100mm FOVs then it'll be a serious transition to navigate.
-
HockeyFan12 reacted to a post in a topic:
LOFIC sensors are the future...
-
Yeah, as someone who shoots out and about (but doesn't vlog) 20mm and 60mm equivalents seem a little odd to me, although the 20mm makes sense for vlogging as it's just wide enough, and I guess having anything shorter than 60 would be a little too close to the 20 perhaps? Then again, I've worked out that I can do this odd thing called "cropping" which involves getting less than 4K in the final image, which is why no-one has ever thought of it before. It all still seems very cumbersome though. The log profile swapping etc smells like they'll release firmware updates to make it much easier. I often get the impression that the manufacturers get their product design feedback from people who film very deliberately and slowly, and only when it hits the market and people all point out the workflow gotchas that firmware updates eventually fix strange things like this.
-
CineD tests are published, and the DJI kicks the Insta360s butt completely and utterly. https://www.cined.com/dji-osmo-pocket-4p-lab-test-rolling-shutter-dynamic-range-and-exposure-latitude/ https://www.cined.com/insta360-luna-ultra-lab-test-rolling-shutter-dynamic-range-and-exposure-latitude/
-
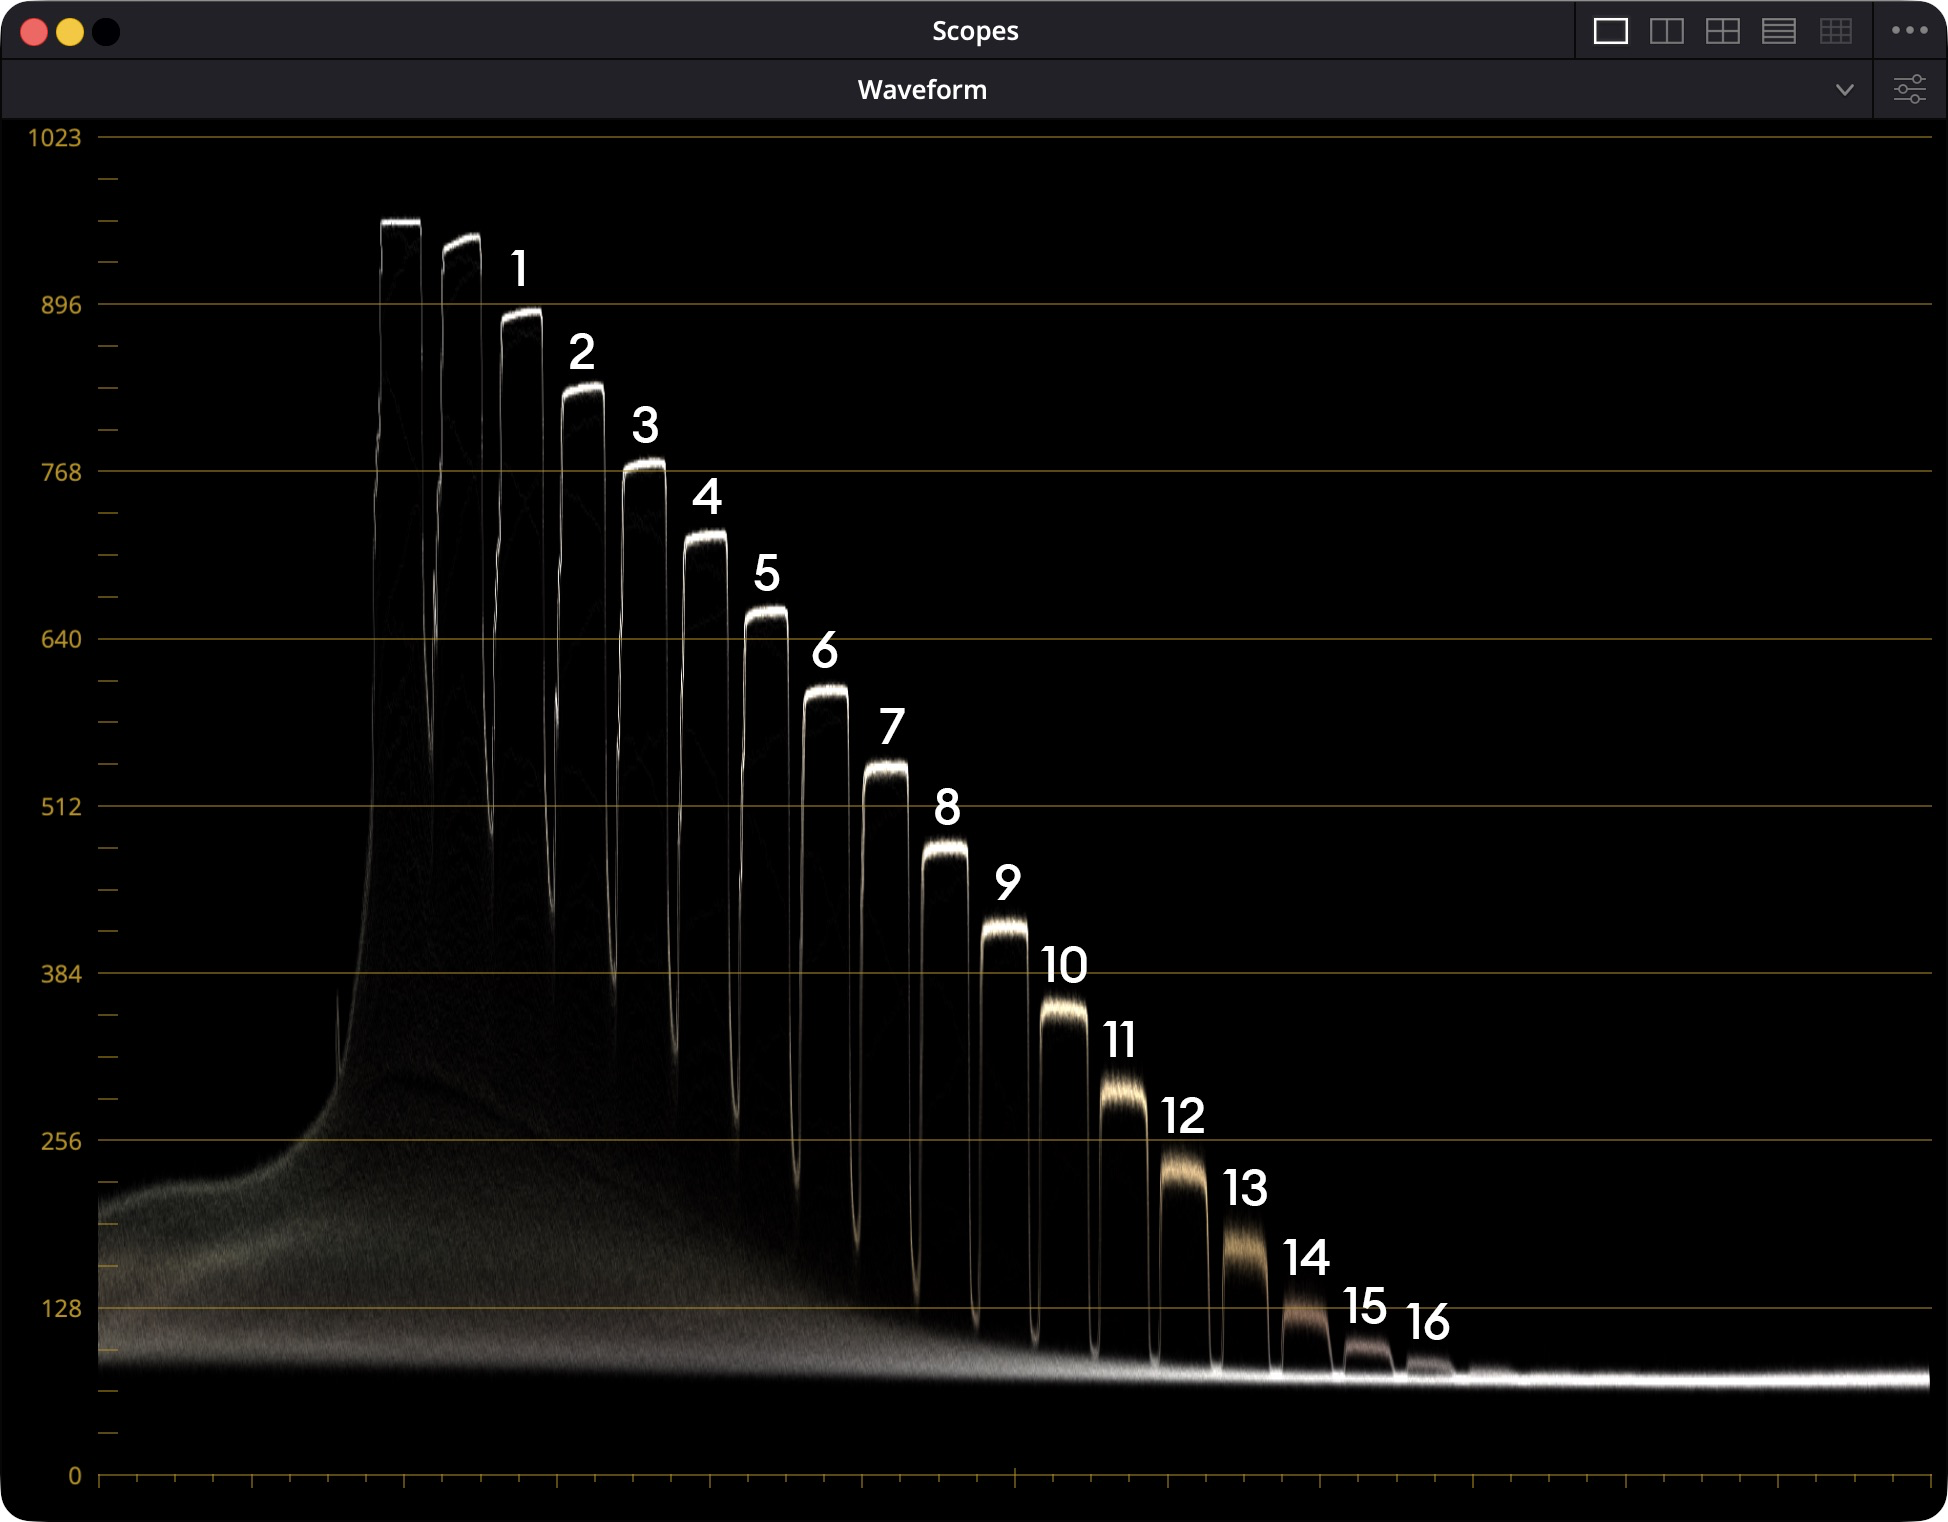
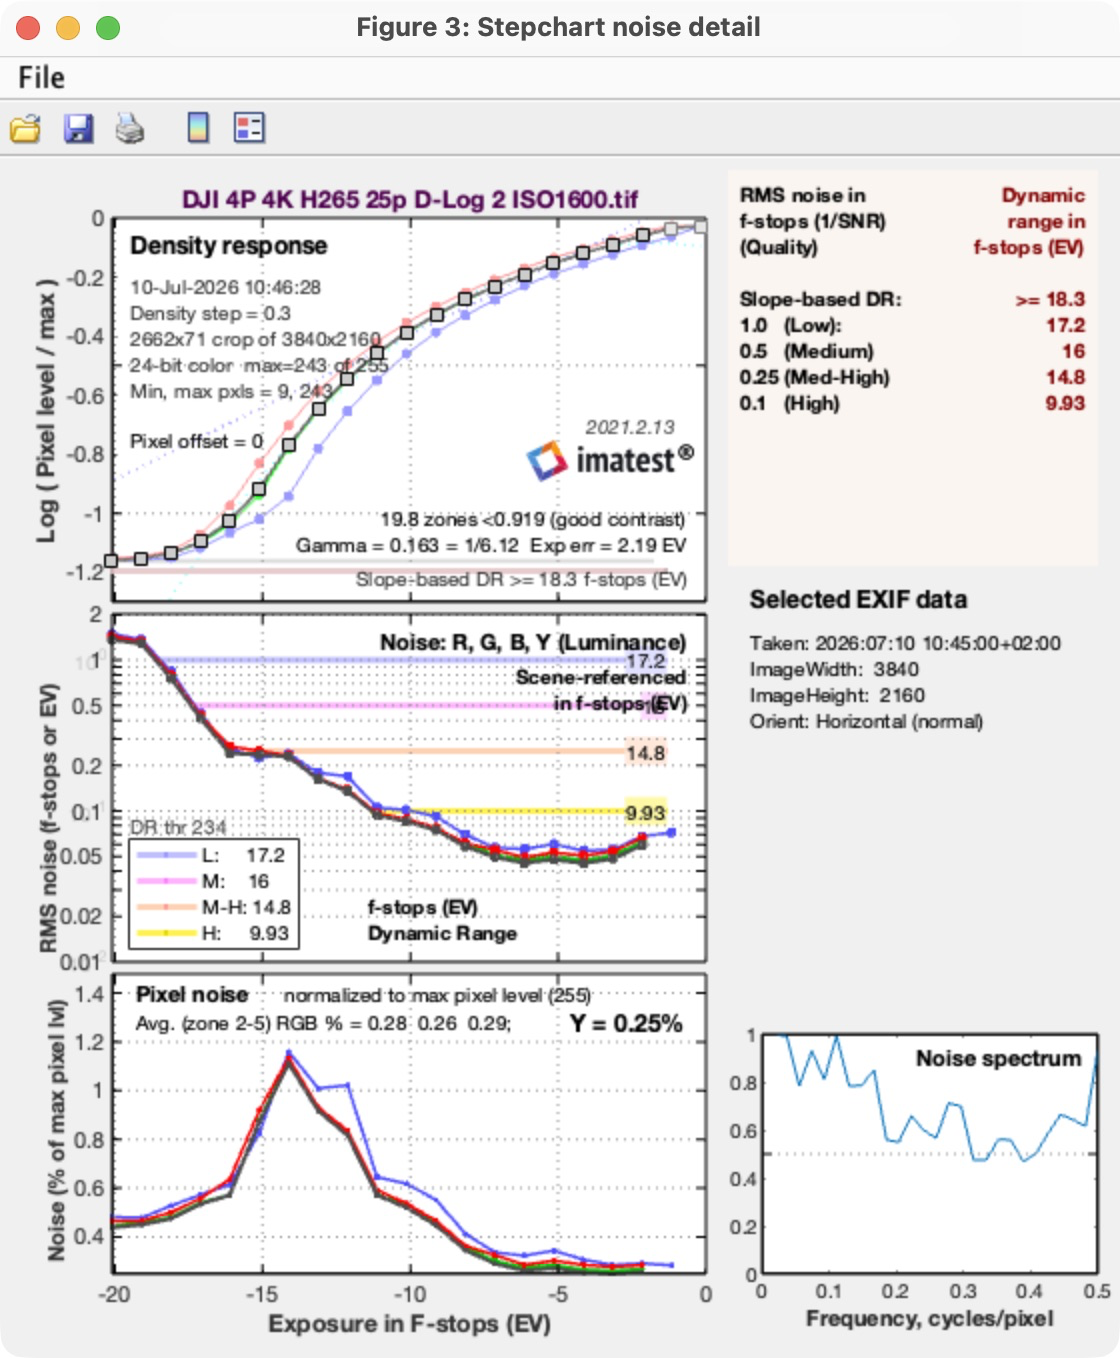
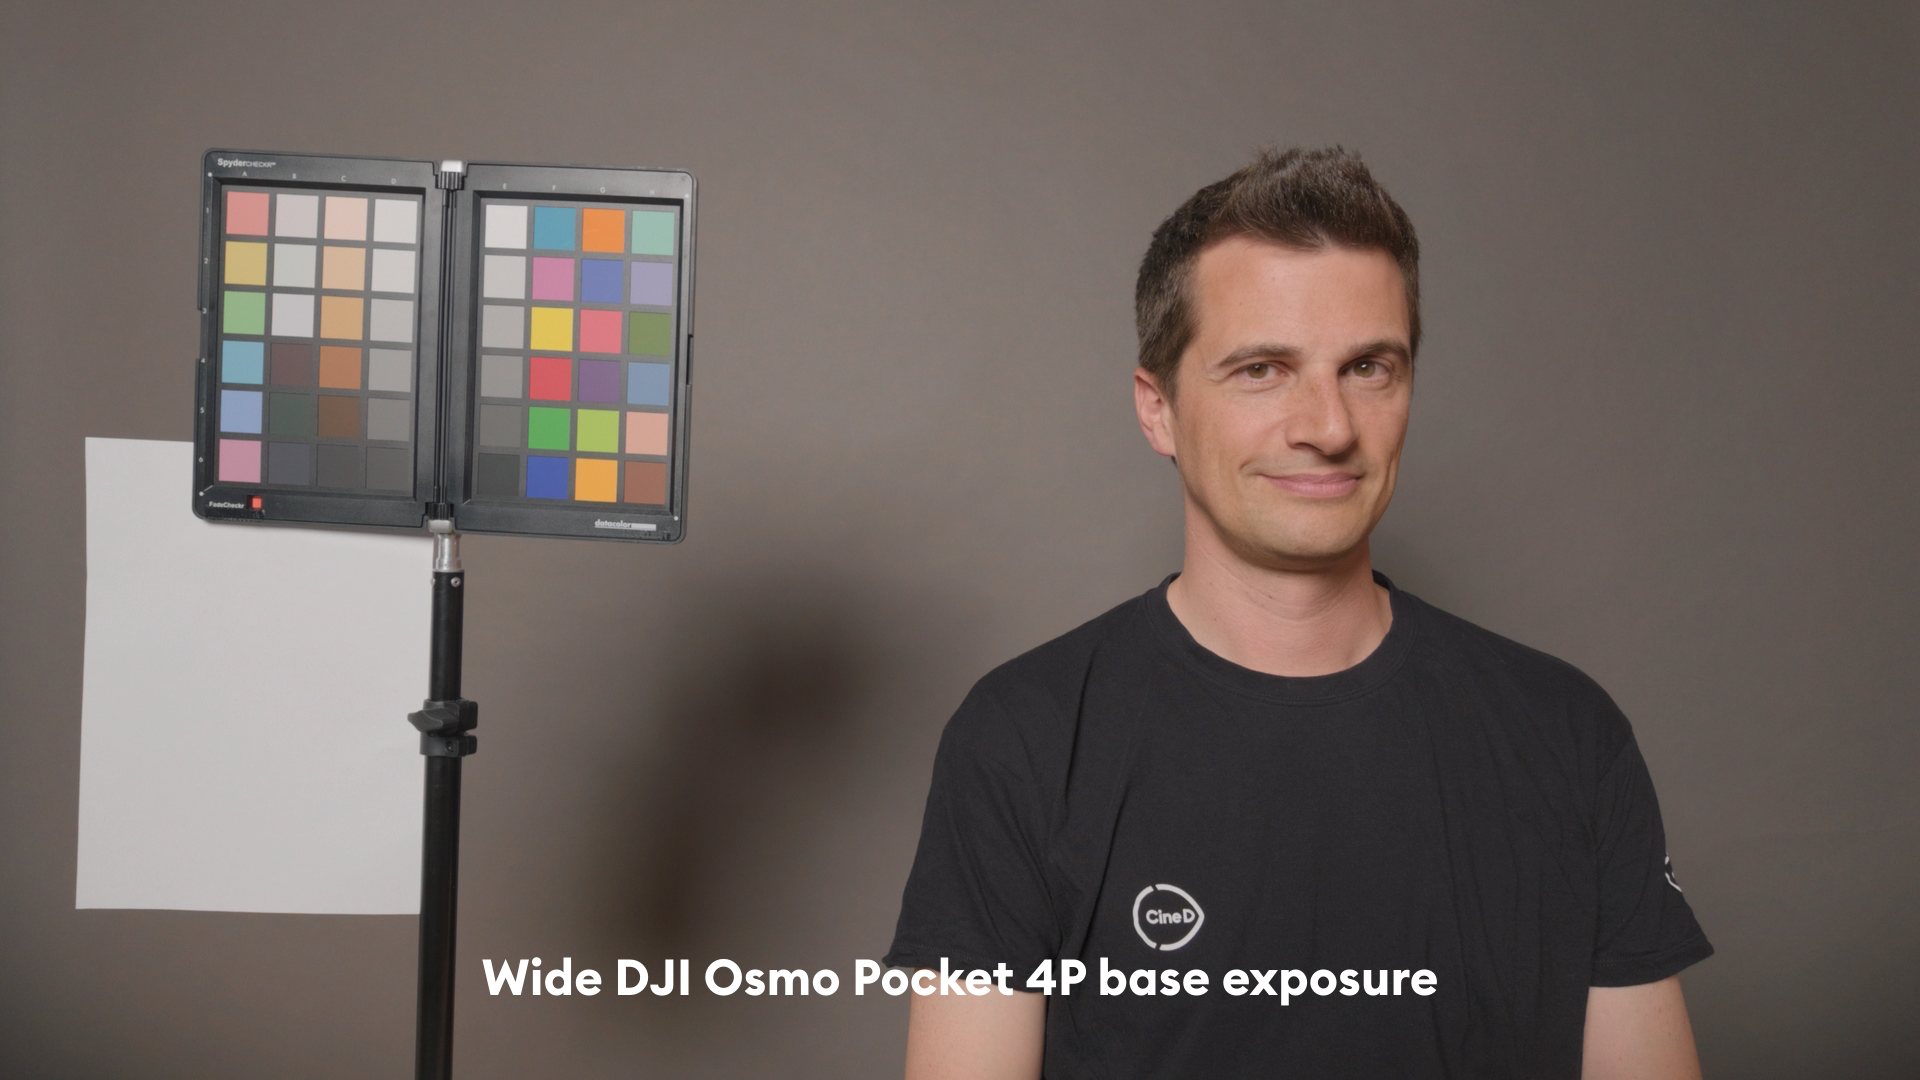
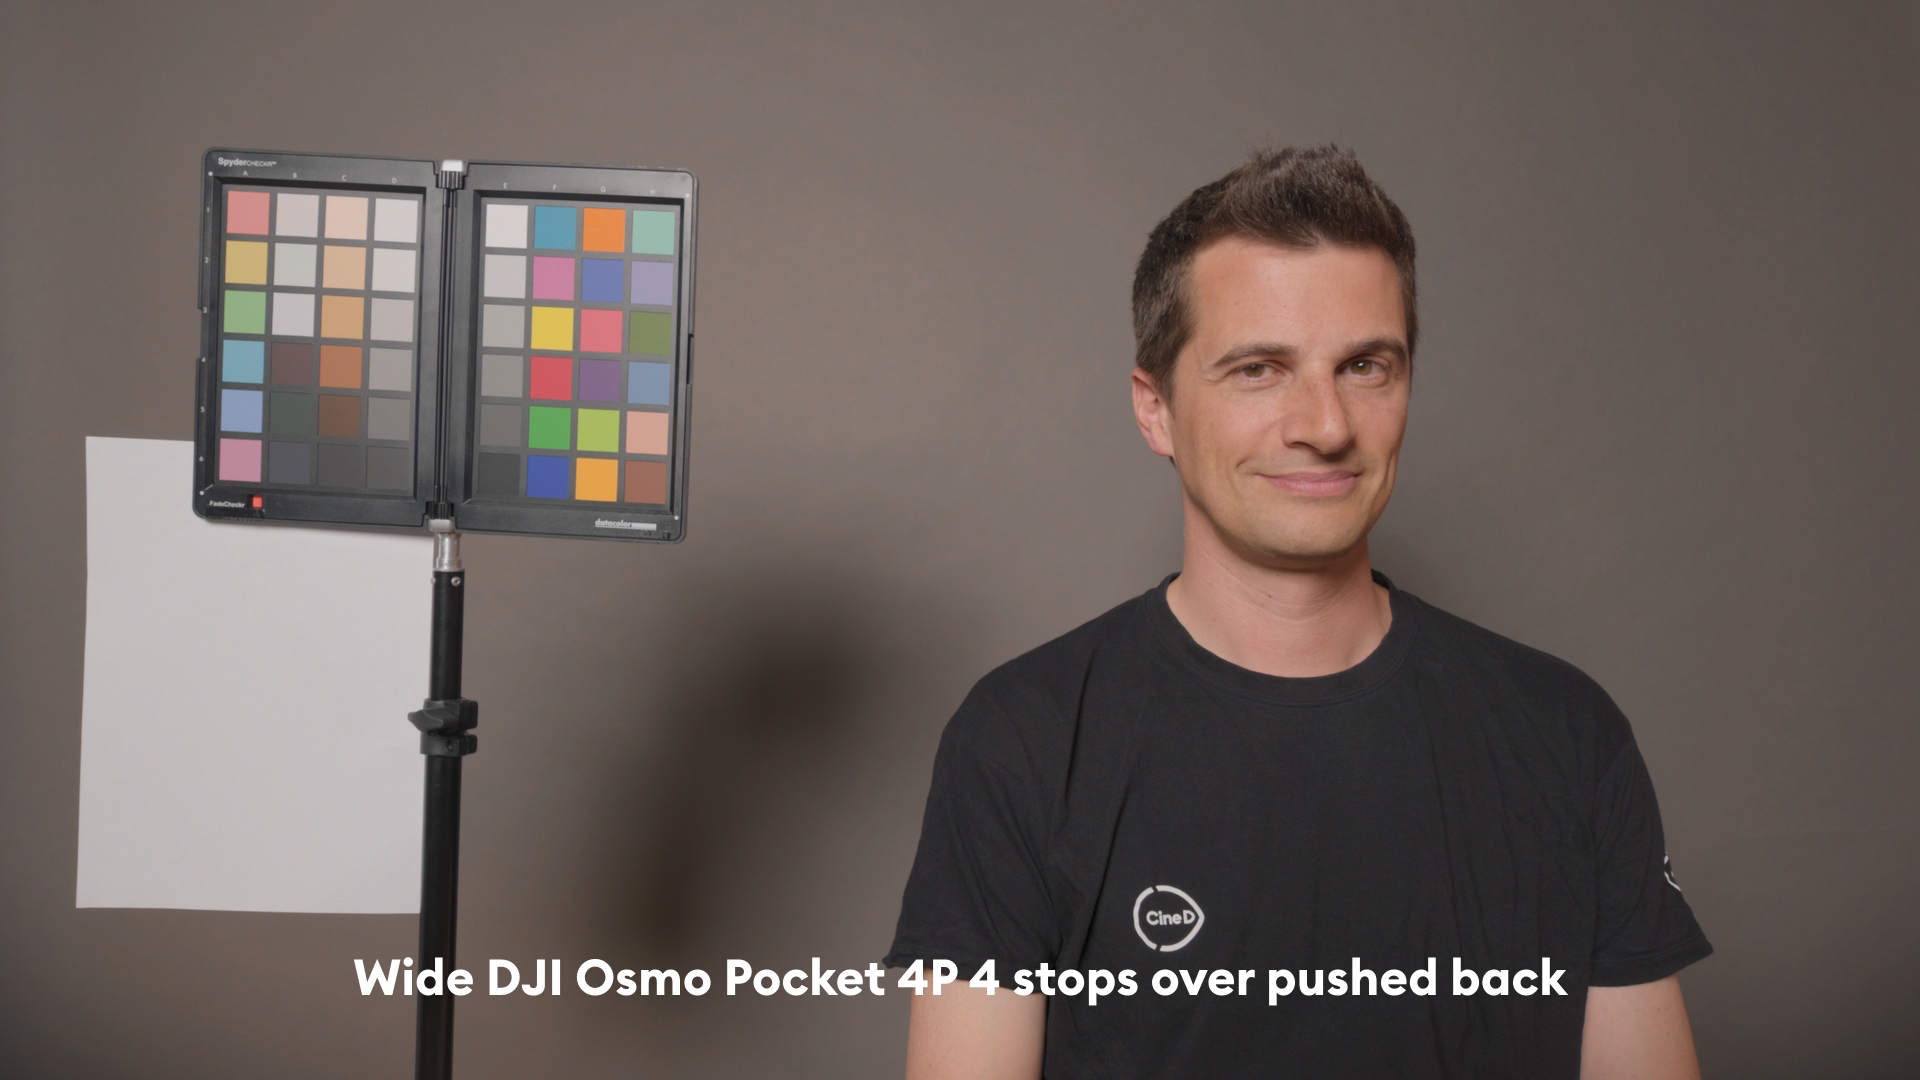
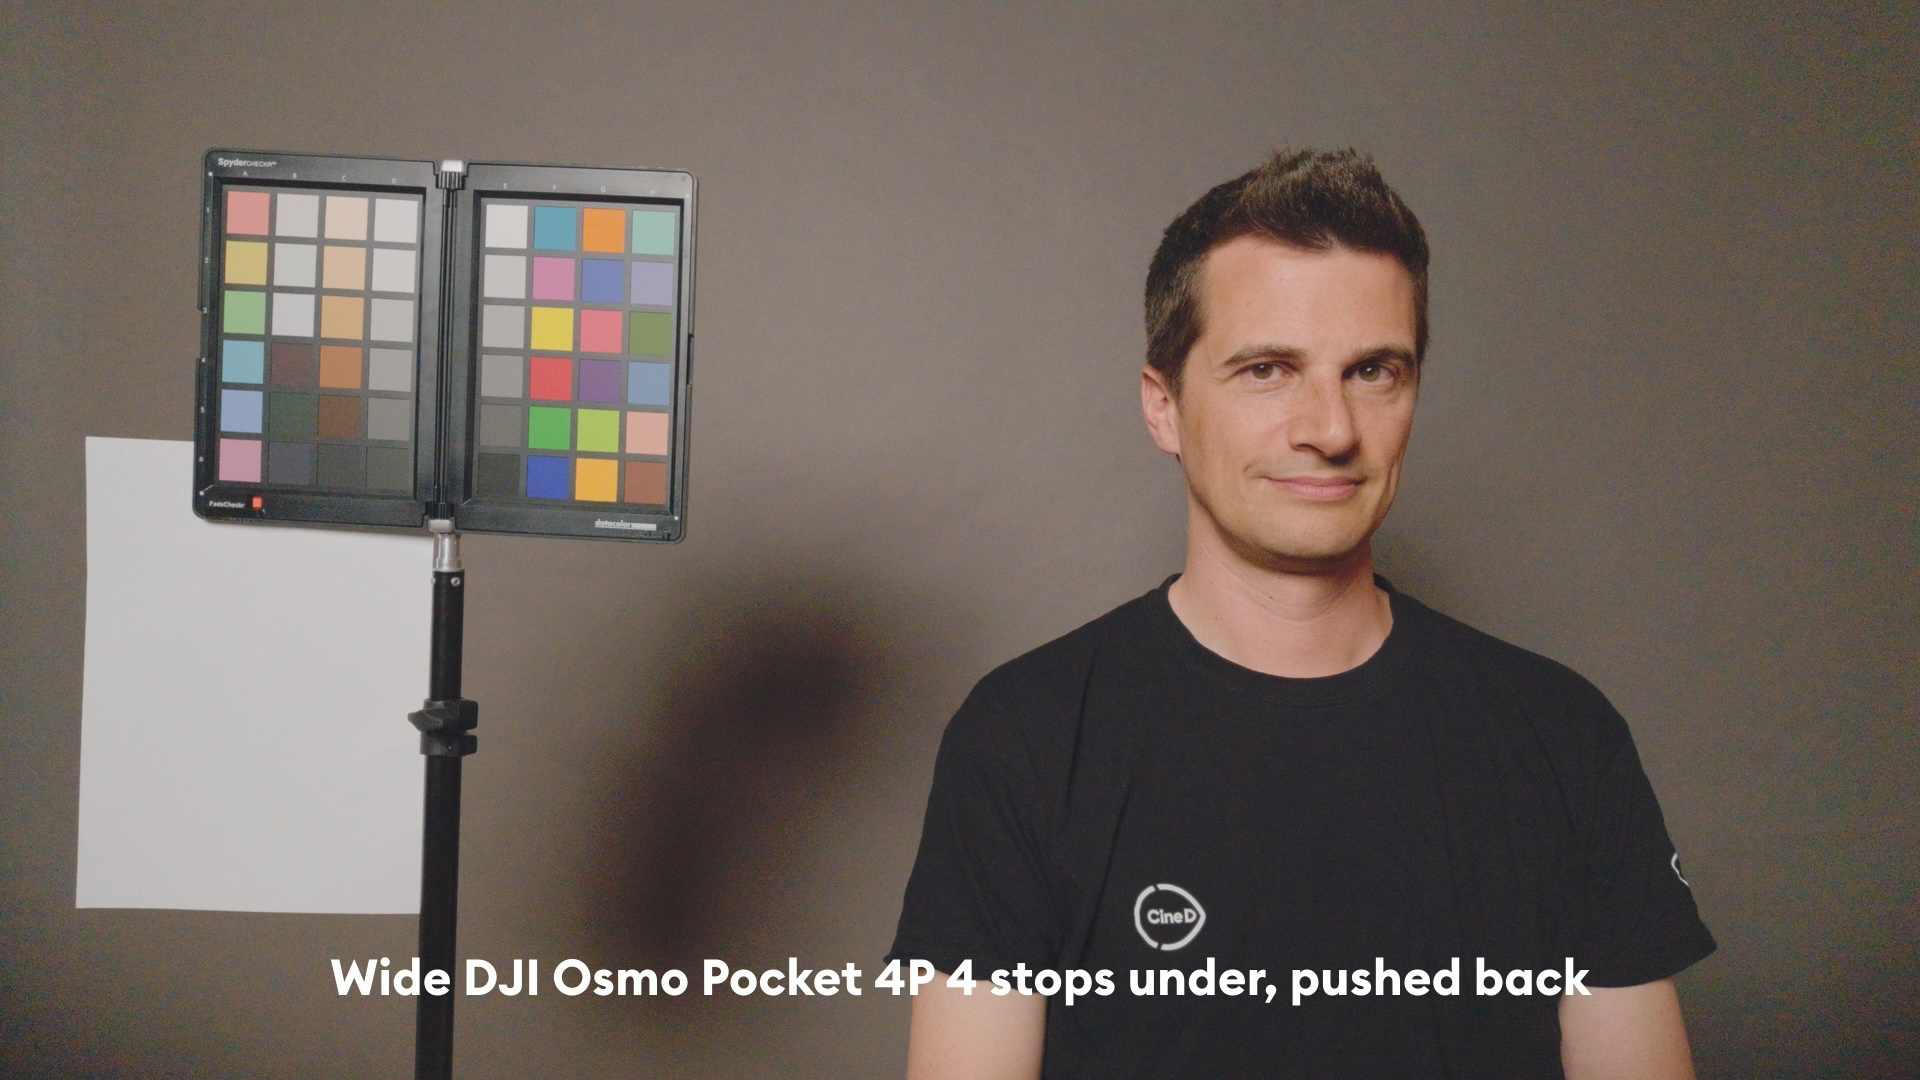
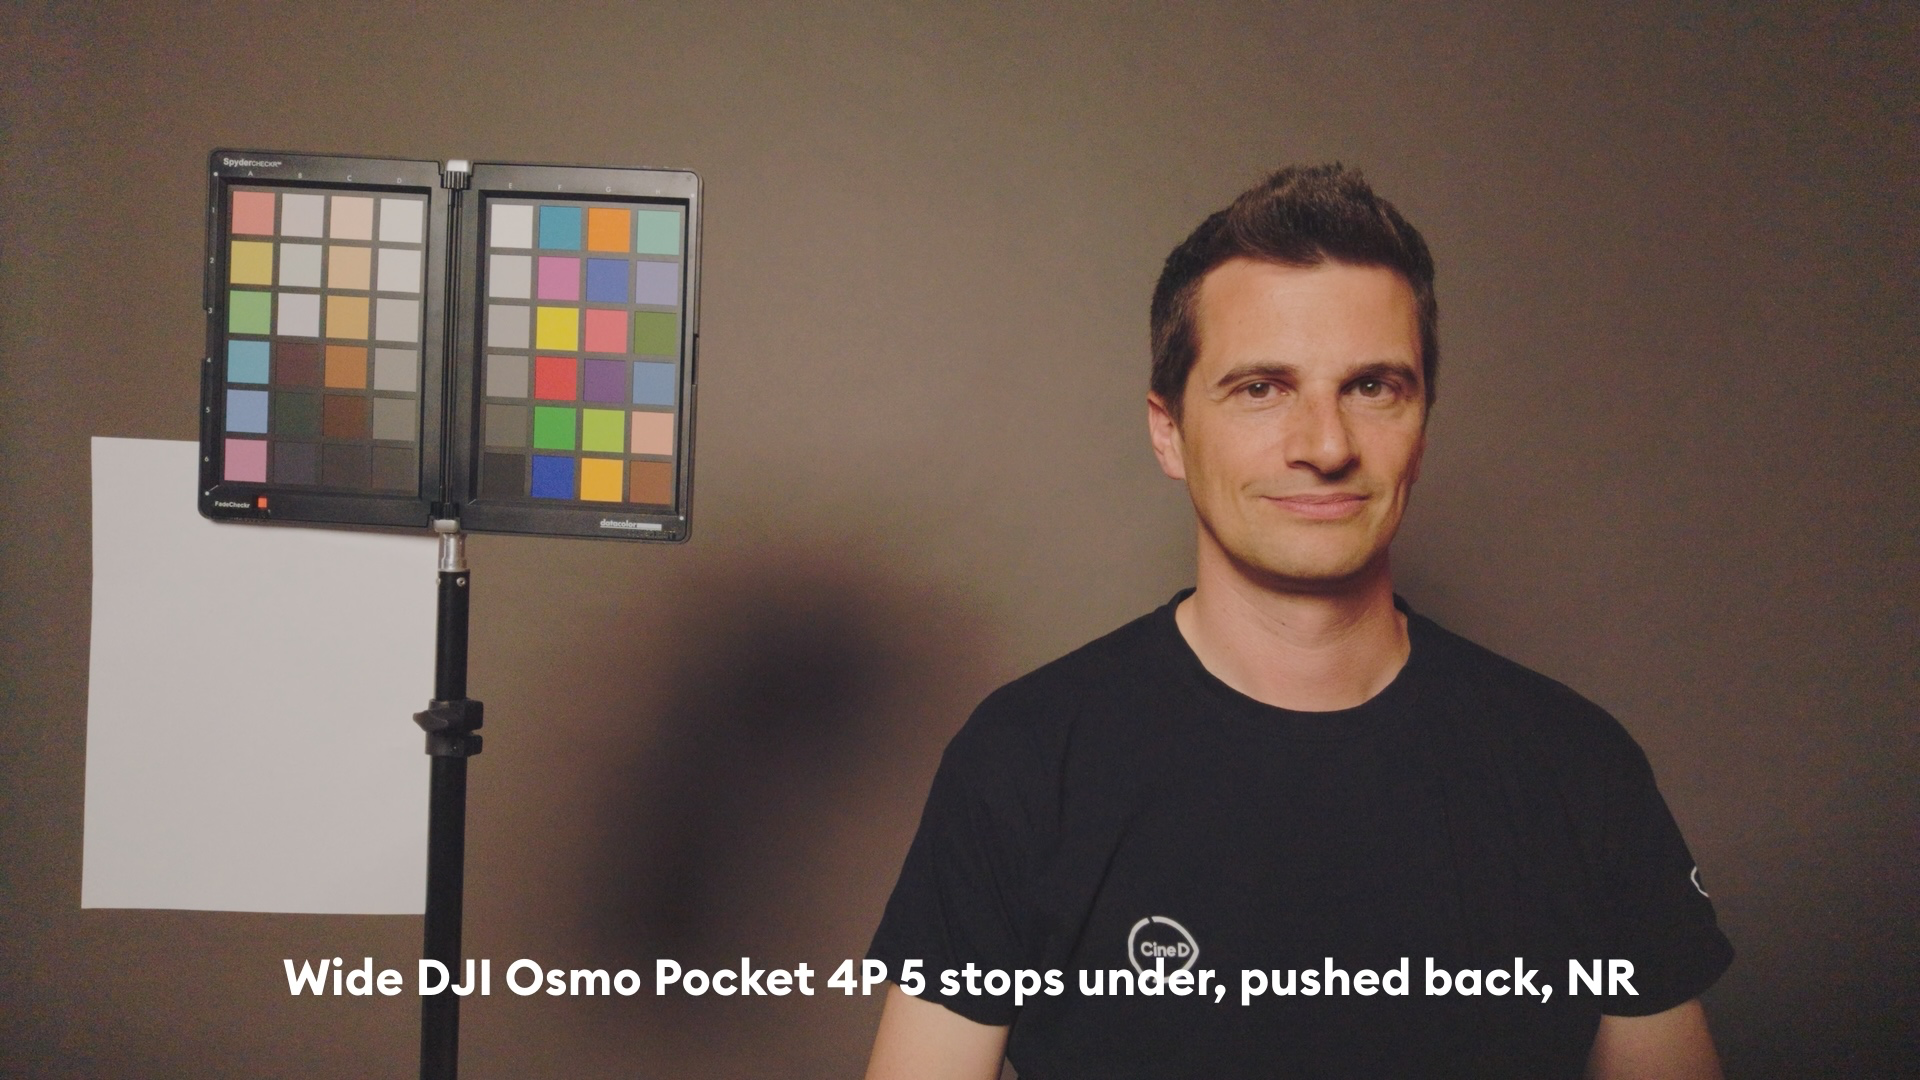
Cined just published their tests of the DJI OSMO Pocket 4P camera, with the new LOFIC sensor, and oh boy does it deliver! Highlights from their testing (of the wide camera): 16 stops at SNR=2, and 17.2 stops at SNR=1, with no internal NR (better than the Alexa 35 and any other camera they've ever tested) 10+ stops of latitude (second only to the Alexa 35) and potentially limited by the 10-bit codec and maybe not the sensor 11ms rolling shutter (not bad, and better than DGO designs) Their studio lights weren't powerful enough to clip the sensor, it has that much DR! The telephoto camera from the DJI isn't a LOFIC sensor and despite testing very well it's not at the same level of performance. The full test: https://www.cined.com/dji-osmo-pocket-4p-lab-test-rolling-shutter-dynamic-range-and-exposure-latitude/ In watching their podcast presentation they revealed a bunch of other interesting info: This is the first of these (tiny consumer) devices that isn't trying to adapt itself to the scene, so it's a "real camera" in the sense that it's not heavily processing things They mentioned they had the iPhone 17 Pro in for testing and even when it was in full manual mode, just by moving the focus point it would change the test results etc As the main DJI camera is ~20mm FOV, they had to develop a new testing setup so the bright patches of the Xyla didn't reflect from the camera onto the dim patches etc LOFIC sensors are likely to be coming into smartphones soon, as this is where the money is in the R&D Sony are working on a smaller version of a LOFIC sensor which would be suitable for smartphones and also for the telephoto camera on the DJI Also, the OG BMPCC got a mention, as they were talking about how it would be great to have such a sensor in a "real" camera body and with interchangeable lenses etc, but MFT sensor size isn't that far away from this, so that could also happen too. Panasonic went DGO and maybe would do this too.. I'm stoked for the GH8!! Just incredible, and I second the idea of fitting one of these to a body like the OG BMPCC! Images. Waveform plot for the DJI OSMO Pocket 4P 20mm wide D-Log2 ISO1600 Imatest result for the 20mm wide camera, D-Log2 at ISO1600 Latitude tests of the wide camera: The 4-stop over, which due to their lighting restrictions was still probably 1-2 stops from clipping:

-
kye reacted to a post in a topic:
Smallest real 720p or 1080p P&S camera?
-
I agree about it being too smooth, especially because the position of the camera isn't stabilised so there can be huge parallax movement which clashes with there being no movement in the direction of the camera at all. I raised the topic because it would be interesting to see a combination of OIS + IBIS + Super EIS where the EIS smoothes the motion rather than locking the image completely. It's much harder to get the locked stabilisation than just smoothing it and leaving some of the motion in the image, so it's definitely possible to tone it down a lot. Perhaps this topic will be what people are arguing about when the GH10 and FX5 IV and R5 mk 5 are all being released on top of each other, so we've got to leave something on the table for then!
-
It might be an unpopular thing to say, but ChatGPT might be useful in at least pointing you towards models you didn't know about. I've used it from time to time to ask about various things (recently about tiny FHD P&S cameras, but about other types of products too) and it seems to have reached a level now where it doesn't hallucinate much, especially if you're just asking it for products that meet a set of criteria rather than asking it to list the full spec sheet. You still have to fact check anything important, and it's also quite biased (anything trained on the internet will be pretty skewed but camera content is probably more skewed than average!) so I'd suggest it's probably about as good as the average camera forum user, who is just as likely to have irrational brand opinions and loyalties and gaslight you about resolution and lens sharpness etc!
-
I've filmed a lot while walking, often on uneven ground, and I agree with your assessment. Even using Dual-IS (lens OIS and IBIS) on Panasonic cameras like GH5 / GX85 / GH7 you'd have to be much more ninja-like than I manage to be most of the time. I haven't tried the EIS setting on top of the Dual-IS, but by looking at the footage afterwards, I can tell that I'm not hitting the limits of the stabilisation by only a small amount - it tends to be stable and then jump pretty abruptly. I've filmed with setups that only had OIS or no stabilisation at all and so I appreciate the magic Panasonic is working, but there are limits to everything. I can't imagine what it would be like trying to follow people who are likely to be pretty unpredictable and jumping around etc trying to surprise their opponent. Have you ever used any of the newer breed of action cameras that have the ultra-hyper-giga-maxxed-stabilisation modes? I haven't, but they look basically like magic, stabilising people running and biking etc which is well beyond the OIS / IBIS / EIS territory on normal cameras. It would be fascinating if someone made a normal camera with a mode like that where it takes a large crop into the lens but delivers that kind of stabilisation. I can imagine using a wider prime, like a 16mm or 24mm with that mode to grab shots that are 2x cropped but smooth like butter.
-
kye reacted to a post in a topic:
Smallest real 720p or 1080p P&S camera?
-
kye reacted to a post in a topic:
Smallest real 720p or 1080p P&S camera?
-
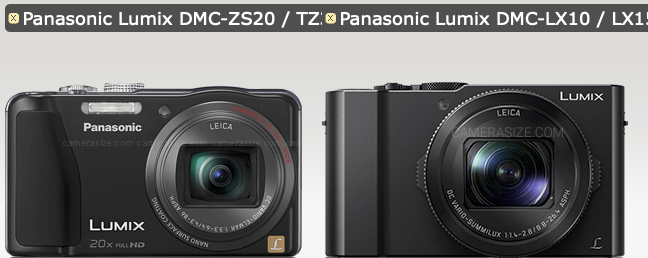
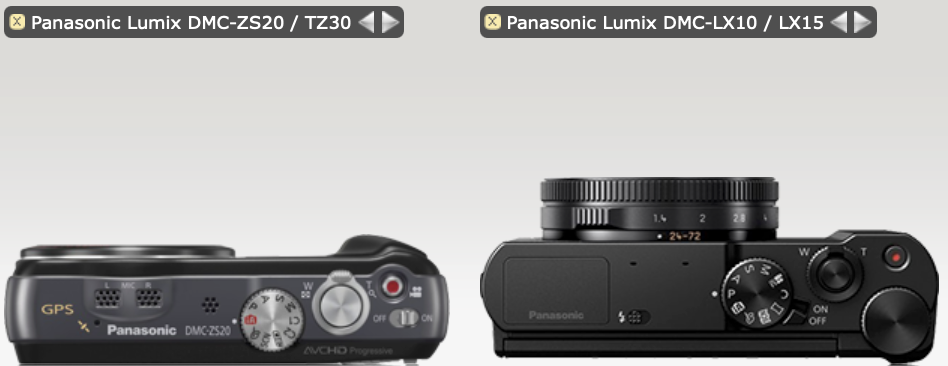
I've been AI-ing, googling, and searching ebay, and it looks like there aren't any bargains to be had, although I can get a Sony WX30 for AUD200 / USD140 in great condition from Japan, and that's one of the smallest ones around (it's next to the GoPro on the left).. Video quality doesn't look too bad either, especially if the reference is 16mm or 35mm film.. The "logic" of the larger camera is pretty deafening though. Looking at the below... why use the WX30 when the slightly-larger RX100 or LX10 give you 4K and a drastically nicer image, and then why use those when the slightly-larger L10 has the GH7 sensor and V-Log and codecs instead of rec709, and now you're shooting with a brick! I realised I had a Lumix ZS20 sitting in a drawer and have now ordered a new battery charger and some new batteries for it, so that's a lot cheaper than a new camera and it's smaller than the LX10, especially when turned off. The struggle is real though.
-
The GM1 is a seriously tiny camera.. how big is the Pentax lens on it? Do you have any pics of the setup? I have the F8 bodycap lens and it's tiny as well. My GF3 is pretty small, especially when combined with the F8 pancake, but unfortunately if you analyse the image it becomes pretty clear that it's closer to SD than 720p, so nowhere near the 1080p it claims. I had forgotten about that one.. if there was a Chamera Pro then that would have to be it, considering the lens FOV is somewhat normal compared to the UWA of action cameras, although it's still pretty wide compared to the Charmera (24mm vs 44mm). An RX0 mk3 with one of the new 48MP smartphone sensors and all the cropping modes that come with it would be a fascinating camera, although at that point you'd just put an UWA 14mm lens on it and now you've basically made the latest GoPro line!
-
kye reacted to a post in a topic:
Smallest real 720p or 1080p P&S camera?
-
I'm wondering what the smallest P&S camera is that shoots real 720p or 1080p (not line-skipped or pixel-binned and then upscaled). If it has a zoom that would be even better. My recent adventures with emulating 16mm film on my GX85 and the fun of shooting on the almost microscopic Kodak Charmera have made me start thinking about what the smallest 720p or 1080p camera (that isn't an action camera) might be, which I suspect will be a P&S. During the P&S arms race I'm sure someone pushed the boundaries... The Super-16 emulations I did with the GX85 made me realise that the DR of a rec709 camera is more than enough and that S16 is far lower than 1080p, and perhaps lower than 720p even. The Charmeras is probably one of the smallest cameras around but isn't a P&S and its real resolution is only 720x540 so not real 720/1080p. The LX10/LX15 comes to mind of course and seems like a great camera but it's still quite pricey and I'd like to go significantly smaller again if I can. Unfortunately camerasize.com isn't exhaustive with the hundreds (thousands?) of P&S cameras that got released, so some brands are missing (and you can't search by size). My initial research shows turned up the below, but maybe there are some hidden gems? It looks like the industry decided that 90-110mm wide and 55-60mm tall was perfectly fine and just pushed to go thinner? Which, if any, of these are worth looking at?
-
 newfoundmass reacted to a post in a topic:
Sony FX5
newfoundmass reacted to a post in a topic:
Sony FX5
-
I'm already shooting 2x anamorphic open-gate on my $30 Charmera keychain camera, so nothing new for me here. Nice to see that Sony has finally caught up though!
-
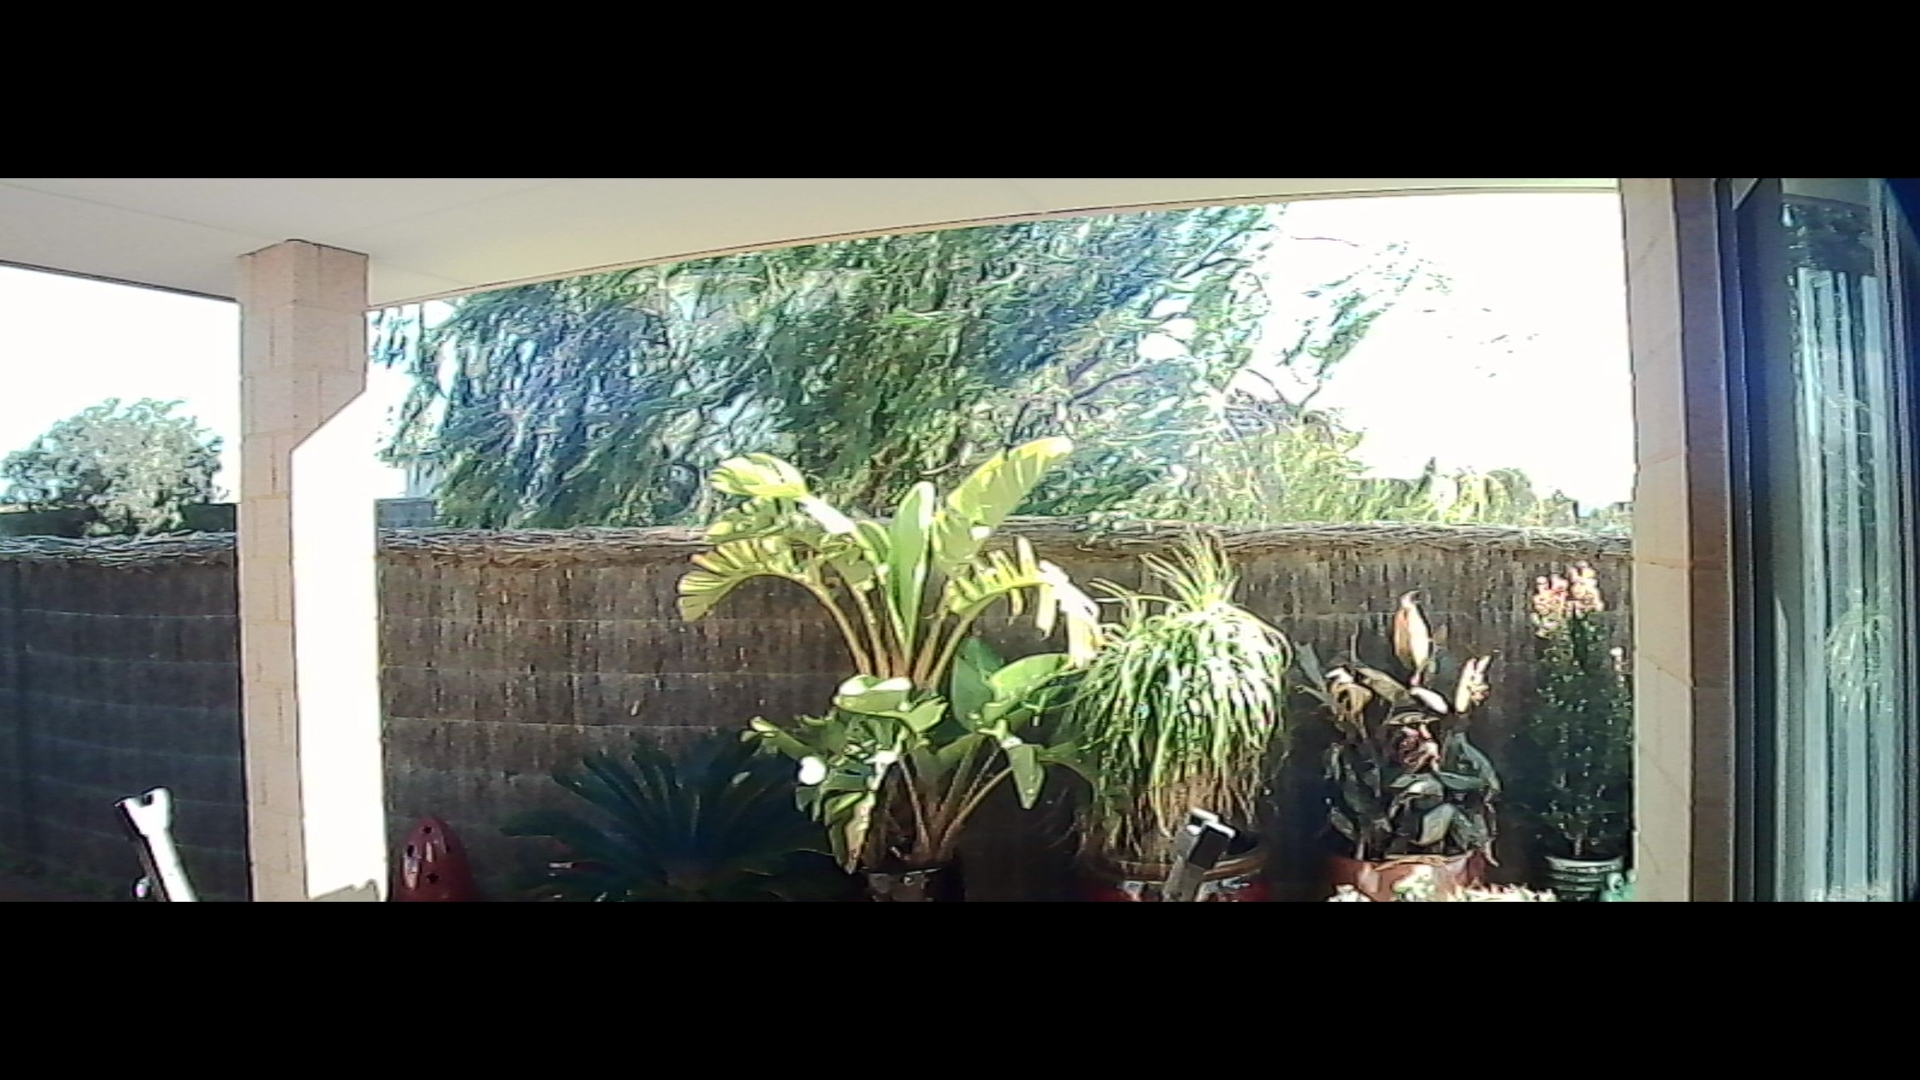
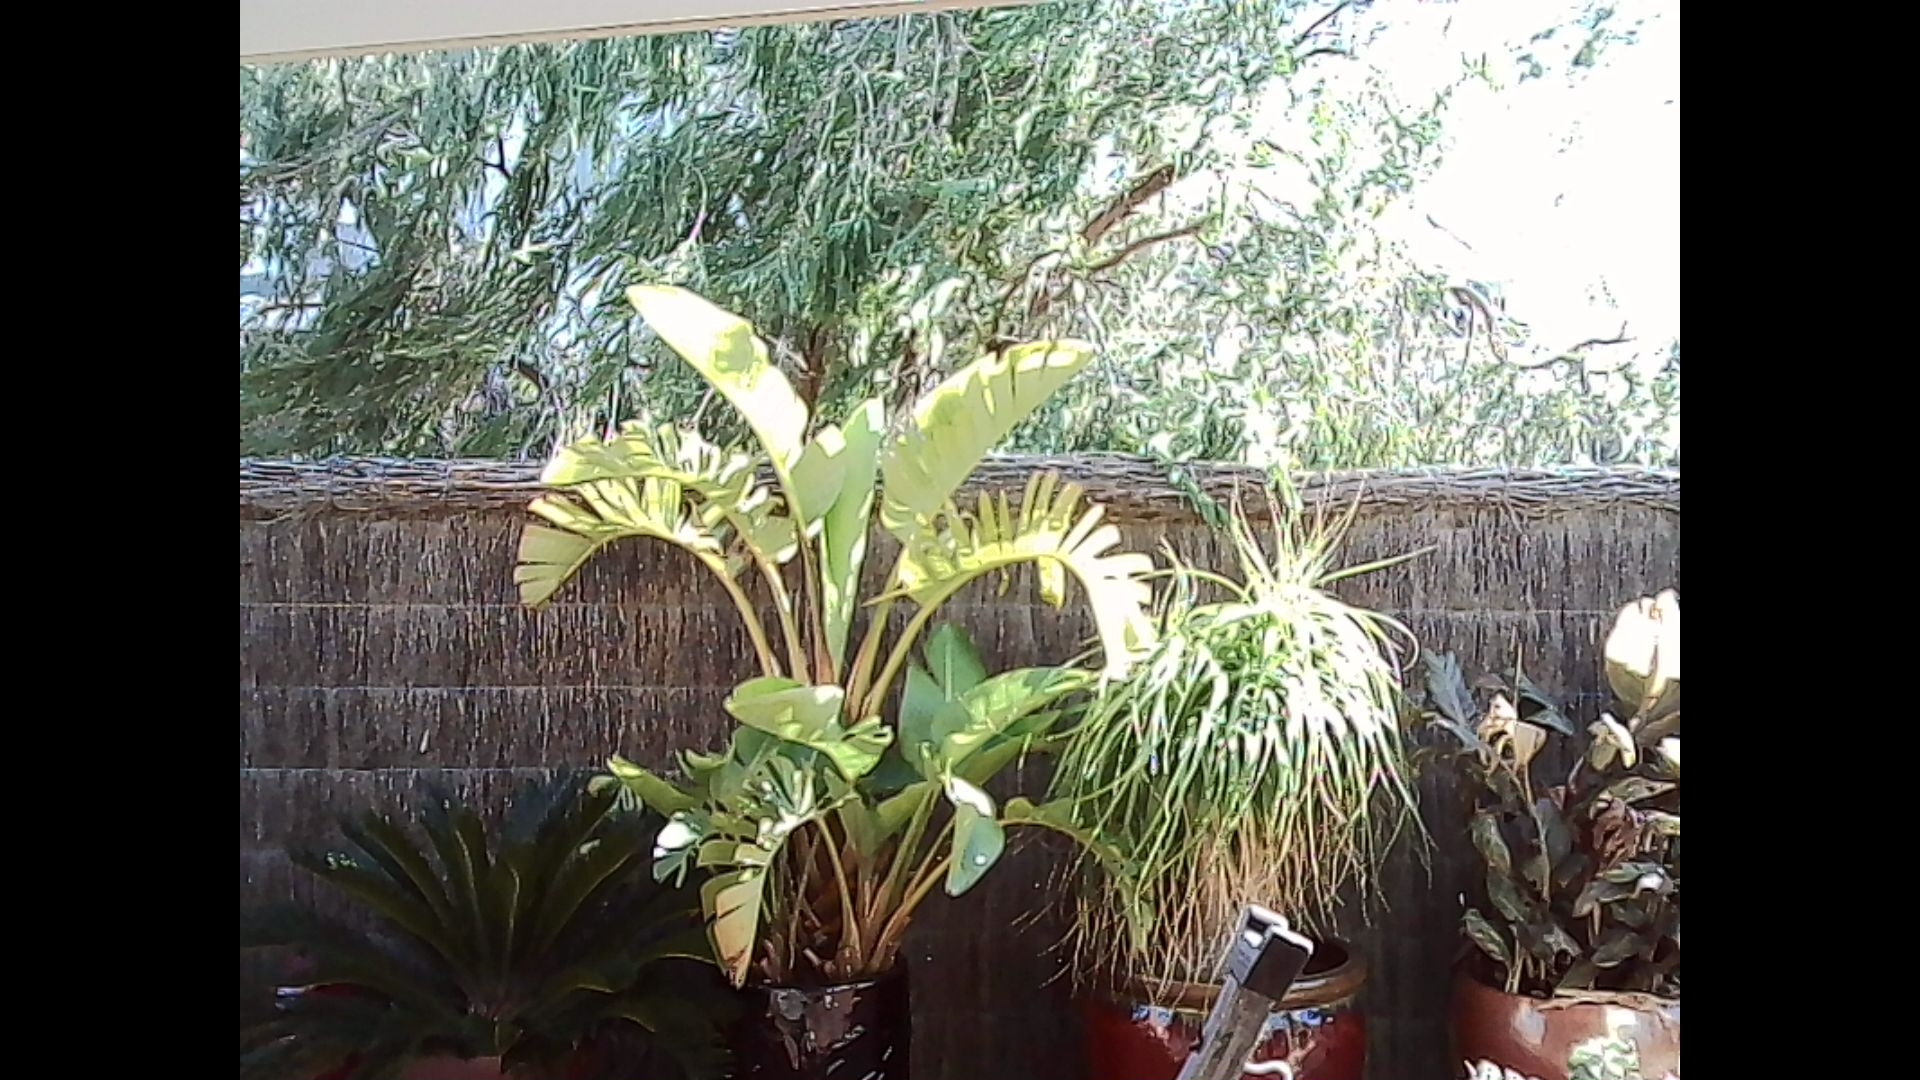
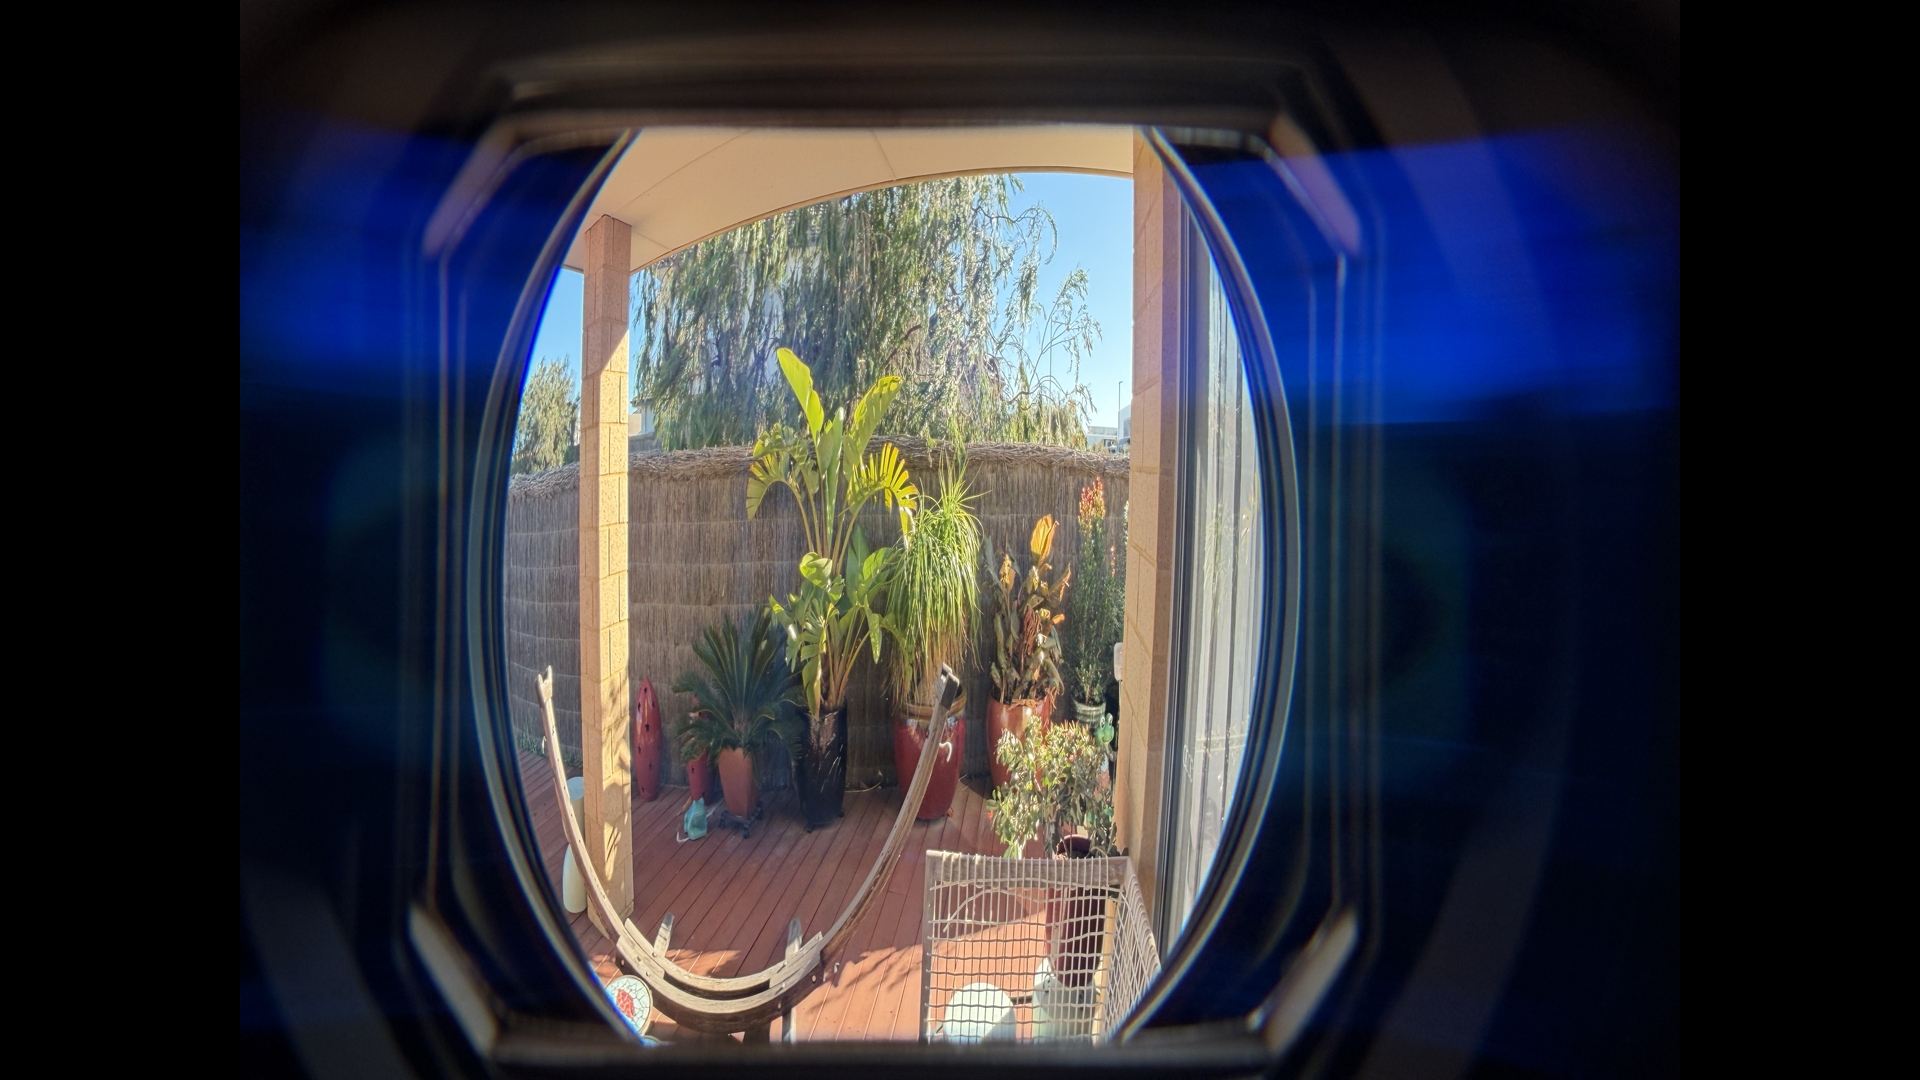
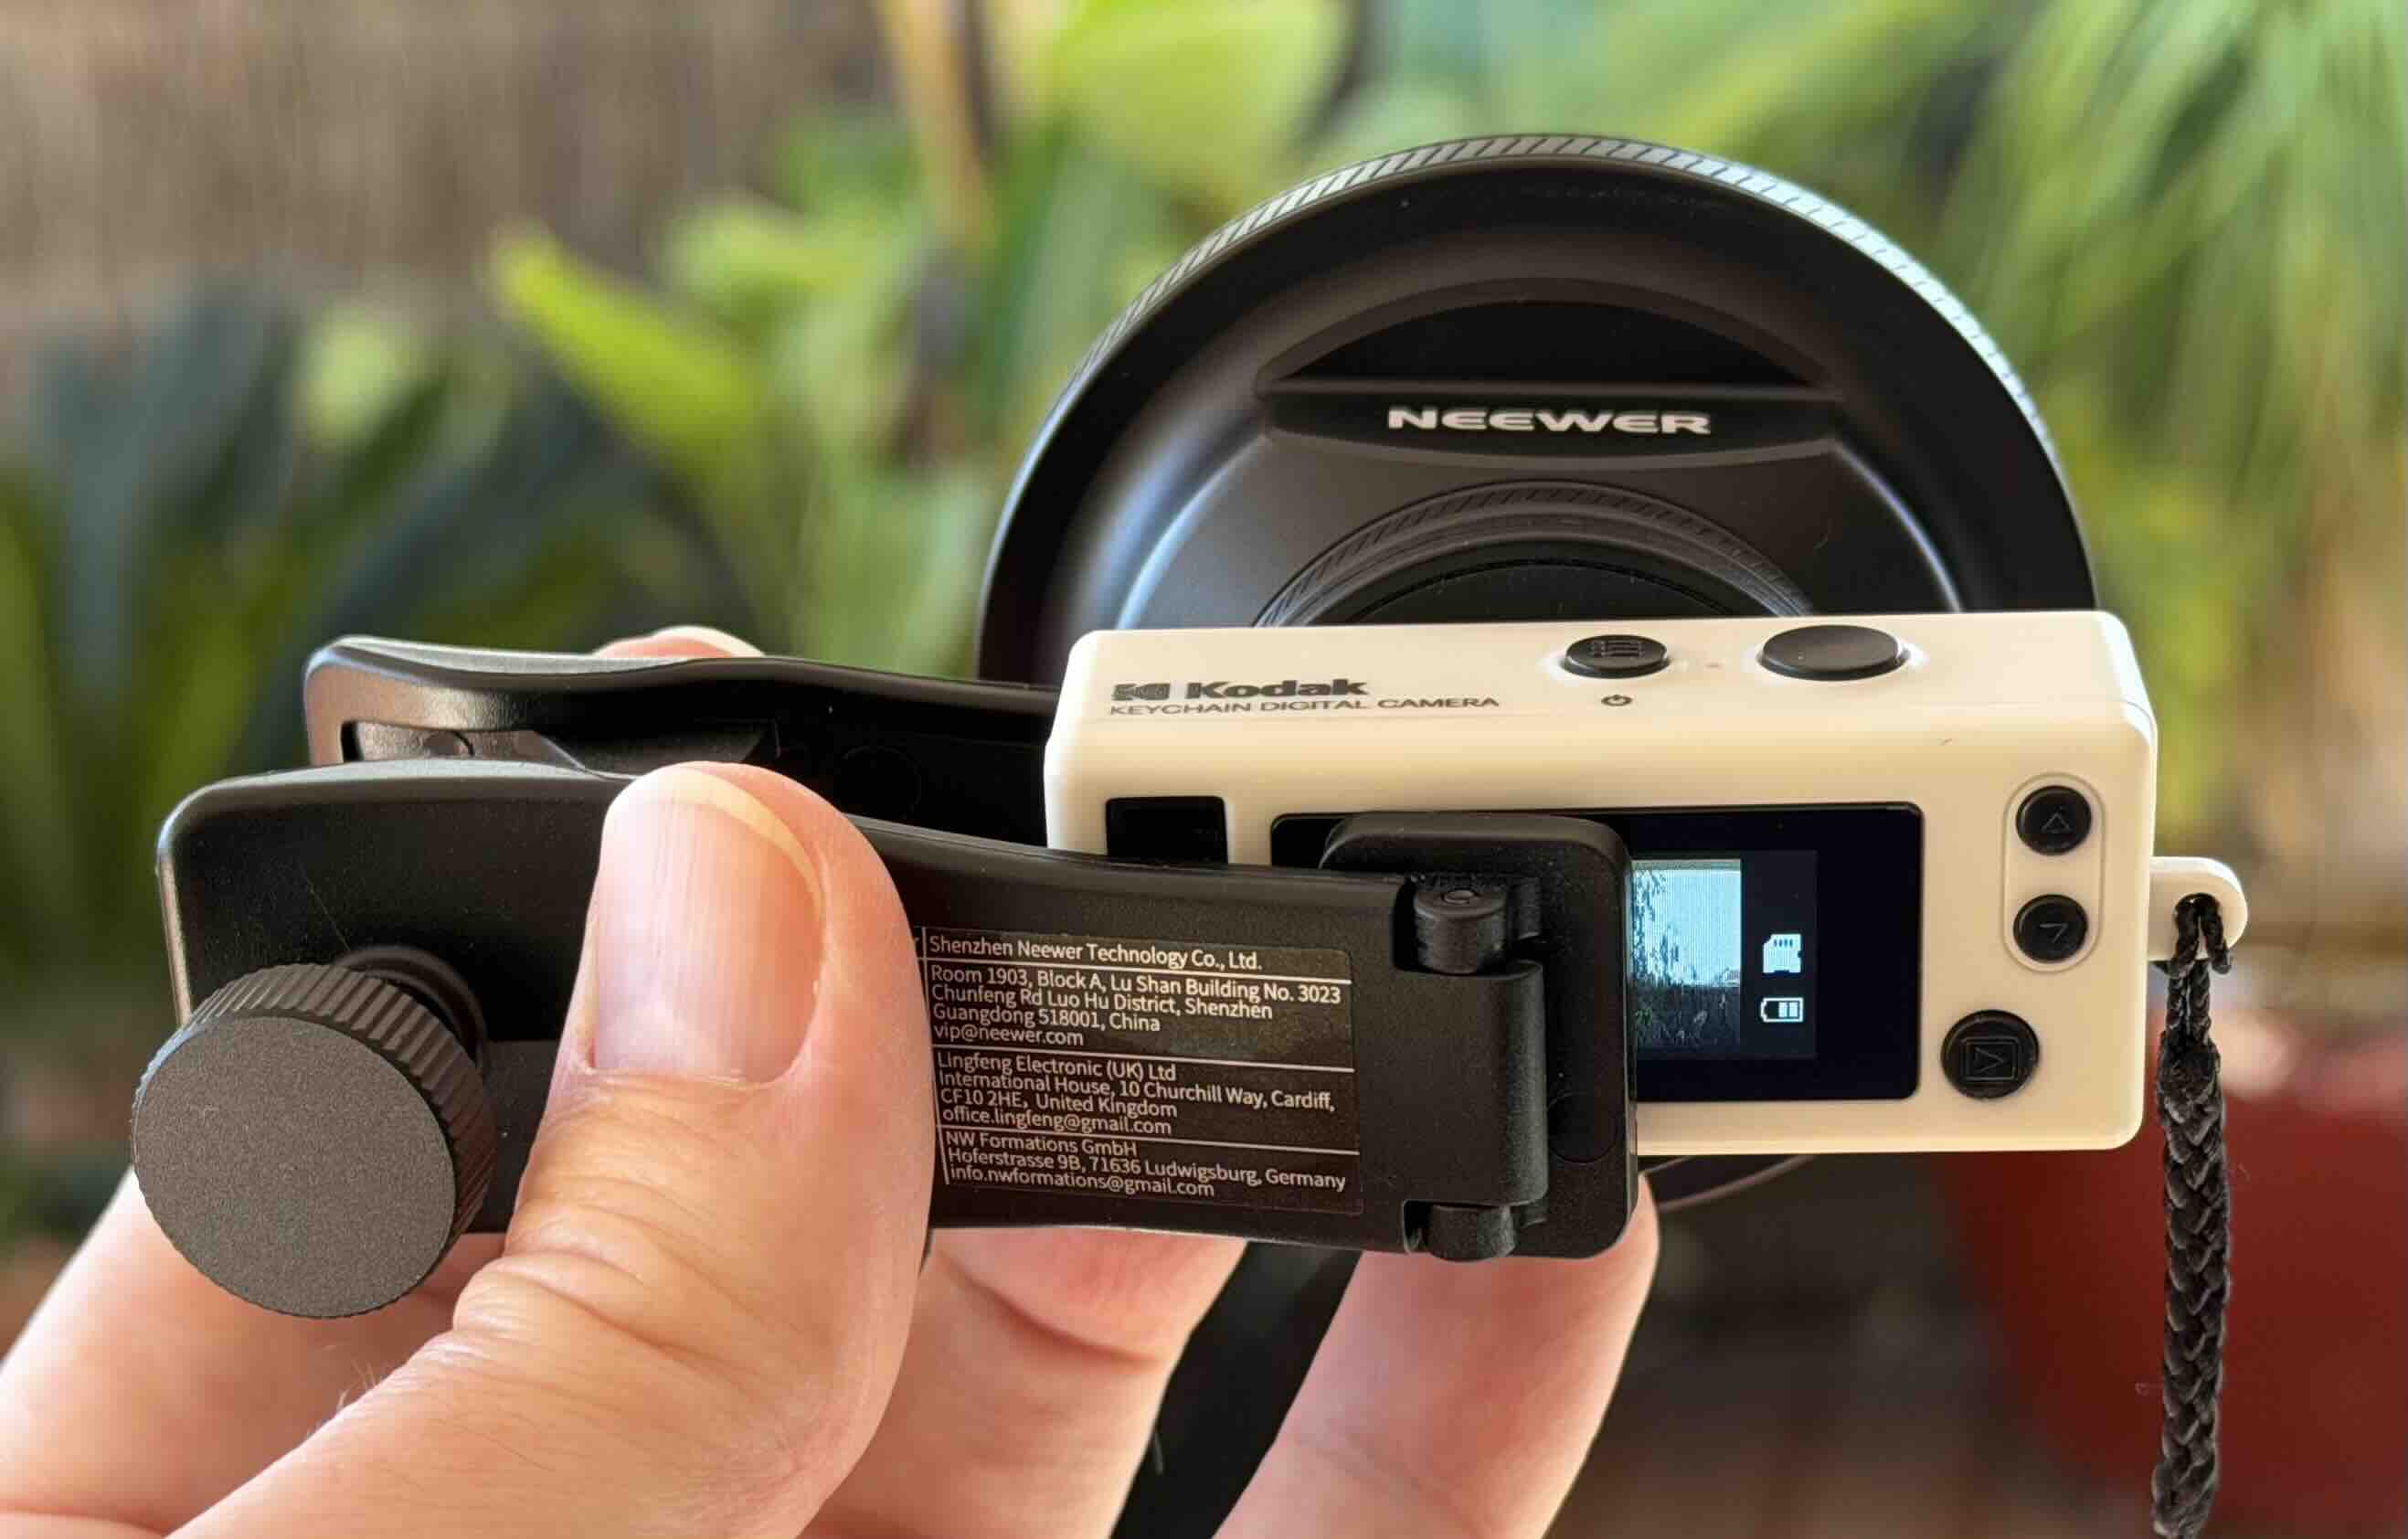
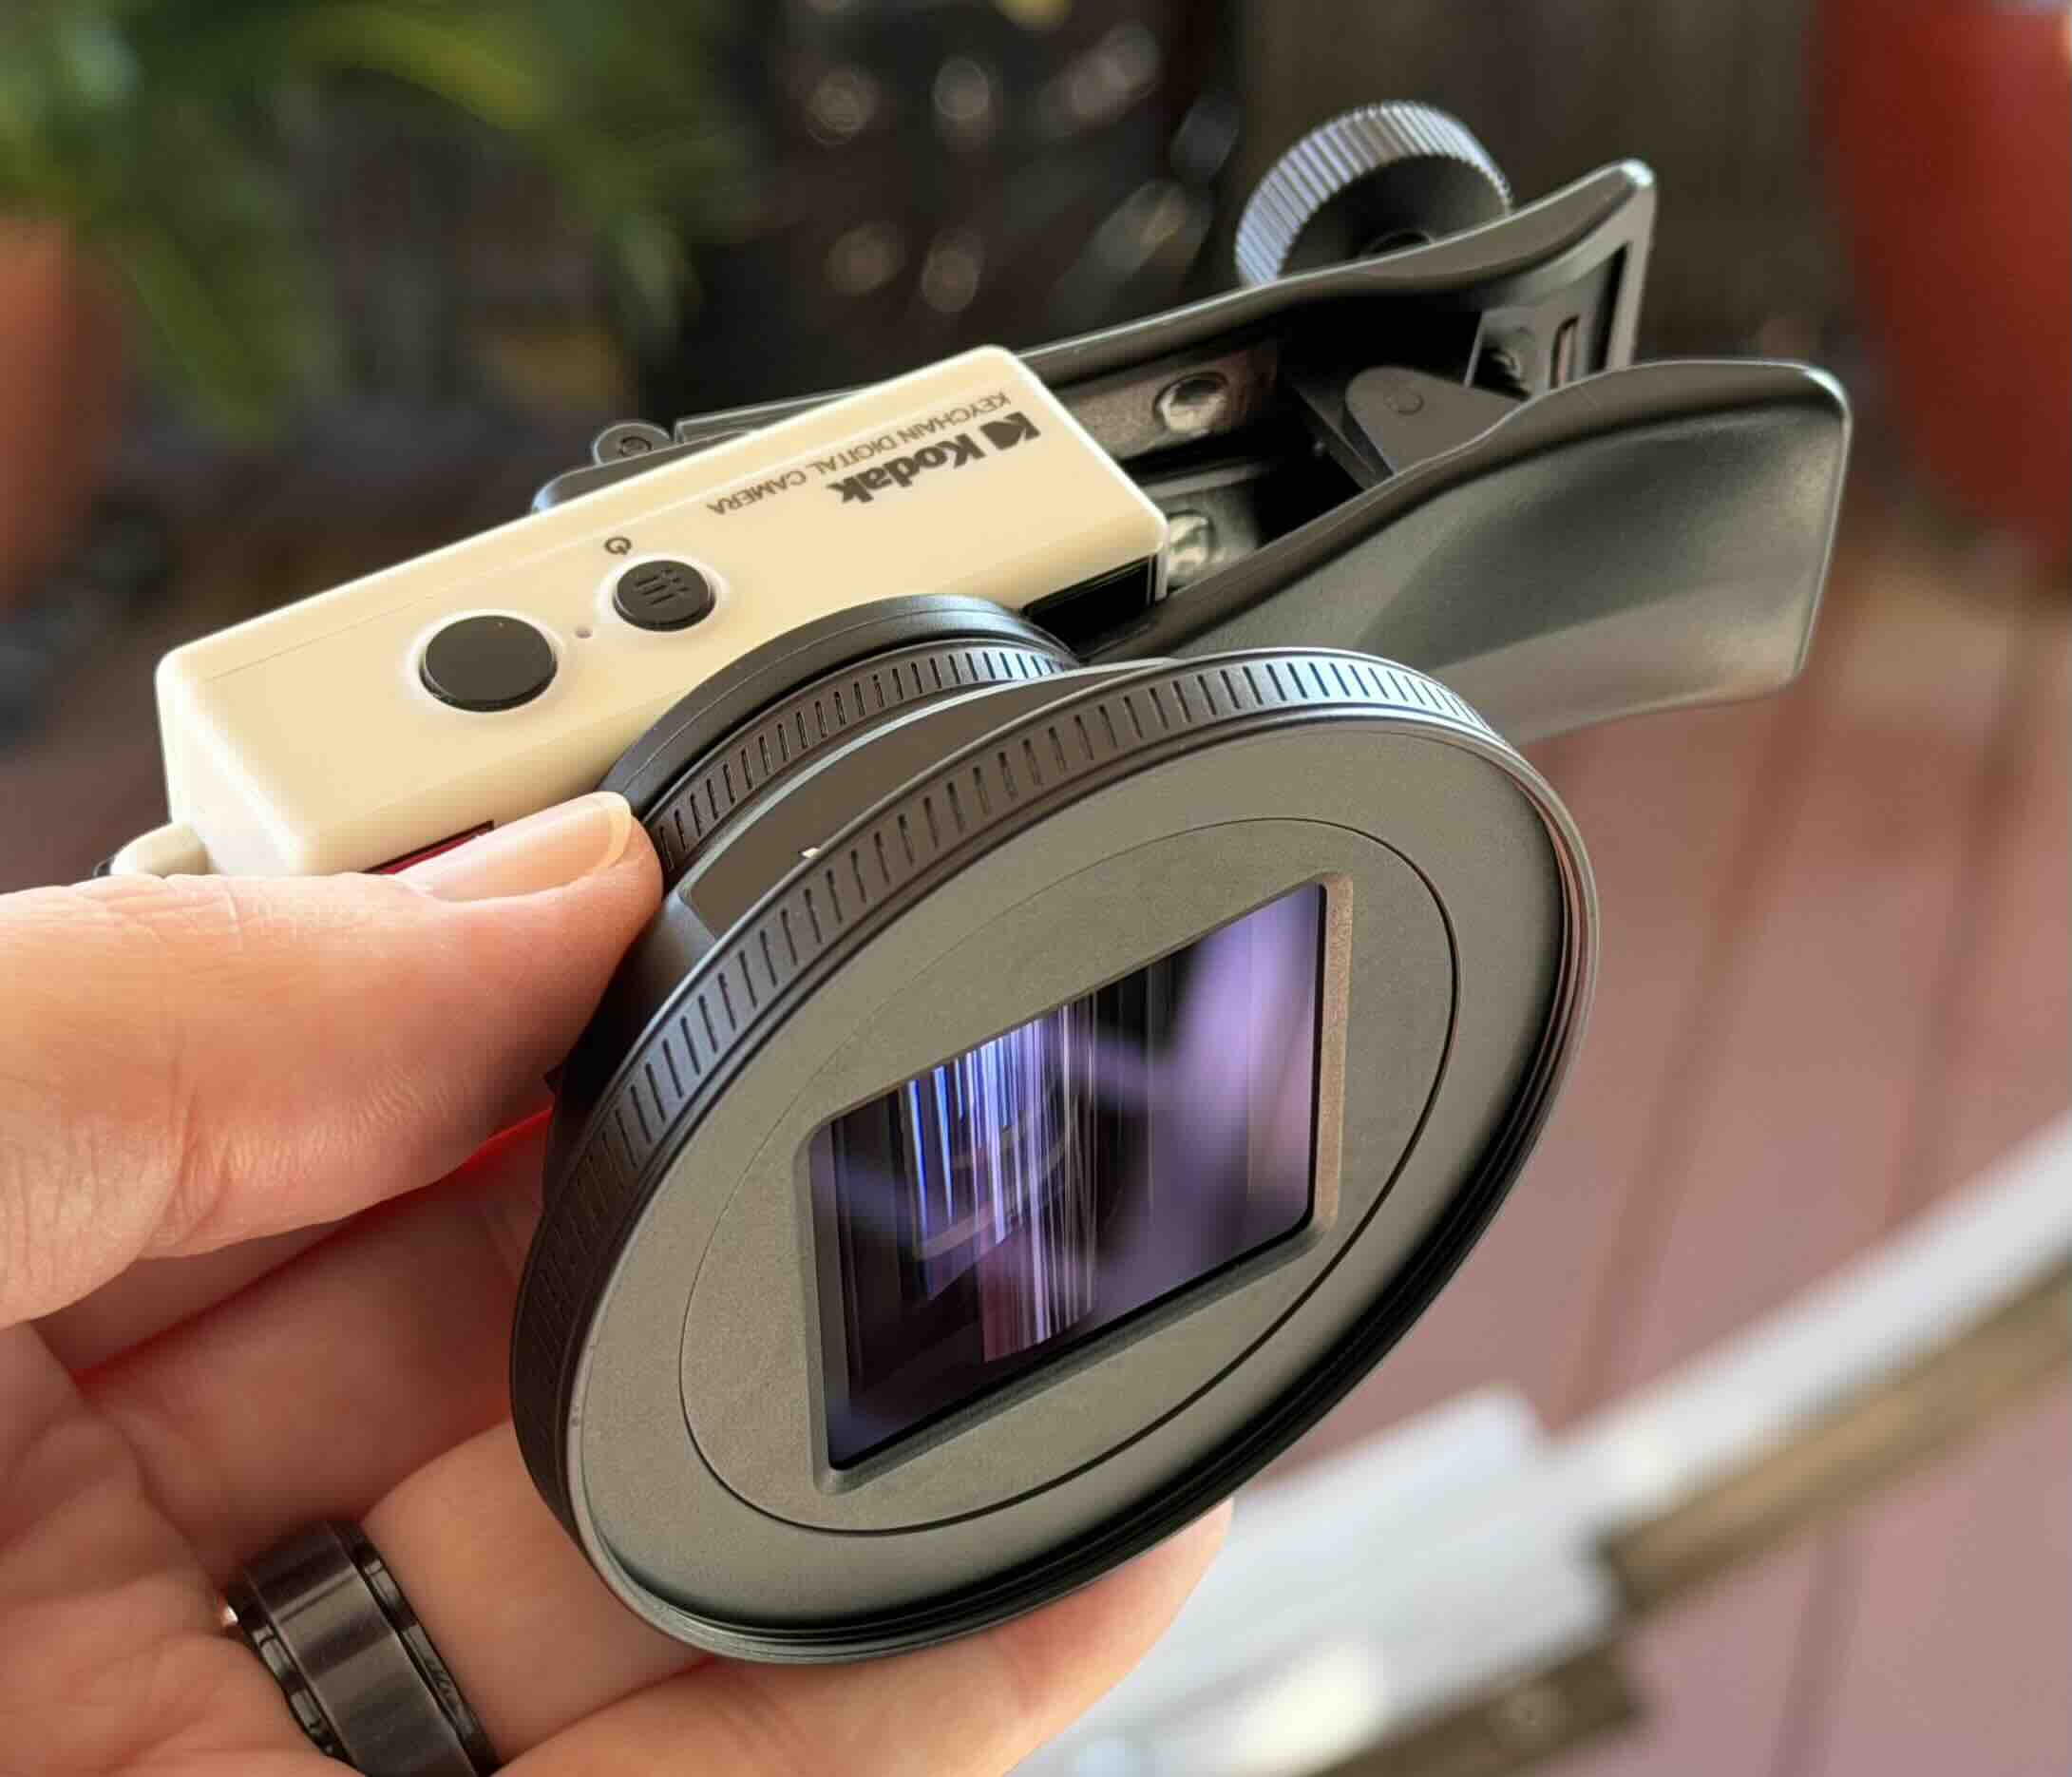
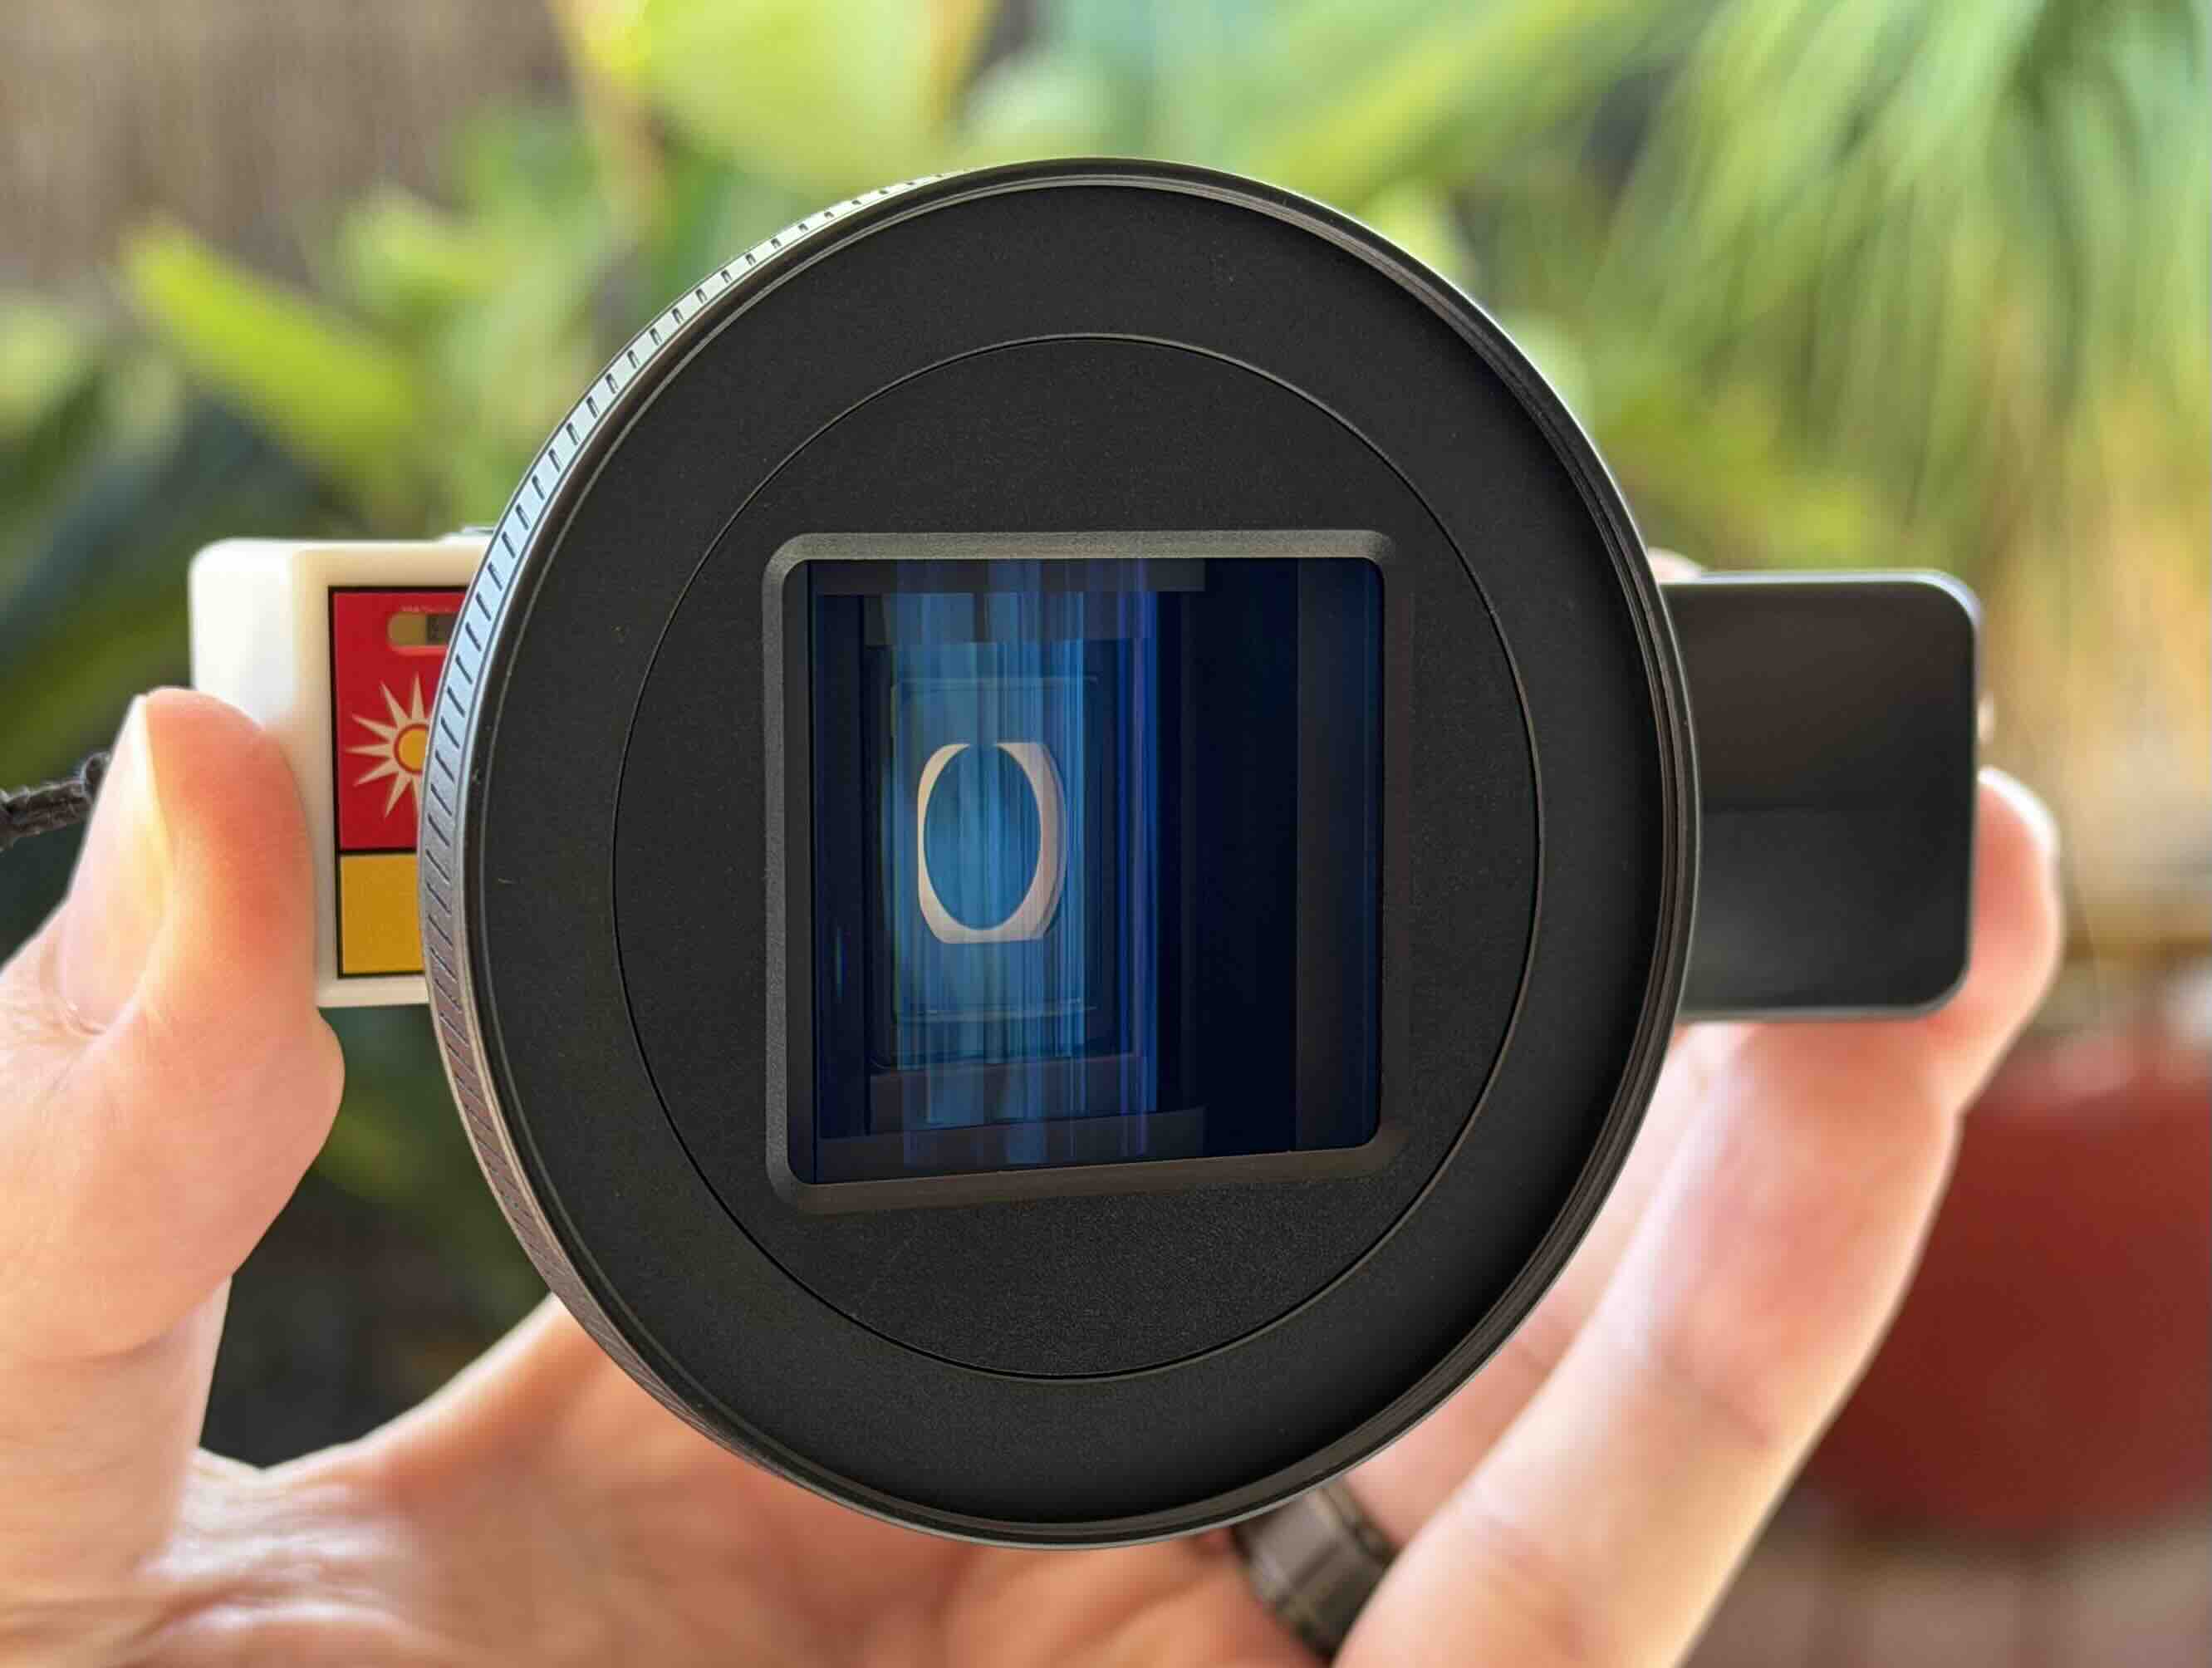
More Charmera shenanigans. In comparing it to known camera/lens combinations, it turns out that it's about a 44mm equivalent lens, not 35mm as they state. It's also not infinity focus, but more like about 30-50cm too, about the right distance for shooting people. This makes anything further away than that a touch soft, although with the image quality I'll excuse every reviewer of it I've seen missing this rather significant detail. Back to more fun things, my new Neewer 1.55x adapter has a 17mm rear element and a 67mm front element, and my Sirui 1.25x adapter has a 58mm rear element. I'm sure you can see where this is going..... The combination makes this about a 2x de-squeeze. Normal: Double anamorphic setup: Cinemaaaaaaa!!!! I'd actually shoot with this, only it's awful to use and once you've got these things on there you'd be far better off getting a similar image via different means, like putting a cheap ultra-wide onto a tiny ILC and cropping in post or whatever. As it's actually meant to be a smartphone anamorphic adapter, I tried it on my iPhone 17 Pro as well, but it's tricky. 1x camera SOOC: Obviously coverage is a thing! 2x SOOC is better though: and de-squeezed and cropped: Fun! Definitely a vintage anamorphic character. A pain to shoot with though, as not only is the lens far larger and heavier than the camera, but the iPhone really didn't like it. I just shot stills with the default app, but it kept wanting to change to the macro camera (which is the ultra-wide lens) and was generally just terribly behaved. If you were using a dedicated app and had a tripod mount on the adapter then maybe, but once again there are probably better ways to get similar results.
-
eatstoomuchjam reacted to a post in a topic:
Thoughts on the tiny camera market (and Kodak Charmera specifically)
-
But enough of that. In a worlds-first exclusive that nobody asked for, I proudly present.... The anamorphic Charmera! It shoots open gate 1.55x anamorphic, has USB-C charging, and fits in your pocket! What's not to love*? (*note: don't answer this) Obviously the rig isn't dialled in quite yet.... Surprisingly it's quite easy to position as you can just look down the barrel of the adapter and you can see where the lens is easily, so that's cool. I think it loses its pocketability though!