kye
-
Posts
8,218 -
Joined
-
Last visited
Content Type
Profiles
Forums
Articles
Everything posted by kye
-
I think that screen will be for settings like the GoPro one is. I could be wrong, but it's the wrong shape for a start. I completely agree. I'd happily sacrifice size (they could make it twice the size and I'd be fine with it) if it had a stabilised 1" sensor. But, it's not xmas apparently... IIRC, currently every option is missing at least two of those, some more, so if it was only missing one that would be a step forwards.
-
If you properly expose and all your clips are from the same camera then setting RCM in the project settings is the easiest option for sure
-
Is anyone else having issues with this thread? It seems like there are posts I swear I've seen (and posts I swear I wrote) missing. For example, as I am typing this, the thread shows no posts between the post by Zach with the text " New picture that I took with FD 35-105 F/3.5" and the post by Mercer from Monday beginning with "I have a plastic fantastic coming in the mail today" but I swear there were posts between these. Or am I getting confused between threads? @Andrew Reid I've been intermittently getting an error message about connections failing between different databases. I didn't screengrab it at the time, but will next time it happens.
-
Novim, you are a prince among men! Thank you!! For some reason, Speed Warp doesn't appear in the Project Settings, but does appear in the clip settings as you describe. What a strange thing! Thank you again!! ??? [Edit: it absolutely KILLS the machine while rendering. I made a timeline with two clips - one Enhanced Better and one Speed Warp with no other differences. The first clip rendered at 5.5fps, the second one killed the entire machine, doing an alt-tab back to this browser window might have taken 20s, scrolling took 30s to respond. It did render it and the motion estimation is far superior, however there are oddly coloured frames in the output, so I'm thinking that it's probably not reliable. Hmmm.... Now the question is do I raise it in the BM forum thread where they said it was because my video card wouldn't support it and have them remove the feature altogether, or potentially try and fix it.]
-
If anything is going to have RAW then it's that cyborg camera, not the GoPro clone
-
You can also use the Colour Space Transform OFX (CST) plugin to access the Resolve colour management profiles listed above, but on a clip-by-clip basis like the LUT. However, the CST doesn't clip the levels like the LUT does, so it's a more flexible option. I use the CST plugin exclusively because it offers the best of both worlds.
-
I couldn't find the SpeedWarp on either 16b1 or 16b2 and found out that from BM that that feature isn't available on the puny GPU in my MBP, which is quite disappointing. I can understand if it worked at 0.01fps or something, which just means I'd wait a long time for exports, but not being able to use it at all is a little frustrating.
-
That's all quite disappointing really. Apparently not.. I agree with many others here that if the hardware is similar to the GoPro and taking into account GoPro seeming to do pretty well on the software side, there doesn't seem to be much chance this offers much that GoPro doesn't. Interesting to hear that you're happy with the images - I know things have changed a lot since my Hero 3 Black but looking at the footage from that thing is beyond disappointing. I tried recording myself and a colour chart under controlled lighting high DR scene and cycling through all the main resolutions and combinations of Protune and different WB settings. Then I took them into Resolve and tried colour matching the Protune files to the normal mode and I struggled to get results as nice as the normal mode, and also couldn't see any improved DR either. Needless to say that none of that footage matched anything like the glorious ads they make. RAW or high bitrate files would be something interesting, one of the cool features of the X3000 is the 100Mbps codec, which combined with the OIS and less clipped DR (see iPhonedo GoPro review videos) makes for significantly cleaner images, especially in low-light. If the DJI action camera had RAW or a nice codec then I'd be quite torn between it and the X3000, but so far there's nothing interesting about it. Does anyone know if the Ambarella H2 image processor is particularly powerful? If it is then maybe there's advanced software stuff going on.... @androidlad ?
-
Yeah, interesting stuff. I'm really hoping that they've waited and taken a real look at how people use these cameras IRL rather than how we want to use them (like in the ads). In a sense, if they'd have developed a product strategy and split up all the common uses for a very compact camera between the Osmo Pocket and an action camera then that would be very encouraging. I think GoPro kind of started with the idea of taking selfies while surfing and then in the digital phase of their company looked to the best smartphone tech to package up and sell at a premium. They were kind of driven by what the tech could do, rather than what people wanted. If DJI started with what people wanted, which I think is primarily around "tiny cameras that go everywhere" then that fits drones, a non-waterproof camera-gimbal combo for hand-holding in non-extreme situations, and an action camera that would be for extreme situations of high G-forces and water/dust etc. If they make a wide-angle action camera then their setup would be complete then you could take an Osmo Pocket, a Spark/Mavic, and their action cam and have all the travel/home/holiday film-making you want. To that end, my guess is: Wide-angle Go-Pro like size and mount options EIS not OIS What will be interesting is if they go for a larger sensor like the RX0 to improve low-light, and what connectivity they provide. I agree with @SR that the innovation has been lacking for a while in action camera space so if DJI have really gone back to customer usage and re-thought the entire thing, then maybe we'll see something innovative. After that there's still in their lineup for a 360 camera
-
What's the best video you've found on the Cut page? I've been using it for a few days now and I really like it, but I suspect there's more to it than I'm aware of. 16b1 has crashed a couple of times for me, and there are some strange little quirks, but it's mostly good for me too.
-
My wife and I talked about buying a Sony X3000 last night, and I said to wait for next weeks paycheck because there's no hurry. While I doubt it, I really hope it's an RX0 style Sony X3000 & GoPro Hero 7 killer! DJI are perfectly positioned to make an action camera. I would have bought an Osmo pocket if it had a wider lens and waterproof housing. But like @Cinegain says, it's probably a submarine.
-
That's clean work. Yours? I also like the QR plate on the top, which might be the answer I'm looking for to move my mic forward a bit so I can use the viewfinder on my GH5.
-
What's that saying? "We Have Done So Much with So Little for So Long, that Now We Can Do Anything with Nothing".. it's from the military apparently, but in the face of having to get the job done under difficult situations with less and less resources without compromising the output, I think there are parallels that can be drawn
-
Couldn't help myself, so I just bought a Sun Zoom 70-210mm f3.8. I figured that it's probably not too bad, and even if it is it wasn't expensive, so no harm no foul. I also had a re-think about camera inserts and came up with a new plan for getting more lenses into my bag The edit is coming together, despite my comedy of errors in planning, packing, and shooting!
-
PP/FCPX is like driving a car, Resolve is like flying the space shuttle. In terms of Editing they are more closely matched in power and complexity, but in the Colour and Fusion stuff it's a whole different beast. Workflow is an interesting topic though, and you're likely experiencing a combination of these two factors: You have a workflow that you've optimised over time for yourself and it suits the way you work and the projects you do and PP supports that PP is designed in a certain way and you've learned to fit into that workflow, adapting how you shoot, edit, colour, mix, and export to fit into the way that PP wants you to operate Every package offers a combination of these two factors and Resolve is no different. The biggest challenge with changing (between any two NLEs) is that at first you will try to do things the way you're used to doing them and you will find that there are barriers / limitations / annoyances to doing things that way, and it's frustrating. It's only over time that you may come to learn that the new NLE doesn't have the barriers / limitations / annoyances that your previous one used to, and you can start including these additional freedoms into your workflow. Understanding the opportunities that these represent, re-interpreting your workflow to understand which things you decided to do vs which things your previous NLE forced you to do, and then adapting your workflow to take advantage of the new things that you've chosen to adopt all takes a long time. I have no idea about how editing compares between FCPX/PP/Resolve, but I know that the colour and image post-processing in Resolve is absolutely no comparison and it's so powerful that you couldn't learn everything about it even in a whole lifetime. The key to learning and adapting quickly is to read about other peoples workflows, think deeply about how you work and why, what end result you want to achieve, and do a bunch of test films in Resolve where you try shooting / editing / colouring / mixing / delivering in a different way. Not only will you learn Resolve much faster, but you'll also expand your skillset and get a deeper understanding on how you work and why.
-
What's wrong with star wipes and venetian blinds? Star Wars was a seminal film and it didn't even have those!
-
Mother: What do you want to do when you leave school? Kid: I think I want to study medicine and become a doctor. Mother: Well, that's great and all, and it's important to have dreams, but have you considered a career in IT? Kid: But I like helping people, like when grandma was sick.. Mother: You father and I have done the sums, and we know that doctors get paid very well but if you worked for Adobe, over the decades the family discount actually makes it a more sensible option....
-
True. When I was buying a 4K display I couldn't decide between 32" and 42" and as I planned on watching TV/Movies on it I looked up the THX and Dolby(?) specs on viewing angle for cinema screens. IIRC each gave a viewing angle range (which obviously varies depending on how far you sit from the screen) and I picked a monitor size appropriate to those viewing angles. That calculation resulted in me getting a 32" display, which fit both specifications for viewing angle when viewed at my viewing distance, which was defined by me reclining back on my chair and putting my feet up on a footrest such that my feet were almost under the display. I haven't done a test, but at that distance you probably wouldn't be able to tell the difference between 4K 4:4:4 and 1080 4:4:4, but you sure can tell the difference between a YT clip in 4K vs the same clip in 1080! The fact that we shoot 4K25 at 400Mbps is 1.3 bits-per-pixel and 1080p120 at 100Mbps is 0.4 bits-per-pixel just further exaggerates the issue.
-
Yes, HLG. Too many advantages to remember all in one go! Mine is also stuck in this mode. C1 and C2 are both these settings except different pre-set focal lengths ???
-
Those paintings after "The Event" are truly remarkable. Wow!
-
It is. The 6K mode is technically 5K but it's really nice.. it's 4:3 so you can re-frame in post, it's h265 200Mbit which is equivalent to about 400Mbps h264 in terms of IQ and the 200Mbps doesn't require the super-expensive UHSII SD cards so it's cheaper, it has less/no sharpening added and looks really nice IMHO.
-
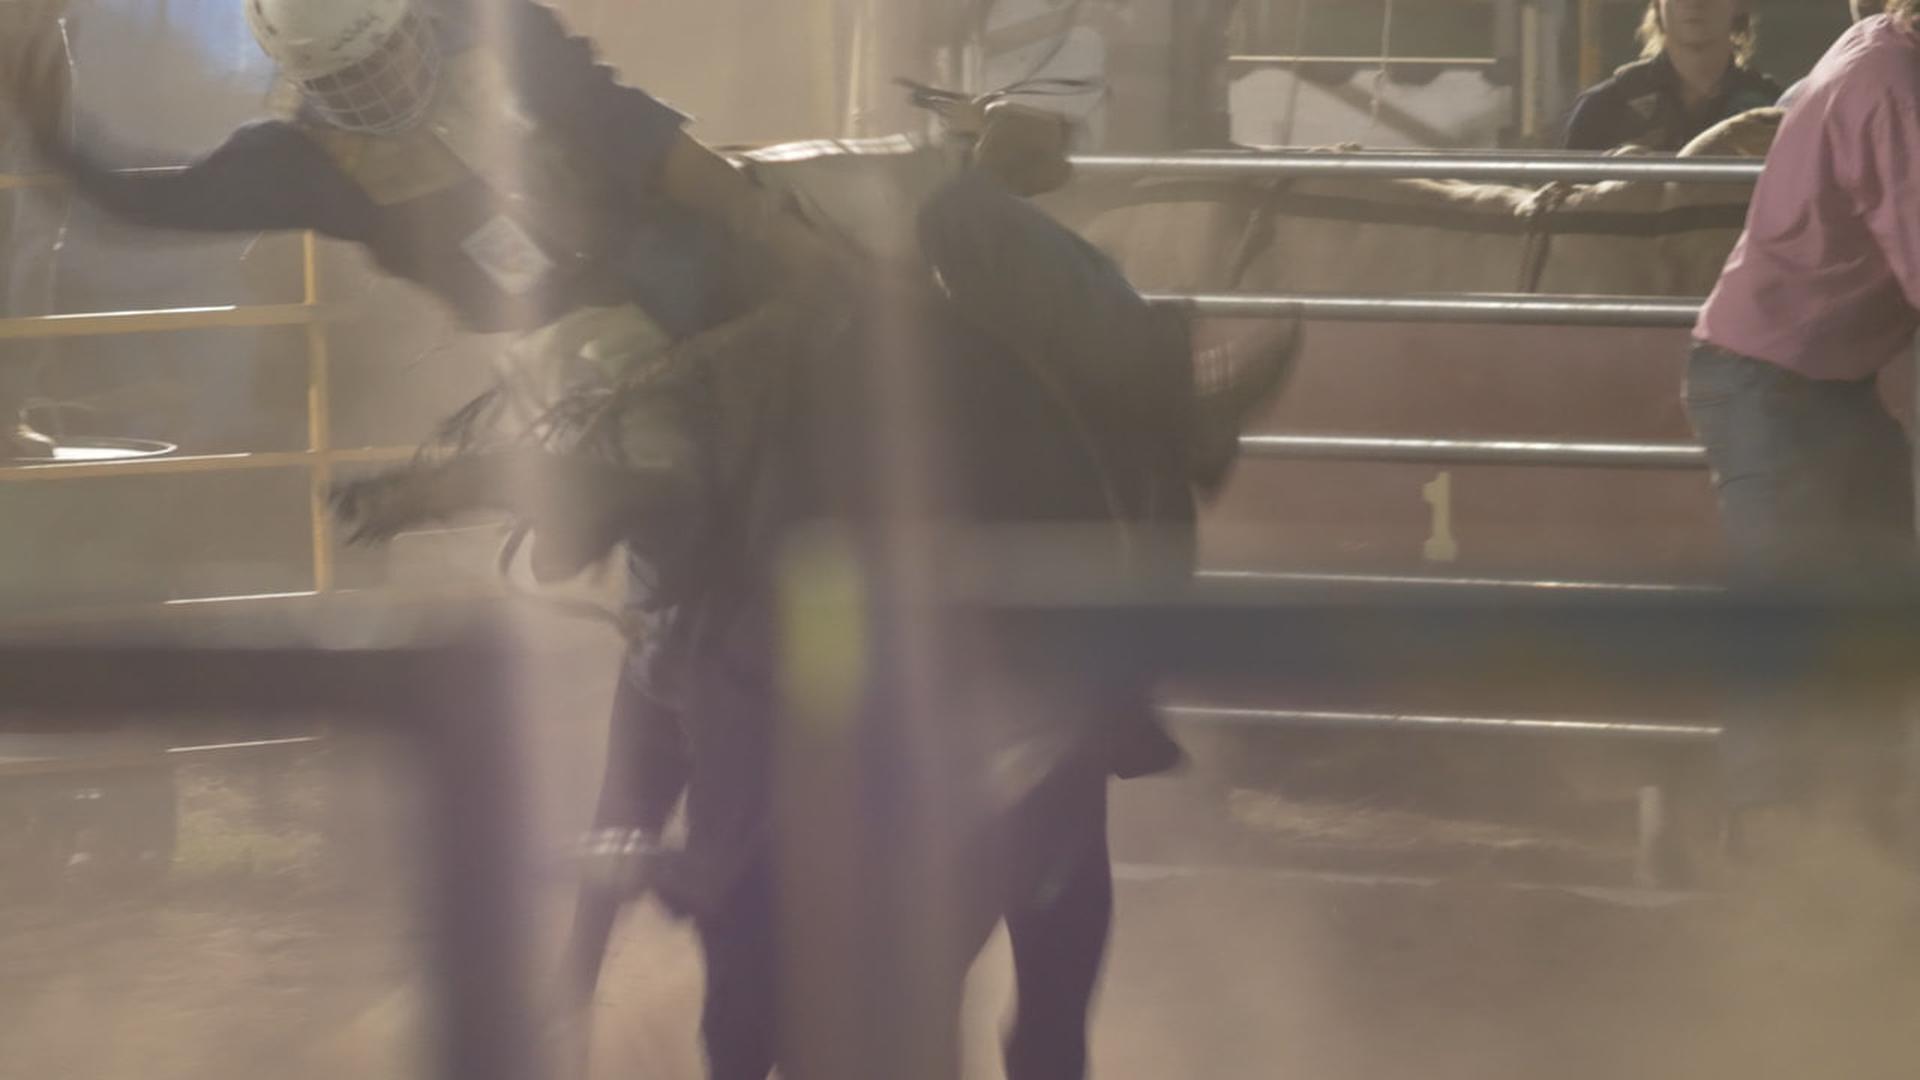
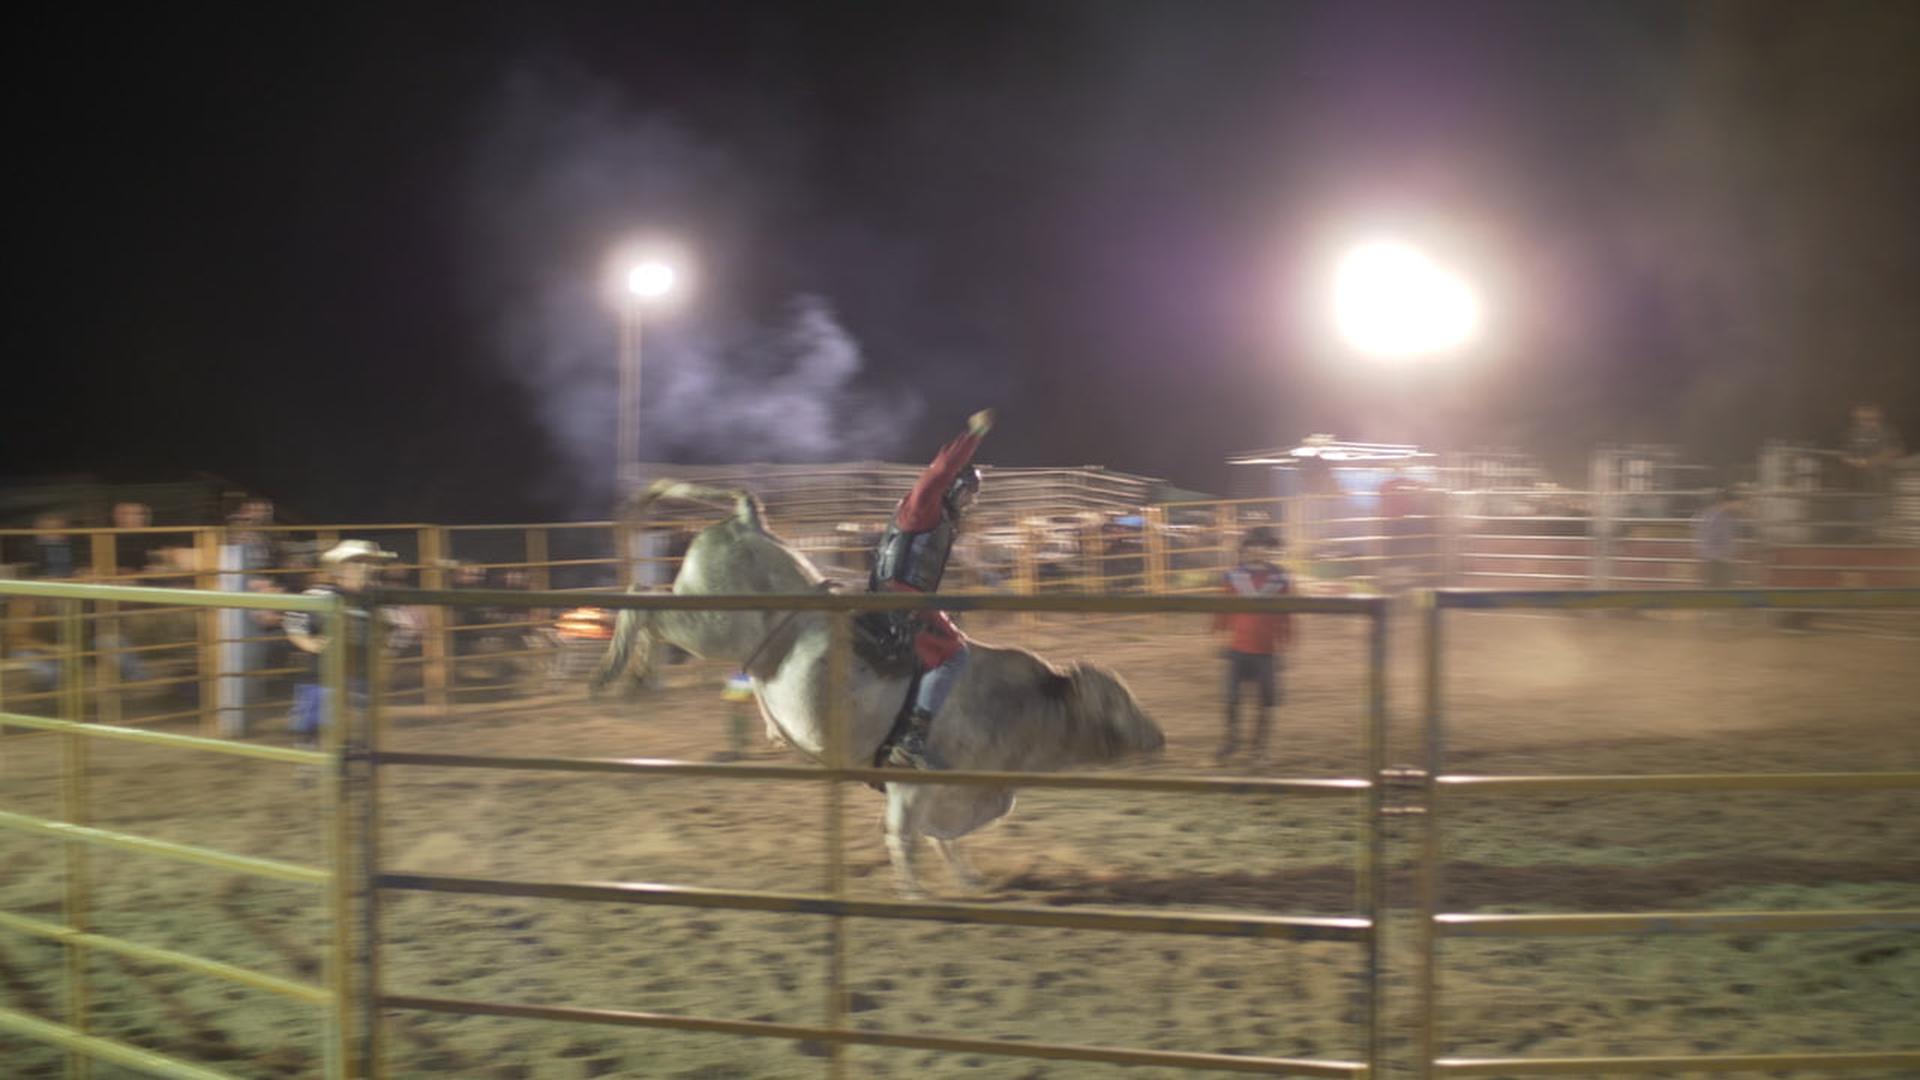
In other news, the bull riding footage I shot on the weekend from the city-slickers-visit-the-country-yee-ha trip is falling into place using the new Cut page in Resolve 16. A few problems: I got 'out of sync' where I either double-pressed the shutter or didn't press it, and ended up recording the bits in-between the action and not the action itself I blame the mic placement because I didn't have my eye pressed right up to the eyepiece, which means you can't see the edges of the frame and thus the blinking red record light. I also need to be more careful as I've done that before with other cameras without the same excuse. I got the really important shots, and I'm only making a highlights video for fun so I still have plenty of footage, so it's all good, just.... *facepalm* I was shooting straight-into a floodlight, so the vintage Minolta 135mm 2.8 flares like an absolute @#$!$#% so my contrast is all shot to hell, and because I was recording in 4k50 8-bit Cine-D I don't have the advantage of the 10-bit to save the day, plus the ISO was probably riding up a bit and it was only 150Mbps too, so the image leaves a little to be desired. I'll have to work out how heavily I push the image to try and recover a normal amount of contrast. The car was really full, so I only took one bag, and due to this restriction I only took two lenses - the 17.5mm f0.95 for people / low-light and the 135mm f2.8 for closeups. I almost took the Helios 58mm and I really wish I had because the 135mm was a bit too zoomed in to catch the rider and the bull in the same frame. I partially blame the camera insert I use as it doesn't have many pockets so I might need to look at a new insert or new bag. Here's a couple of frame grabs just for fun. The first is out of the flare range and has a bit of contrast added, but the second is unedited and shows the levels and the flare. The third is the 17.5mm. They are from my 720p proxy files so don't judge the image quality.

-
Interesting about streaming. I kind of thought that you'd have two scenarios, the first where it was a truly live stream so you'd need the entire pipeline to function without hiccups, and the second where you had time to edit it before uploading it for distribution. I guess I read 'stream' and thought 'live stream' lol. I think I agree with you that if it's within the budget, having a hardware switcher and then editing it later on the PC would probably be my go-to as well. Especially when you're in hostile environments without proper cooling etc. Sports and money is an interesting topic. Reminds me of the Last Week Tonight show about stadiums ???
-
+1 for what @thebrothersthre3 said. Think of them as different types of cameras. That's why they sold them as part of the same range, the GH5s didn't replace the GH5.
-
Silly question, but I just went to do something and it wasn't there in 16b1. I went to the media pool, right-clicked on a Timeline, and was expecting to see Duplicate Timeline in that menu (or from one of the sub-menus) but I couldn't find it. I went straight from v14 to 16b1 so maybe they moved it before and I didn't see it? Or am I just crazy? I haven't edited anything in a while. I got around it by copying the timeline and pasting in a folder, but Duplicate Timeline would have been easier.