Dispelling the myths – optimising performance – never read another endless forum post again!
Payment via PayPal, just $19.99 (usual price $29.99)
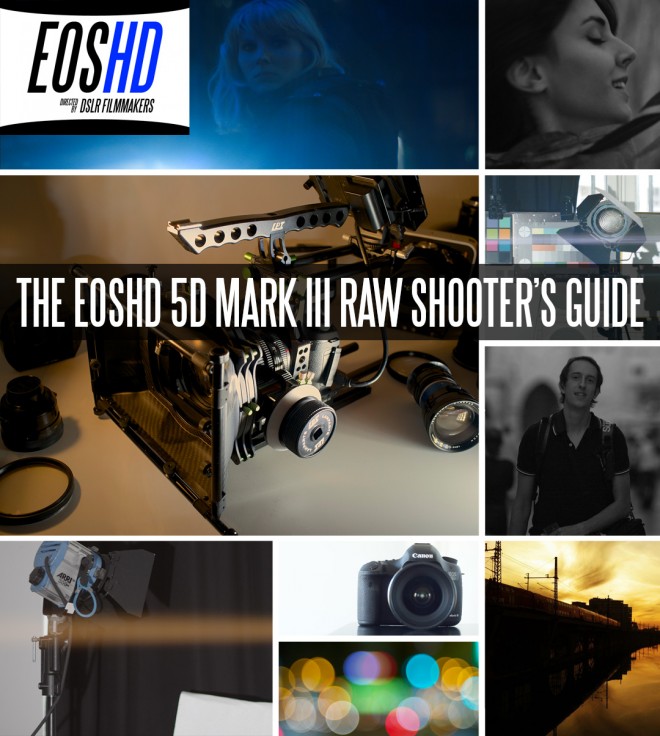
My third book launches today. It is available to download immediately and for the first week you can get 33% off the usual price making it just $19.99.
It is an enormous 12 chapters and 106 pages.
The 5D Mark III raw recording capability has completely changed the way I shoot, the camera I shoot on and the software used in my workflow. The 5D Mark III has come back like a phoenix from the flames with the latest Magic Lantern firmware – they are saviours!
In the book I aim to make it easy to get up to speed and shooting raw on the 5D Mark III immediately within minutes, before delving deep into what you can actually do with it.
I think even if you don’t yet own a 5D Mark III and are wondering what all the fuss is about the book is very helpful as it allows you to make a better informed choice of whether raw is for you and whether you should sell your current camera.
If you have noticed a lack of blog posts recently on EOSHD this book is why! I have poured my blood, sweat and tears into it.
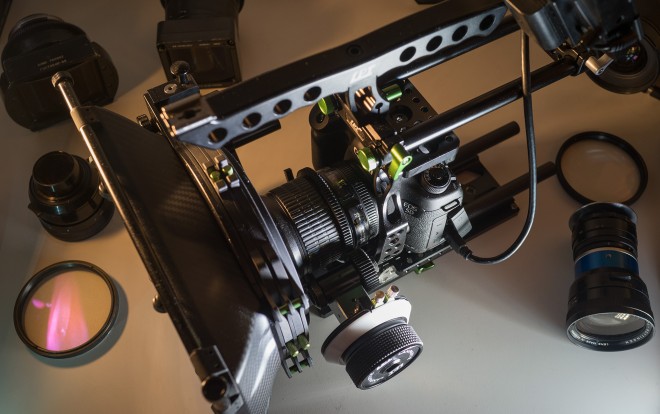
By the way – the mystery rig shown in the book will be revealed later this week.
The full contents listing of the book is below.

Chapter 1 – Introduction
An introduction to the world of raw recording with Magic Lantern and the 5D Mark III.
Welcome to the book
New 5D Mark III specifications with raw enabled
Magic Lantern: liberators
Advantages of raw
Types of filmmaking suited to raw
Understanding raw
Chapter 2 – Enabling Raw Video
Practical advice so you can begin shooting raw video on the 5D Mark III immediately.
Preparing your 5D Mark III
Preparing your Compact Flash card for raw recording
Installing Magic Lantern – Step 1
Installing Magic Lantern – Step 2
Installing Magic Lantern – Step 3
Activating the raw recording module
Chapter 3 – Recording Raw Video
A guide to making use of raw video and exploiting the full extent of the feature.
Changing resolutions and frame rates
Aspect ratios
Higher resolutions than 1080p (2k to 3.5k)
What are the maximum continuous recording times?
Understanding data rates
What is crop mode?
Playback and file manager
Chapter 4 – Recommended settings
This chapter contains my most frequently used reliable and interesting settings for shooting raw video on the 5D Mark III.
Introduction
Recommended settings
Optimizing performance
Slow-motion 48p / 50p / 60p
1:1 crop mode
Anamorphic aspect ratios
Movie tweaks menu
Chapter 5 – Recommended software and editing codecs
Canon raw video files usually require converting to an editable raw format. Here’s an introduction to which formats you can use to edit raw.
Summary of software requirements
List of recommended software
Standard DNG uncompressed raw
Cinema DNG uncompressed raw
CineForm compressed raw
Compatibility with editing software
Chapter 6 – CineForm raw workflow
CineForm saves huge amounts of storage space but maintains the advantages of a raw workflow. This chapter deals with how to use it.
Introduction / advantages
System and software requirements
Converting to CineForm
Chapter 7 – Uncompressed Cinema DNG raw workflow
For maximum image quality you can edit uncompressed raw in DaVinci Resolve and other applications (such as Adobe After Effects) which support Cinema DNG (but not Adobe Premiere).
Introduction / advantages
System and software requirements
Converting to Cinema DNG on a Mac
Converting to Cinema DNG on a PC
Getting started with Cinema DNG in DaVinci Resolve
Chapter 8 – ProRes / Ginger / After Effects
For alternative ways of processing your raw footage – conversion to ProRes does not allow grading of raw on-the-fly but maintains a high level of image quality and a codec which is compatible with almost any editing software. Ginger allows direct editing of 5D Mark III raw clips in Premiere via a plugin but it is in the early stages of development.
Convert to ProRes in After Effects
Ginger for native raw clip editing in Premiere and After Effects
Chapter 9 – Kodak, Fuji and Alexa film looks for Resolve
LUTs are common film industry tools for giving raw footage a certain look and feel. Along with a selection of carefully crafted cinematic looks, this chapter deals with how to use them in DaVinci Resolve.
What is a LUT?
Recommended software and format requirements
Kodak & Fuji film looks
Rec.709 to Canon LOG
Alexa film look
Applying a LUT in Resolve
Chapter 10 – Suitable Compact Flash cards
Raw recording on the 5D Mark III is extremely demanding on Compact Flash card performance and capacities. In this buyer’s guide I look at which ones work, and which don’t.
Benchmarking your card
Card buyer’s guide
Chapter 11 – Raw shooting advice by Andrew Reid
With raw shooting the DSLR video rulebook has changed. Here I look at shooting techniques and how to shoot better looking raw footage.
Be economical with your footage and ‘edit in camera’ like John Ford
Prioritize shadow or highlight areas
Avoid too much highlight recovery in post
Ignore the native ISO
Shoot at these ISOs for best results…
Experiment with crop-mode framing before selecting another lens
Don’t be shy about investing in Compact Flash cards and spare batteries
Stop down the lens when necessary
Try to avoid shooting handheld without a rig, avoid a complex rig
Chapter 12 – Cinematography advice by Andrew Reid
Drama in simplicity
Rule of thirds
Composition
Natural light
Tips from the Tree of Life cinematographer Emmanuel Lubezki, ASC, AMC
Dead space
Color
Focus and depth of field
Location – not just a backdrop
Appendix A – EOSHD articles and sample videos
Appendix B – Technical glossary
Appendix C – Troubleshooting and FAQ
Appendix D – Disclaimers


