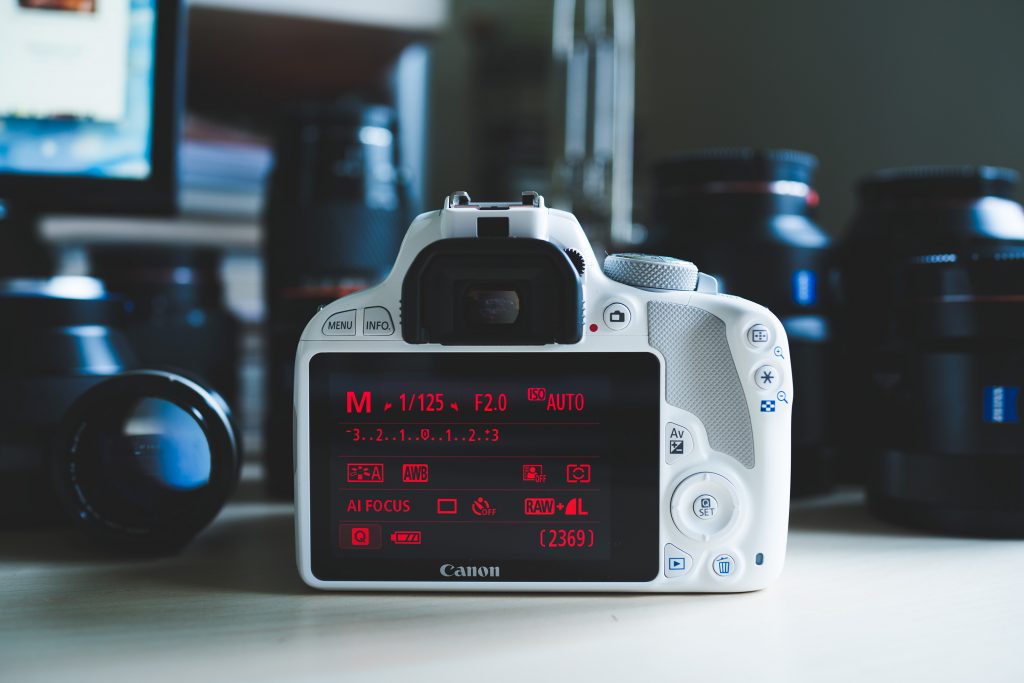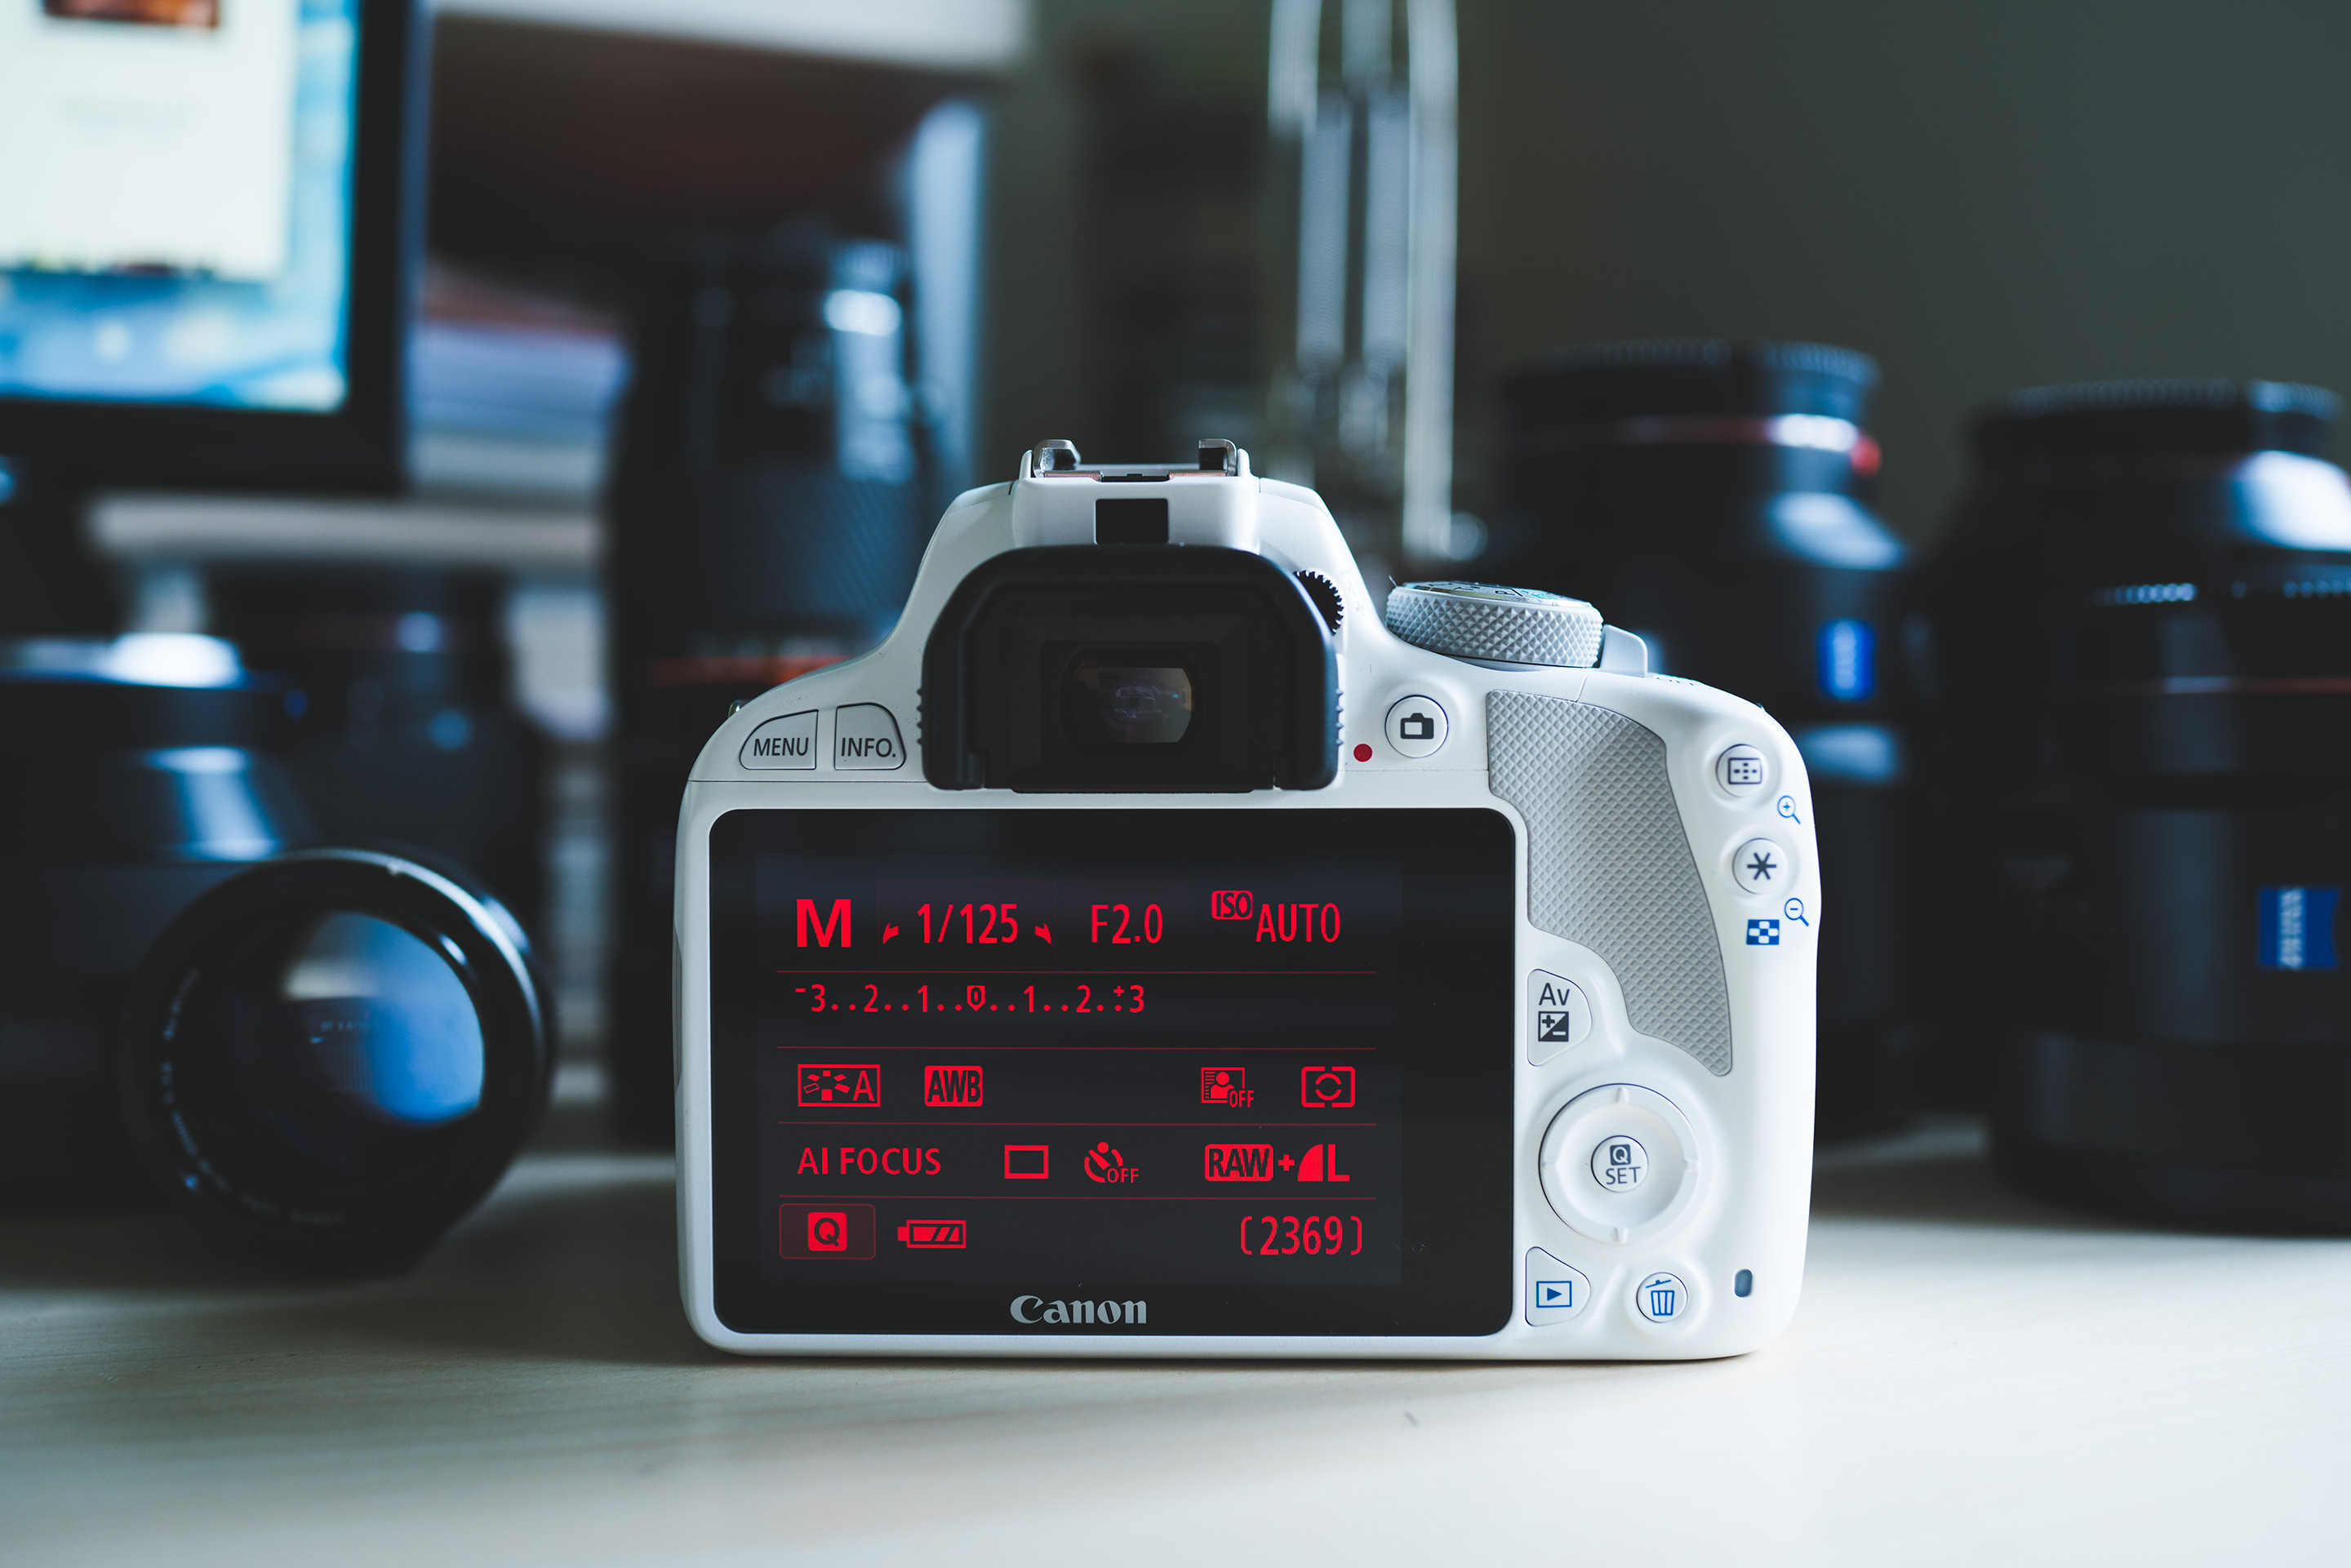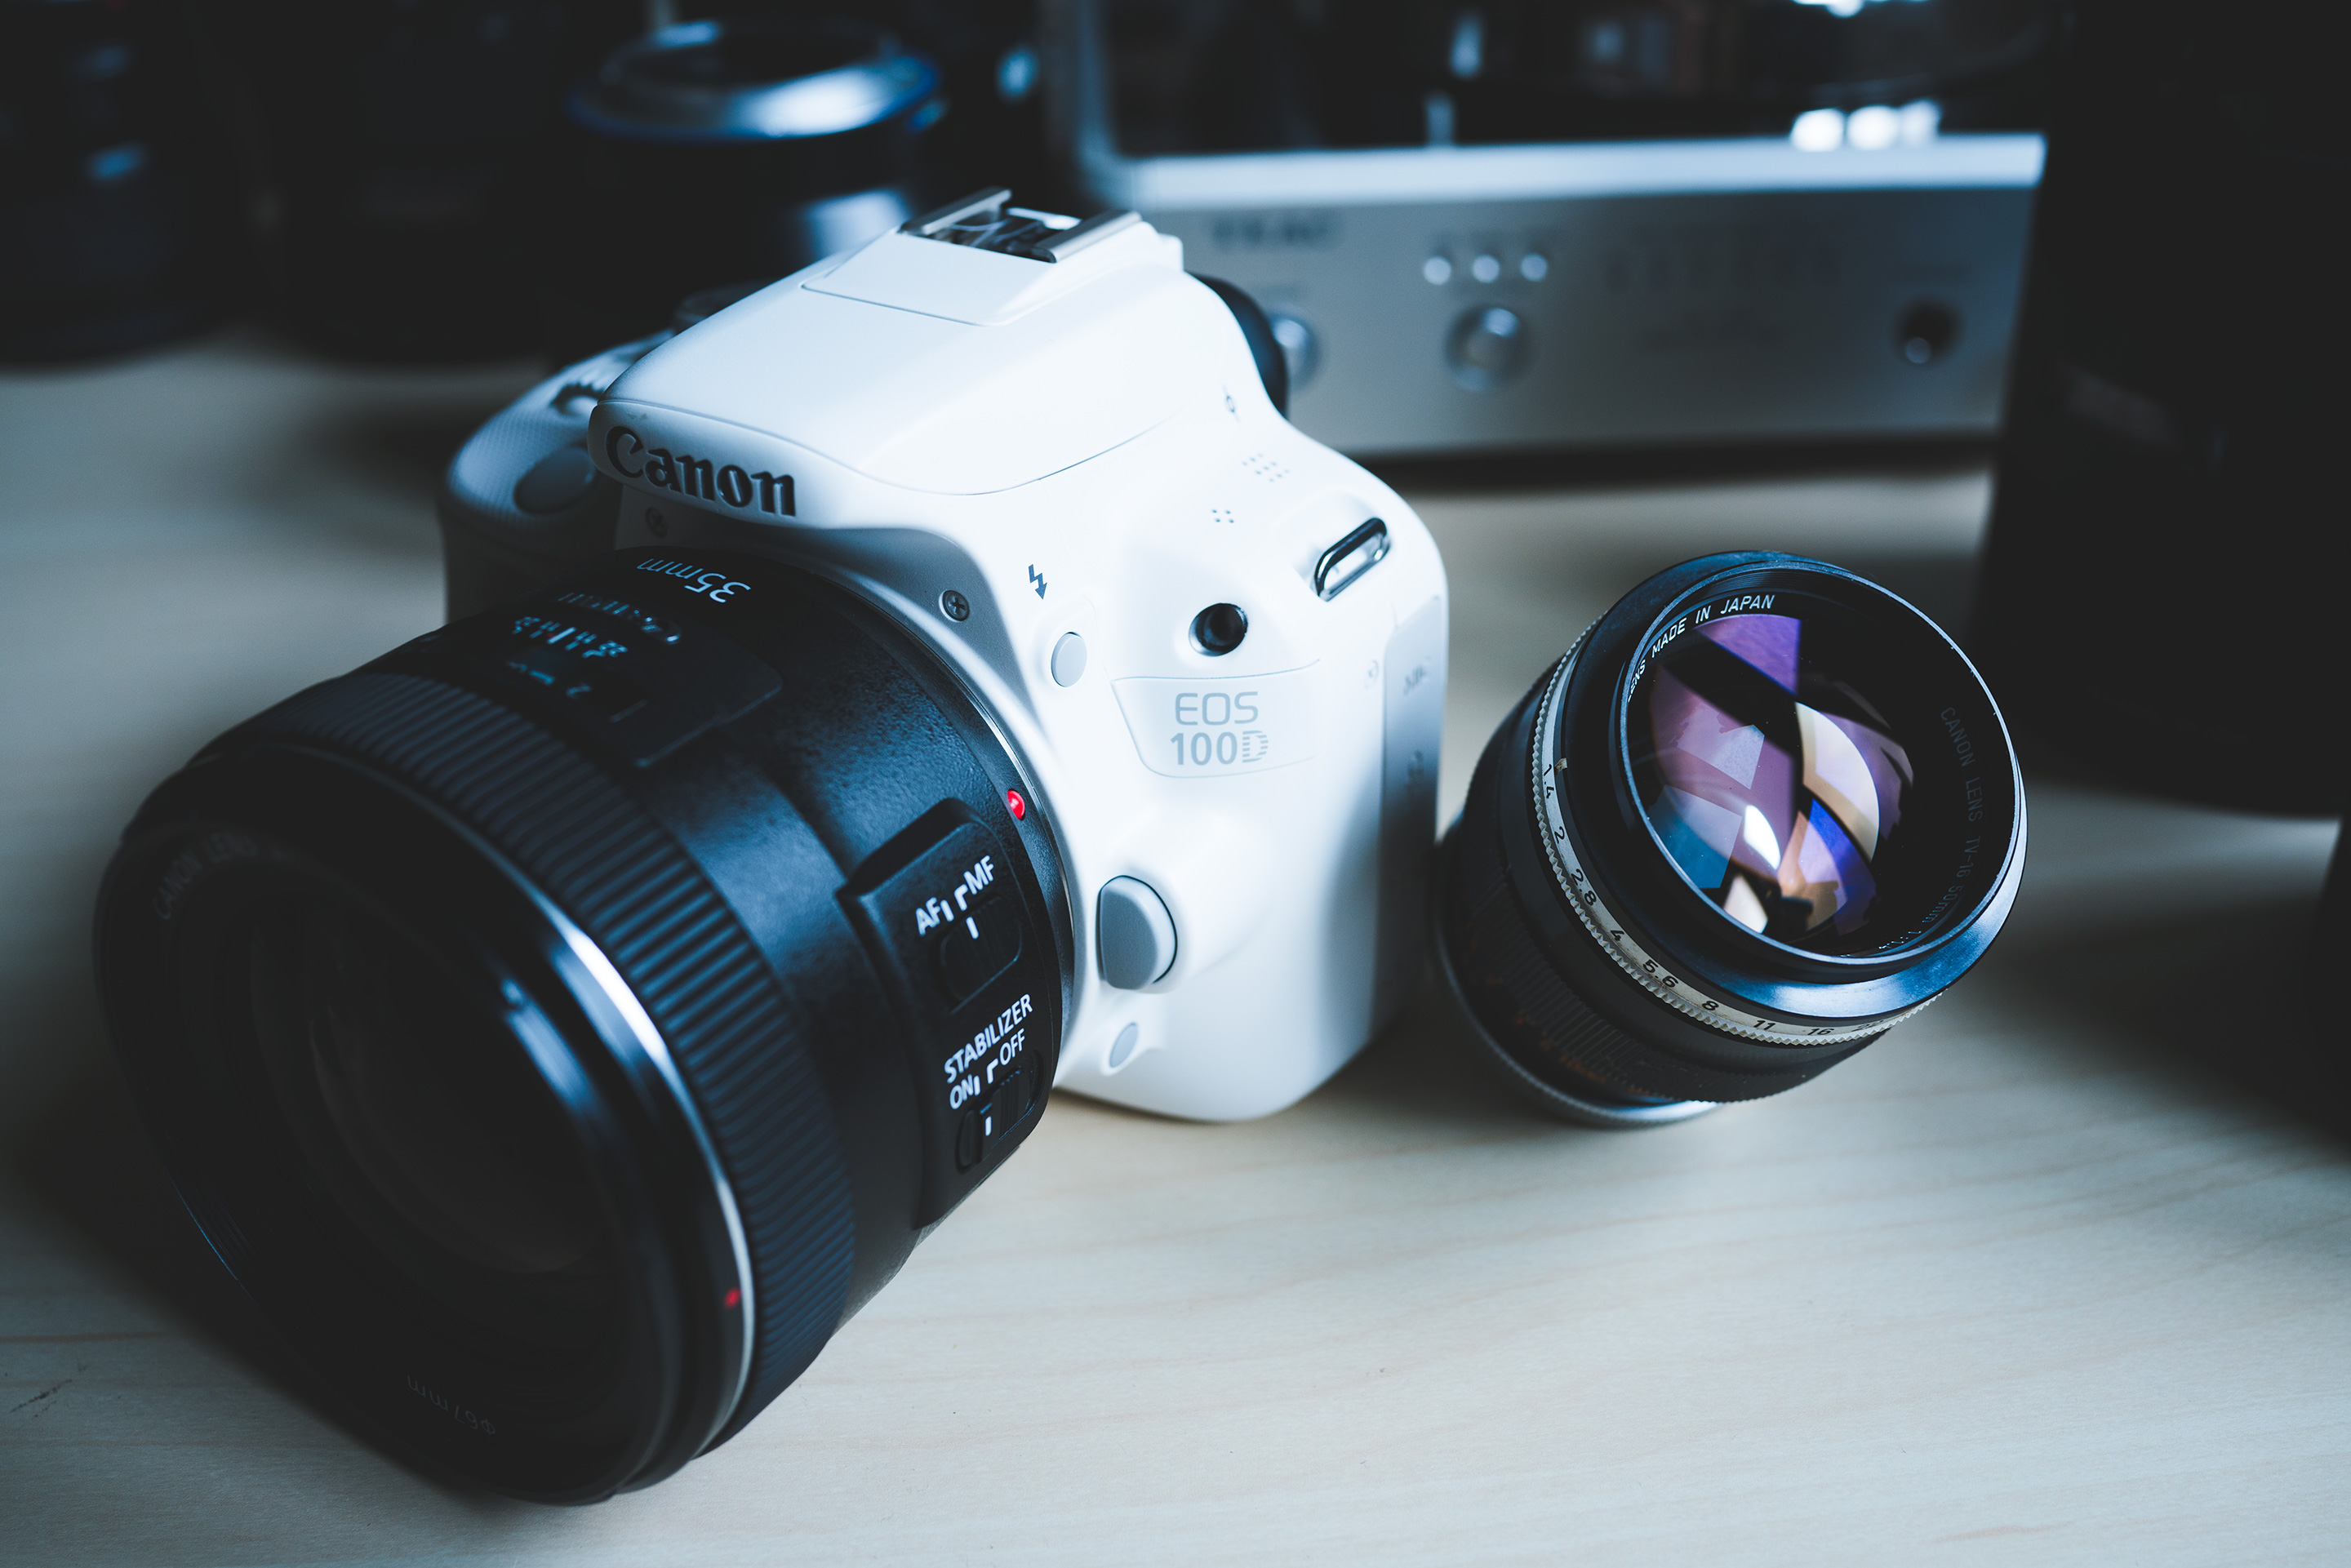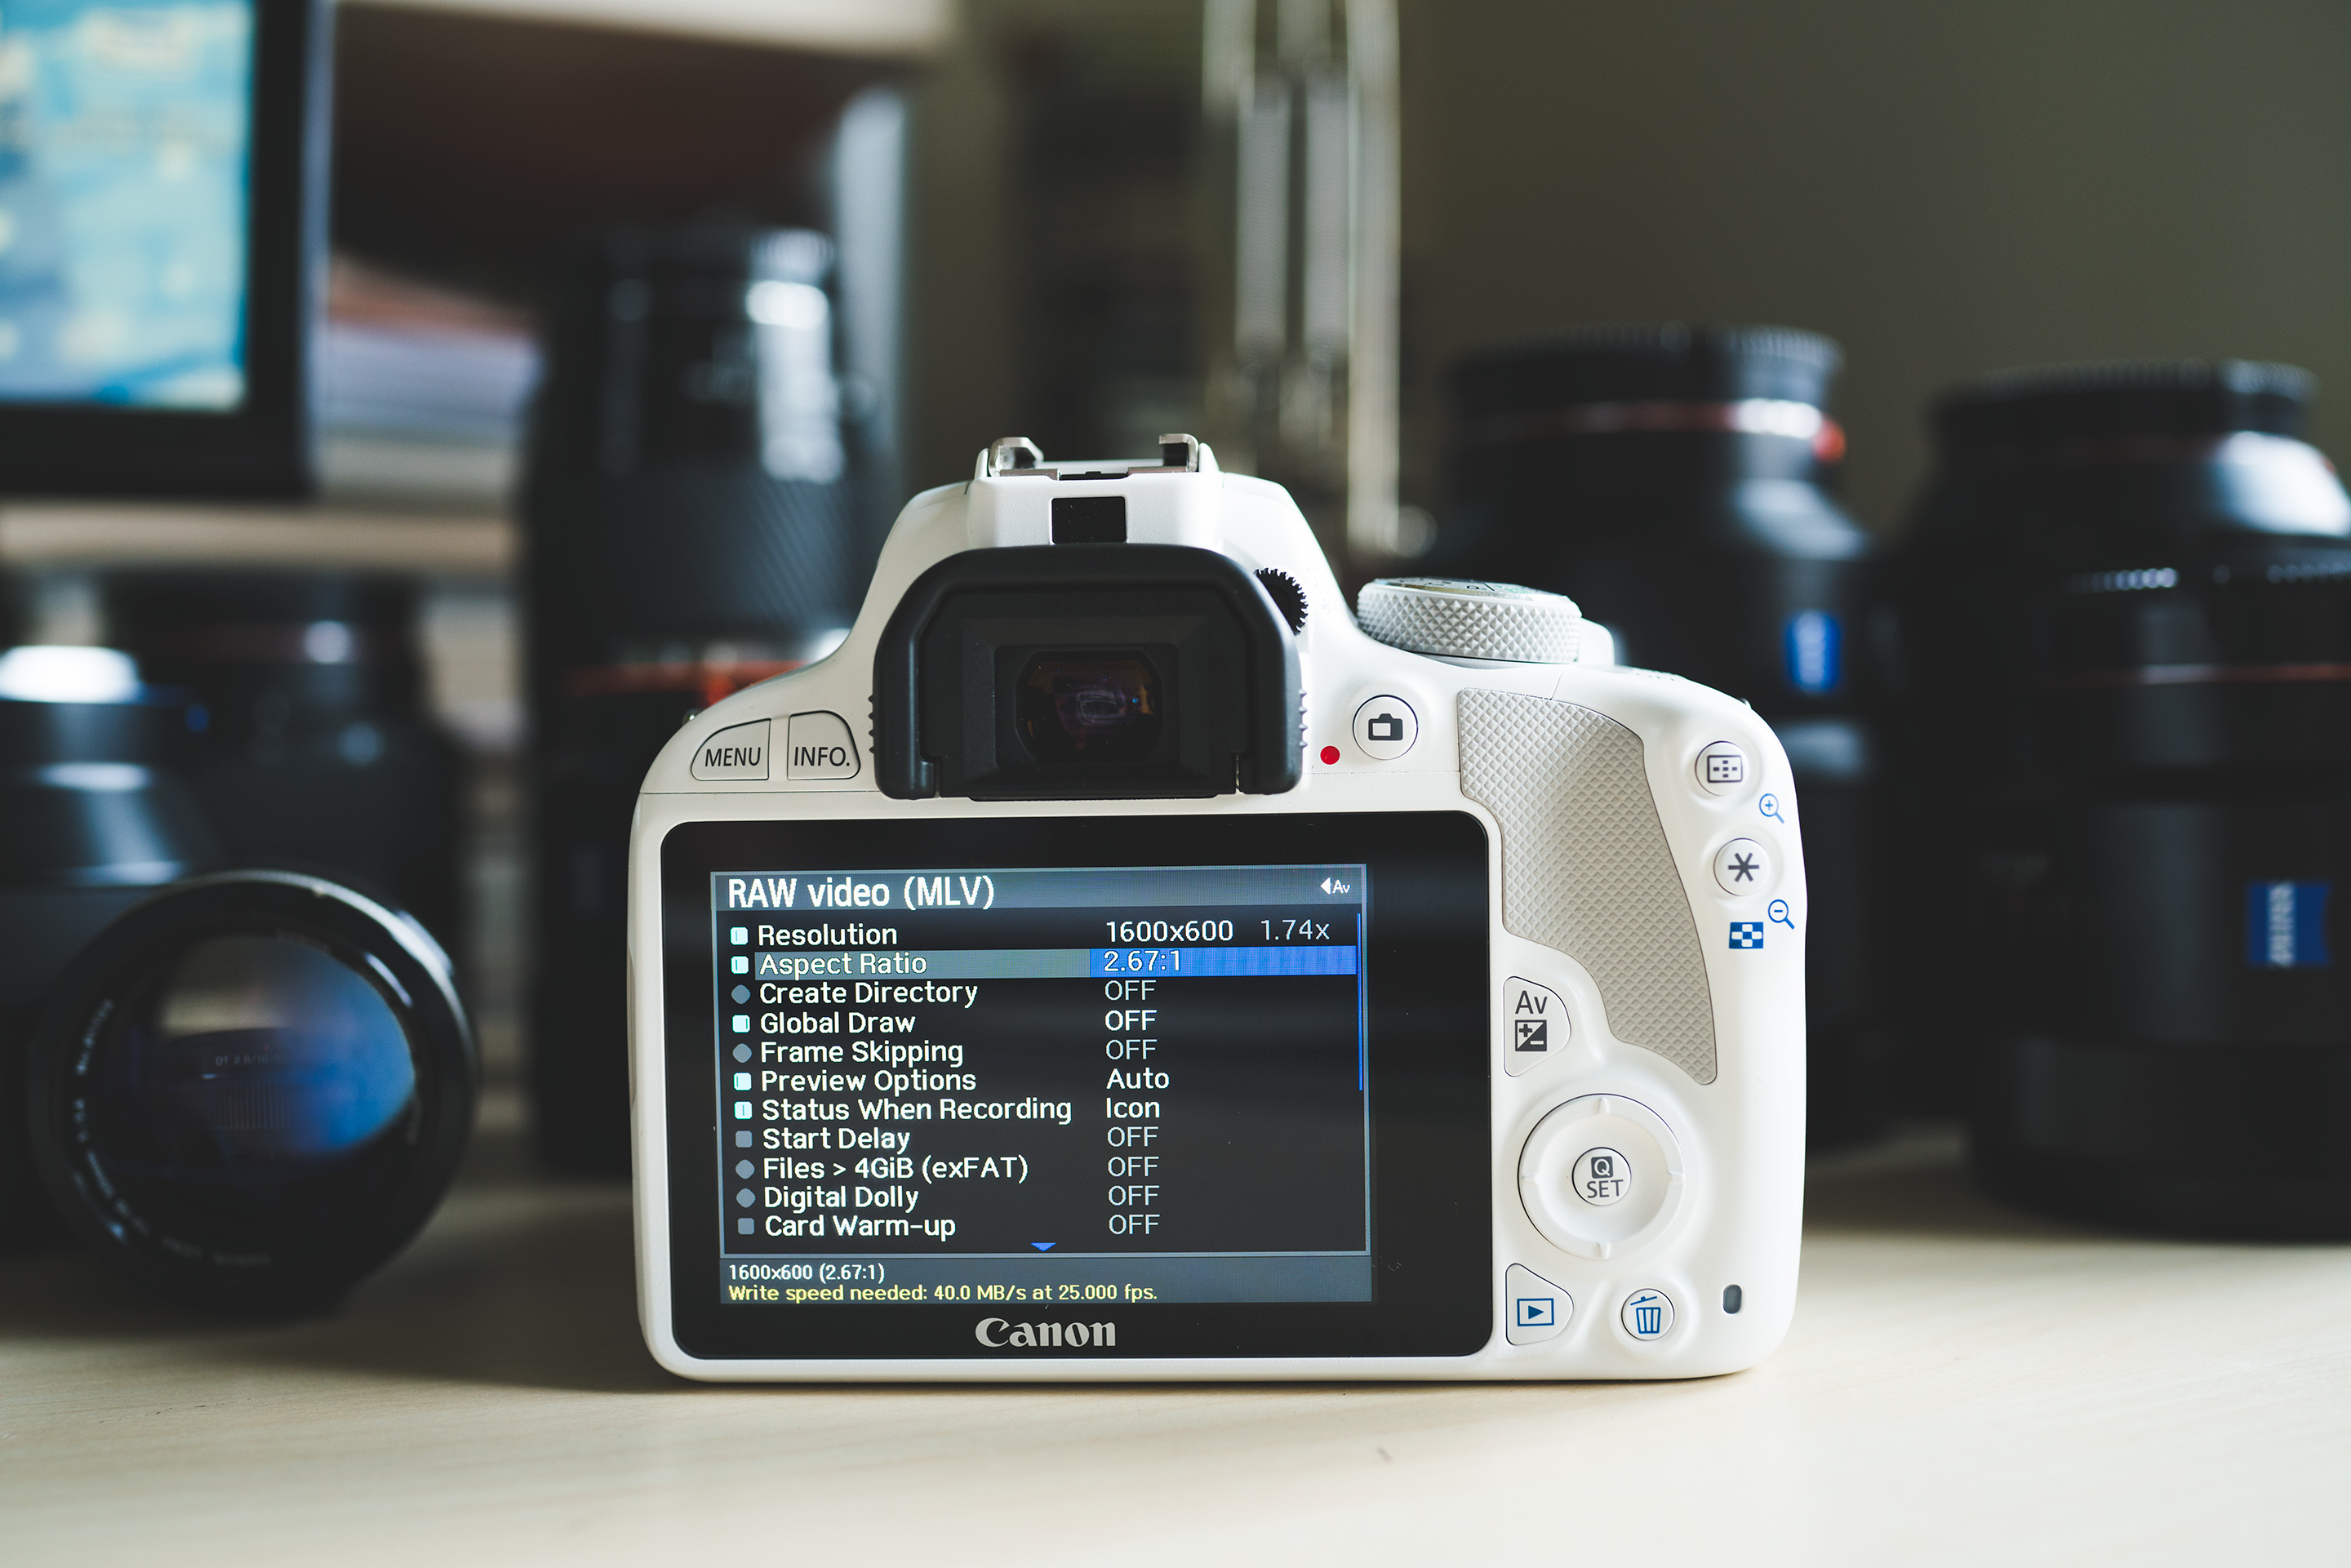
The Canon 100D is £250 used and I have always had a bit of a soft spot for it, being the smallest and lightest Canon DSLR body.
I recently installed an experimental version of Magic Lantern on the 100D and am absolutely taken-aback by how good the image is!
It practically eliminates moire and softness. The 100D shoots continuous 1.7K RAW video in 25p and 24p to SD card.
This is the first time such a video-leap has been possible with Canon’s cheapest APS-C cameras.
“Rebels” have slower SD card slots, unlike the 5D Mark III (and 7D) which has a Compact Flash slot enabling at least 80Mb/s write speeds for RAW.
What makes this Super 35 1.7K RAW possible to SD cards on the 100D is the new 10bit and 12bit compression engine.
The resolution horizontally is just shy of 2K but there is barely any horizontal crop of the Super 35mm sensor. I do use 2.35:1 (a common Cinemascope one) though because aiming for 16:9 brings the data rate of the recordings up too high for the SD card.
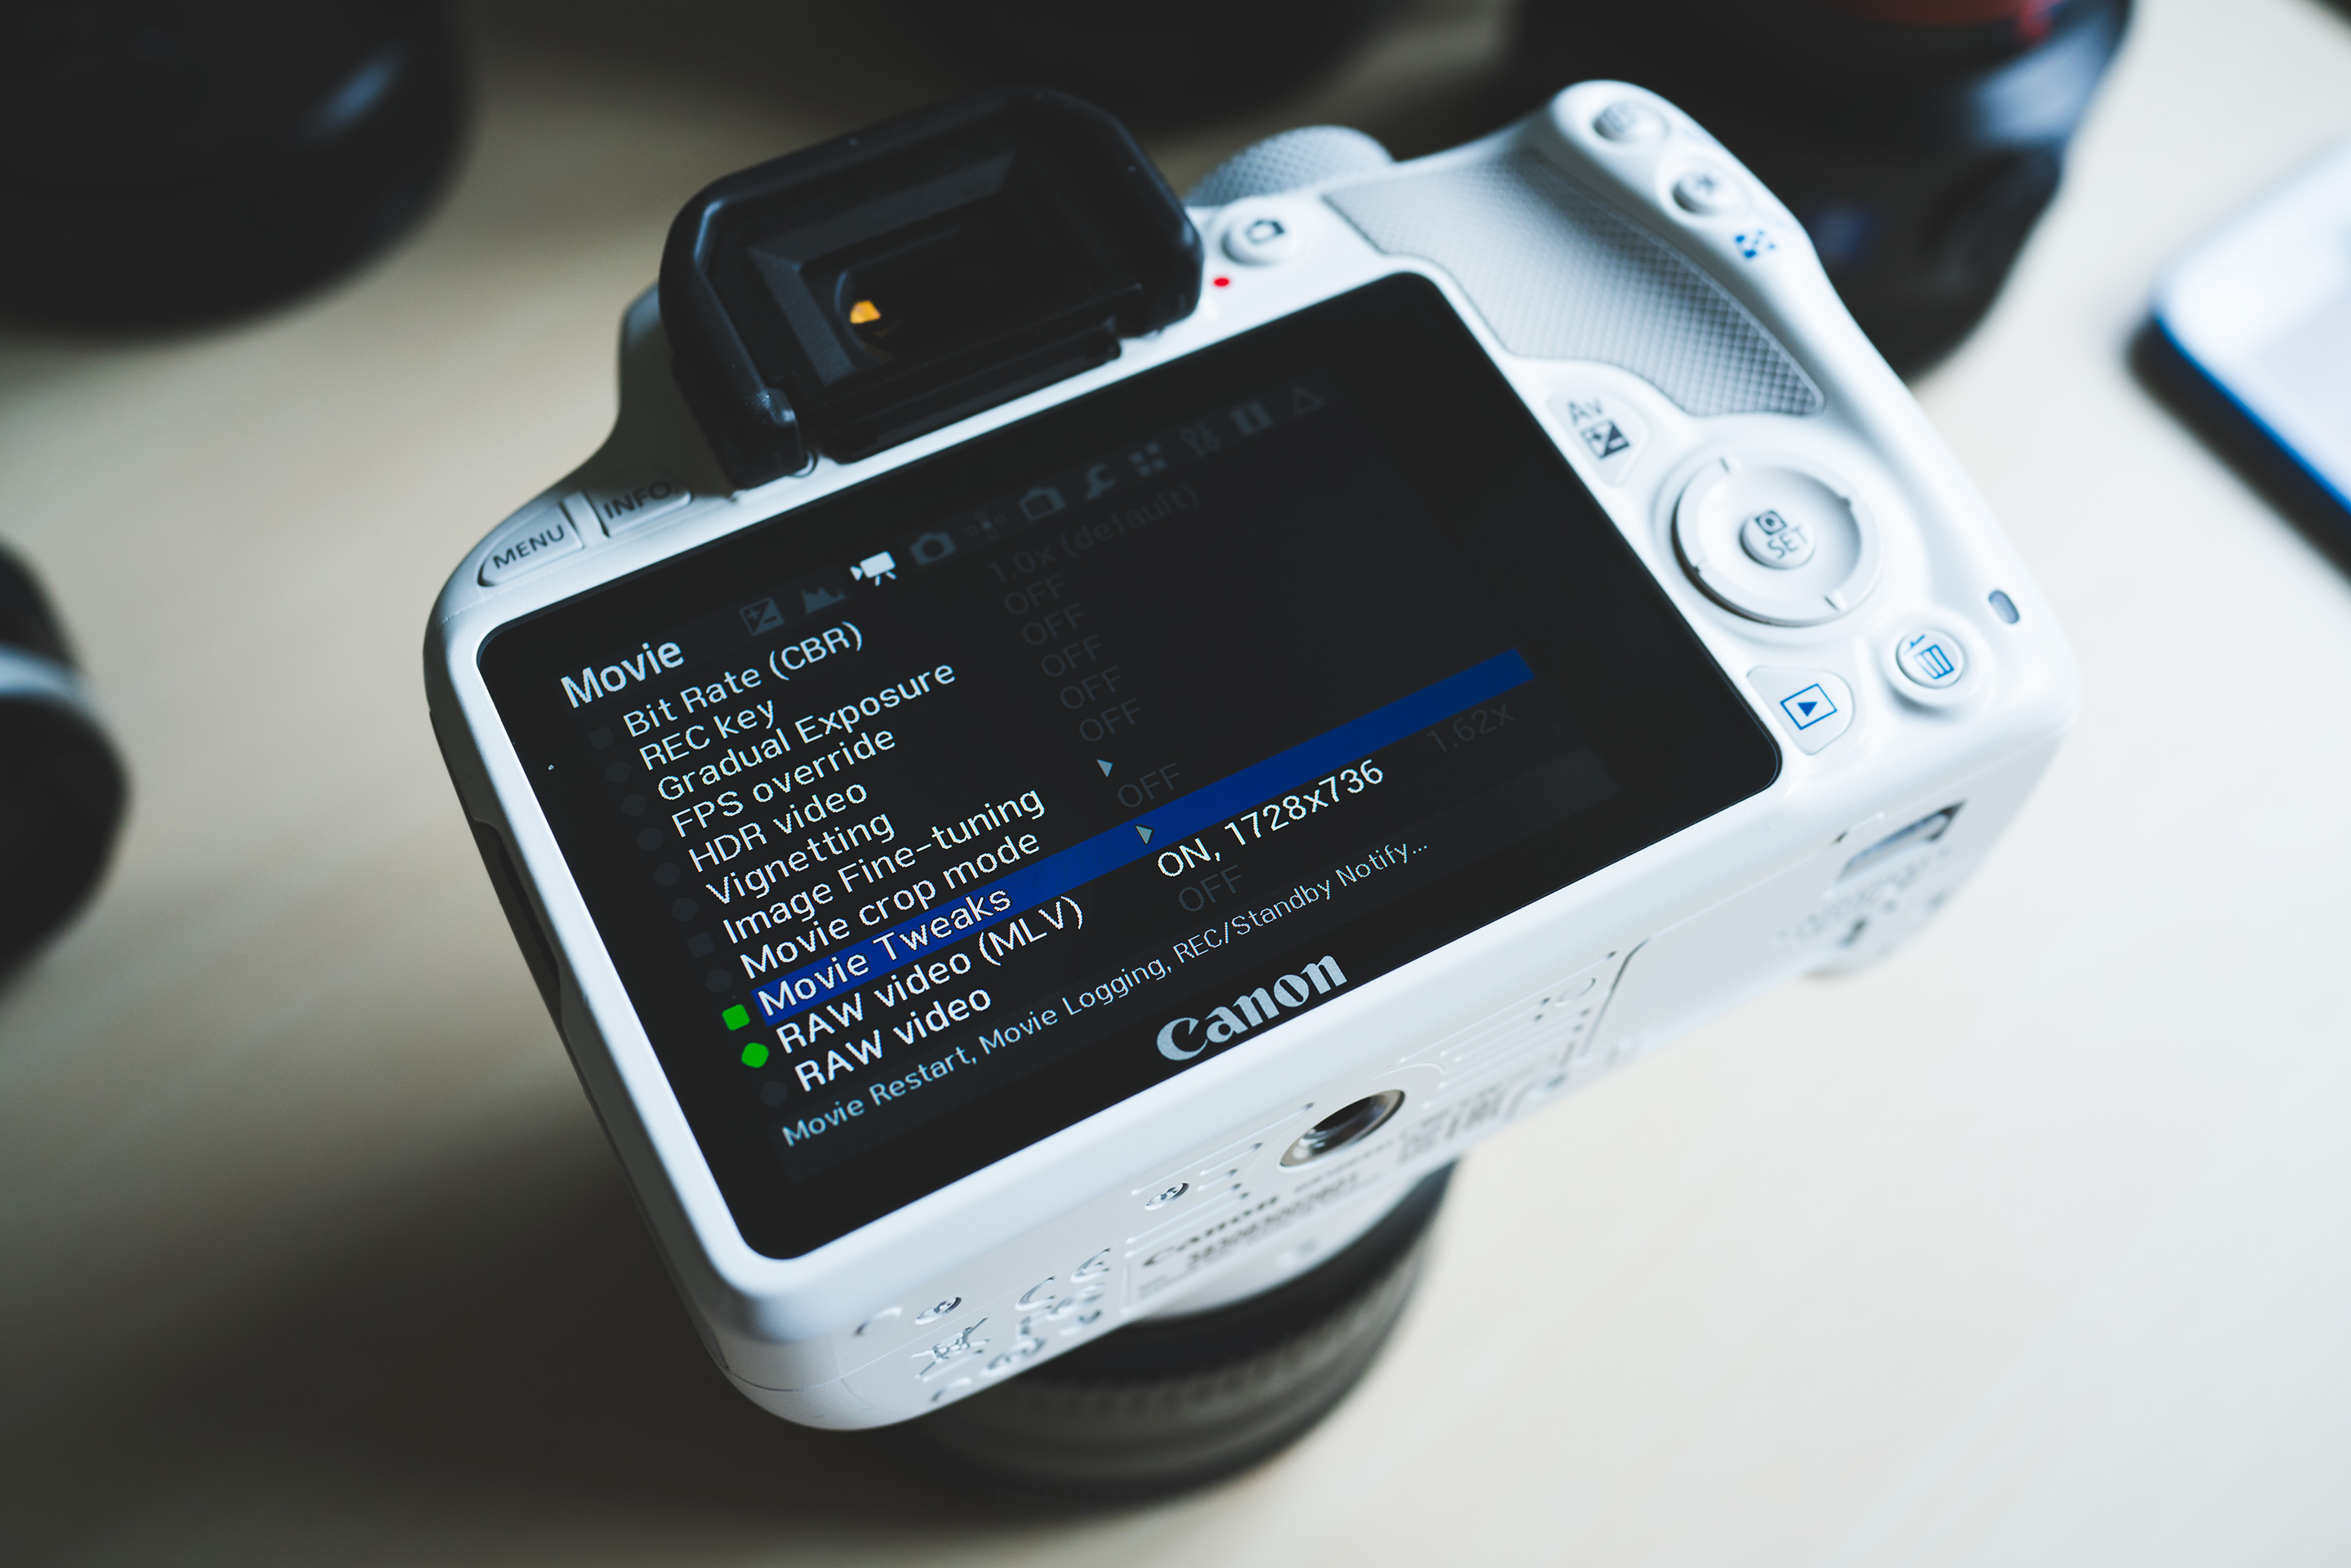
1728 x 736 is the sweet spot and this was previously unheard of for a Canon APS-C DSLR with Magic Lantern RAW.
The camera also get its crop mode back with Magic Lantern, so you can do an Ex-Tele GH5-style 1:1 crop when you need the extra reach and haven’t got a 70-200mm handy! This crop mode works in 10bit RAW, with full colour live view and fluid refresh rate, as does the Super 35mm 1.7K.
I like using this camera with the Canon 35mm F2.0 IS. The stabilisation works superbly for handheld RAW video too and the lens isn’t so heavy like the Sigma 35mm F1.4 ART or an F2.8 zoom.
Moire no moire!
The Canon APS-C DSLRs always suffered from pretty horrible moire. Amazingly the problem largely goes away with the RAW recordings.
Forgive the conspiracy theory, but I thought moire was a result of pixel binning on the sensor itself. But now we have unfiltered direct access to the sensor output in video mode with RAW, it seems the sensor isn’t so much to blame as Canon’s image processor. In the stock Canon video mode it is as if the sensor is doing a nice output, but the processor is resampling the image to purposefully hobble it with moire and soft detail.
With Magic Lantern, resolution is crisp and sharp in 1.7K RAW mode and in the 1:1 crop mode as well.
Some sample frames from my first test clips
How to do it
At around £250 or $300 used, the 100D is a lovely bargain. As well as RAW video you can also shoot JPEGs and videos with the EOSHD Film Profiles (Chrome, etc.) or put C-LOG on it. Both are available here.
The 100D isn’t one of the more common cameras for RAW video so finding an experimental build of Magic Lantern for it (which included the new compressed raw modules) was a bit of a pain, but I managed it. I eventually tracked down a copy from January 2017 by user Nikfreak on the 100D thread at Magic Lantern, which the developer had compiled for his own use.
Here’s the Google Drive download link for it.
Before you update to Magic Lantern’s firmware, the 100D has to be updated from the Canon site to version 1.01 if you are running the original 1.00 firmware. That step is straight forward, simply Google “Canon 100D firmware update” and go to the official Canon page, then follow the usual instructions.
Once that’s installed on your 100D, delete the Canon update .FIR file from your SD card and turn off your camera.
Next copy the Magic Lantern files (autoexec.bin, ML folder and the .FIR setup file) to the root directory of your SD card.
Now in the main menu of the 100D, select the firmware update option like before, and follow the on-screen instructions again.
Once ML is installed, you should enable the MLV RAW video module in the Magic Lantern menus to get shooting with it. After enabling that, the camera will need one more reboot before the option appears in the Magic Lantern menus.
Bit-depth is selectable between 10,12 and 14 bits in the Magic Lantern menus. 14bit is uncompressed.
Keep the data rate estimate below 40MB/s for continuous recording. If you select higher bitrates you have to decrease the resolution.
You toggle between frame rates (24/25p) in the main Canon menus, not the Magic Lantern side.
For post processing you need an app called MLVFS (download) for MacOS or Windows. Once enabled, this service will mount your SD card folders containing the MLV RAW recordings as a drive full of tasty Cinema DNG folders, which you can drag and drop straight into Resolve 14 for editing. You don’t have to wait for any conversion or transcoding to happen!
On a laptop though, one might be better to use Resolve 14 as a transcoding app, to convert the DNG files to ProRes 422 LT for editing in your NLE for a more fluid editing experience.
You don’t need the full license for Resolve 14, just the free version will do and you can download it from Blackmagic here if you haven’t already.

