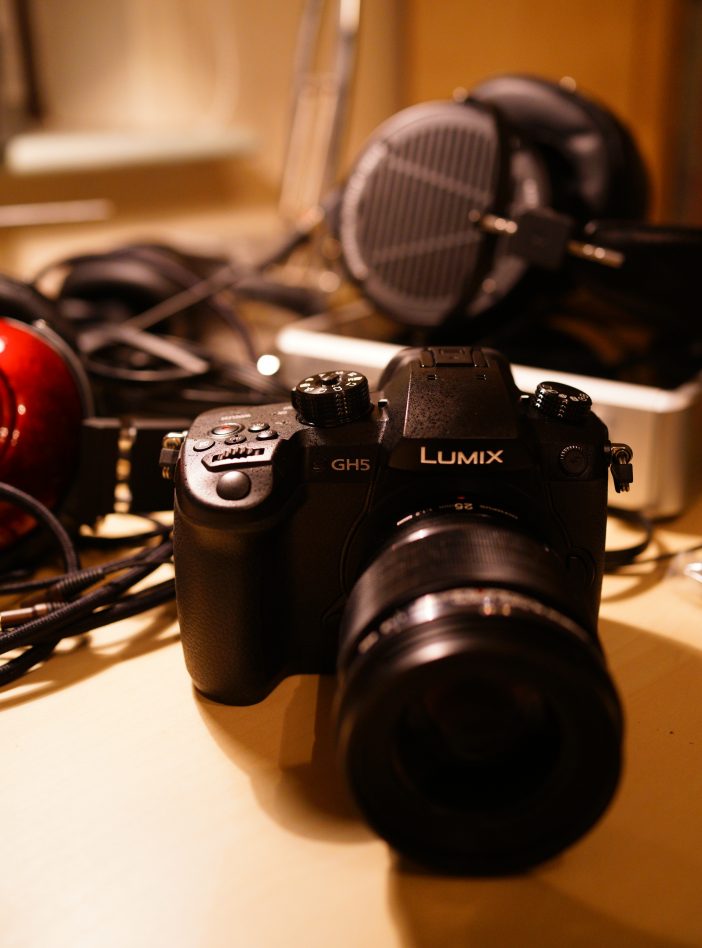
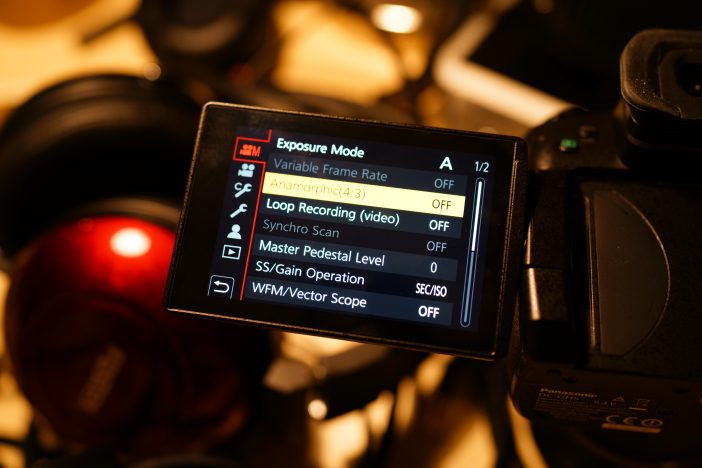
Did your Panasonic GH5 arrive today?
A complex beast isn’t it!
I have a few setup tips to share with my fellow GH5 tribe.
The menus are complex at first glance. I’ve been taming my camera since I got it, it’s like putting a lion in a dog basket. SIT!
The GH5 has no less than 20 function buttons. TWENTY! 5 of these are on the touch screen but the other 15 are physical keys on the body. You don’t have to use 8 of them as they are directional presses on the 4-way joystick and d-pad. If you do choose to assign custom functions to these controls, there’s some useful ways you can go about it. You can for example toggle multiple custom white balance overrides on and off using the d-pad keys when in auto-white balance mode, which is a really nice touch.
OK first of all, assuming you might use manual focus sometimes, or often, let’s get that punch-in focus assist working which is absolutely mega on the GH5 – the highest frame rate and resolution I’ve ever seen for a punch-in focus assist.
In the main menu you can navigate the many pages in there with either the joystick or the d-pad under the lower-rear wheel. I prefer the joystick although I’m used to the d-pad. Force your brain to switch. That joystick is much faster once you get used to it. However be careful not to rest your thumb on the side of the screen if the touch screen is turned on. If you do that the joystick won’t respond as it thinks you are trying to navigate the menus with a touch gesture.
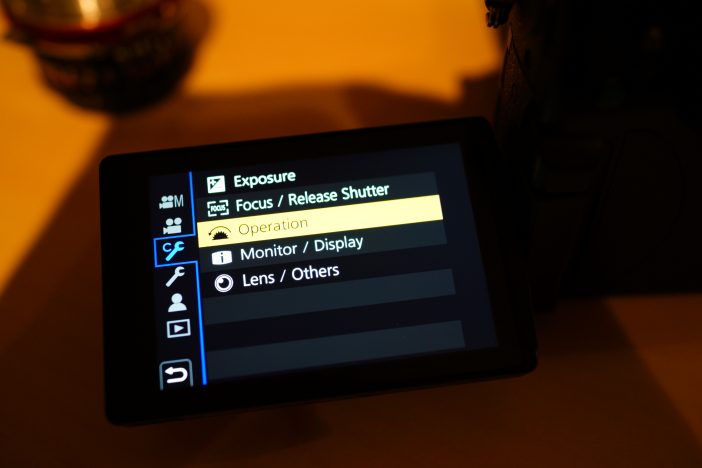
The custom menu is now divided into sub-sections, and in Operation you will find Fn Button Set at the top of the page. Go there and you can assign the focus punch-in to the top panel next to the record button for the easiest access, or you can leave it on the back button (Fn3) where it sits by default and assign something like peaking to Fn1. The focus punch-in is named AF Mode/MF in the menus, with a cross-hair icon next to it. It is not Focus Area Set, Zoom Control or Digital Zoom.
By default rather than magnify the entire display on one button press it will do a bit of a fiddly picture-in-picture which obscures most of the frame any way, so I prefer to use the full screen focus assist to really make the most of it. The option you are looking for to change to the full screen view is “MF Assist Display” (page 2 of 6 of the Focus menu within the Custom Menu). Set that to full and on the “MF Assist” option next to that you can choose whether it activates on a turn of the lens barrel (if a native Micro Four Thirds lens is attached) as well as on a press of the function button (represented here by the cross-hair icon).
Now on a single press of a button you will have that glorious 60fps high resolution punch-in.
Provided you don’t need the joystick for direct AF point selection, you get another 4 options on that too – anything from toggling codec options, to switching the histogram on and off. Anamorphic mode though isn’t one of them, you have to go into the movie menu for that.
You can assign variable frame rate (slow-mo) to a function key, but there’s a quirk. If it is turned off in the menus or greyed out because you’re not in the right mode, this key will do nothing. Quickly reeling off a slow-mo shot will involve a trip into the main menu to first enable VFR. The function key can then be used only to set the frame rate. They should have added the option to toggle it on and off as well.
Bear in mind that past the 120fps mark, quality takes a bit of a hit but it’s still very sexy.
The touch screen is very good on the GH5 but I find the touch-tabs on the right a bit distracting when you want a clear view of the shot with no overlays. Unless you turn these off separately in the menus they will remain no matter what display mode you’re in from pressing the Disp. button. These tiny touch screen tabs are fiddly and with so many physical function buttons on the body a bit redundant. Feel free to navigate to Touch Settings in the Custom Menu / Operation where you can –
- Turn the touch tabs on/off
- Turn the touch screen on/off
- Turn touch AF on/off
- Set options for the touch-pad AF (when using the EVF) to exact position, or offset
Another thing I find useful to do is to set the brightness of the LCD to 1*, rather than automatic as it confuses the heck out of me on automatic. It looks like an exposure change and you might compensate for it with the manual exposure controls or generally get distracted.
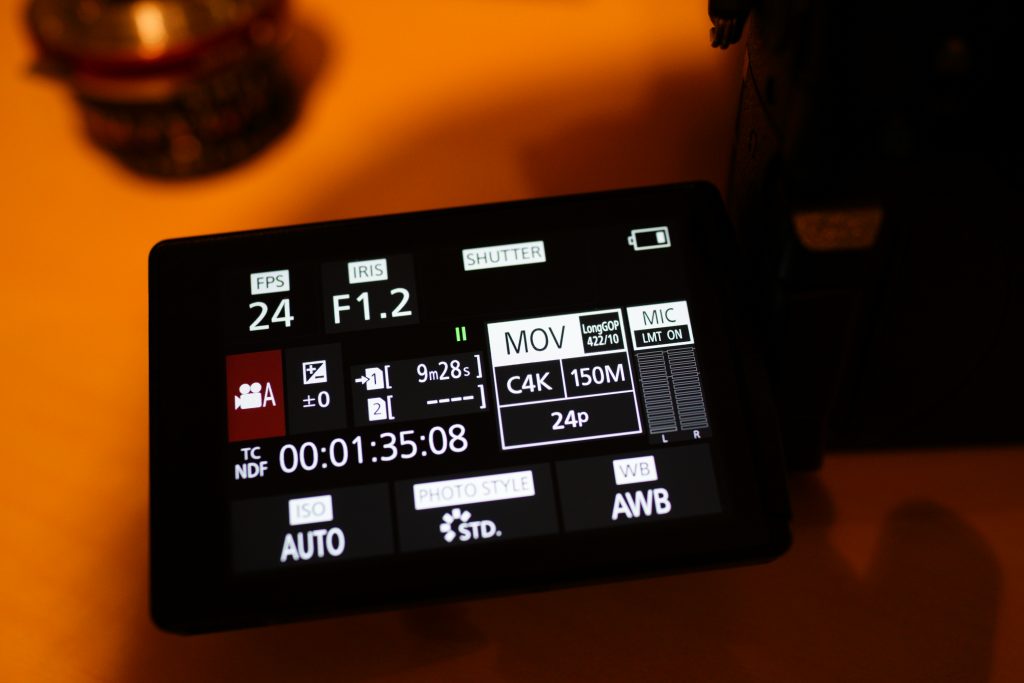
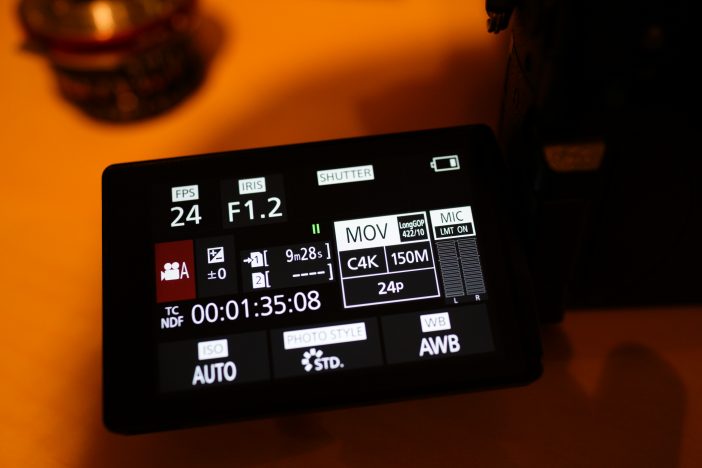
A new feature of the Panasonic GH5 is a video priority display which puts your codec and frame rate information on the LCD (as seen in the main photo at the top of the page). You get the most detailed information when you switch off live-view with the Disp. button and show the information screen fully. This is like the side panel of an Alexa or Sony F5 and it tells you everything – timecode, mic levels, FPS, iris, shutter, ISO, card space in hours & minutes and more. It’s a superb feature if you’re using an external recorder and want a heads-up display for camera settings. The GH5 may lack a 5D Mark III style mono LCD on the top panel but this is WAY more useful and video specific. You can return to normal live-view at any time by tapping the Disp. button.
There are some reports of Adobe Premiere and other NLEs misinterpreting the Luminance levels of the GH5’s 10bit files – the good thing is with 10bit you have luminance range to spare both top and bottom, so for now I have played safe and set this to 64-940 in the Luminance Level menu. That will stop your blacks from crushing or your highlights from clipping too early in your NLE and guarantee the maximum dynamic range without any fiddling in post.
By the way if you need 4096 x 2160 and 24p you need to set the System Frequency to Cinema 24hz rather than PAL or NTSC before these options appear in the codec menu. The GH5 is a multi-region unlocked camera and has no record limit. On the same page as that option in the Setup menu (spanner tab) you’ll find the Activate option for V-LOG. However you must first buy V-LOG (Panasonic sell it direct from their website) and wait for the key-card to turn up in the post. I wish there was a way to do this online instead!
With V-LOG active you can load up to 4 custom LUTs in Varicam format to the camera, alongside a built in Rec.709 one from Panasonic. (The more common 3D LUTs in .cube format will need converting to Varicam format first). Then you toggle between them, which is certainly an improvement from a low-contrast LOG display! It’s a much better implementation than the Gamma View Assist on the Sony cameras too.
Another neat feature is the ability to Load and Save camera settings to a file on the SD card, for sharing with other filmmakers or for applying the same settings to multiple GH5s on set.
This is one serious piece of kit we have here my friends (and trolls). I’ve barely scratched the surface of what it can do. It’s absolutely nuts how much you get for your money. Sony and Canon must really step up their game to reach the same level with their next mirrorless / DSLRs.


